
Ubuntu 20.04 RTX 4090 graphics card deep learning environment configuration (Nvidia graphics card driver, CUDA11.6.0, cuDNN8.5)
posted on 2023-06-06 17:27 read(695) comment(0) like(15) collect(5)
Ubuntu 20.04 RTX 4090 graphics card deep learning environment configuration ( Nvidia graphics card driver, CUDA11.6.0, cuDNN8.5)
1. Install Nvidia graphics card
References: From zero to one nanny-level Ubuntu deep learning server environment configuration tutorial,
see " 3. NVIDIA driver installation " in the literature
Install the NVIDIA driver, which is also an important step to install CUDA 10.0 and its corresponding versions of CuDNN and tensorflow.
1.1 Enter the graphics card model to check the supported version of the graphics card driver
1.1.1 Nvidia Driver Official Website in China
Enter the official website of Nvidia China Driver
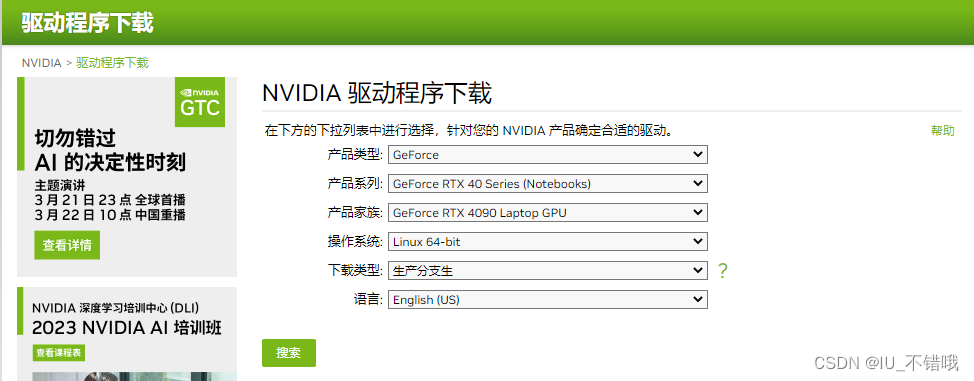
1.1.2 Enter graphics card model query
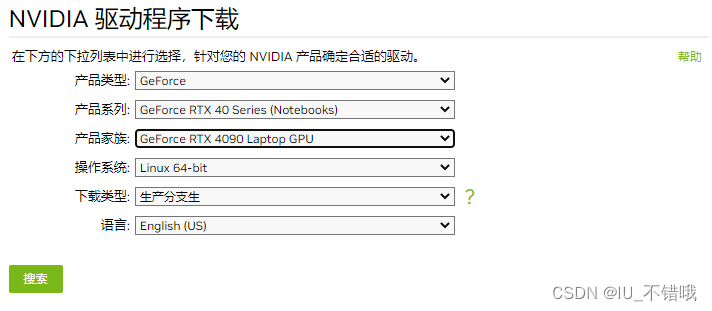
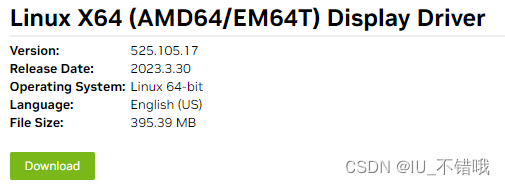
1.1.3 View search results
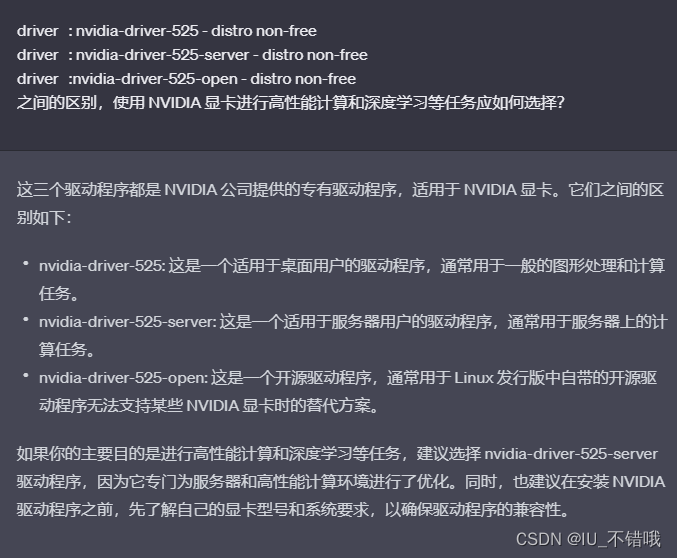
1.2 Download and install Nvidia
1.2.1 Method 1
Install the 525-server (proprietary) version directly in the soft updates of the Ubuntu system
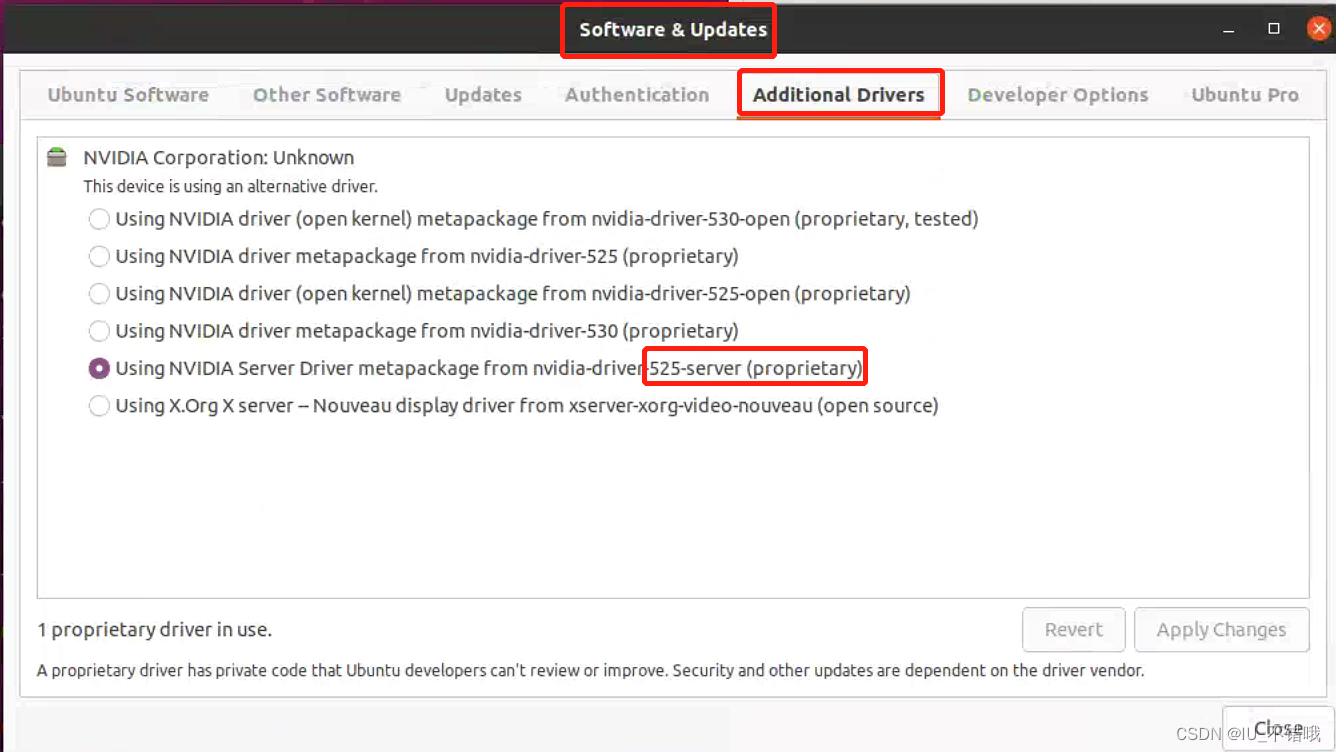
Note:
1.2.1 Method 2
Try it yourself, I didn't use the method below.
Reference: Install nvidia driver on ubuntu (pro-test is effective, this is method 2)
Reference: Install nvidia driver on ubuntu (pro-test is effective, this is method 1))
2. Install CUDA11.6.0
References: Install nvidia_driver_510+cuda_11.6+cudnn_11.x on ubuntu18.04
References: From zero to one nanny level Ubuntu deep learning server environment configuration tutorial
2.1 Check whether your computer GPU is compatible with CUDA (N card support)
lspci | grep -i nvidia
show compatible compatible

2.2 Enter CUDA official website
CUDA official website: https://developer.nvidia.com/cuda-toolkit-archive
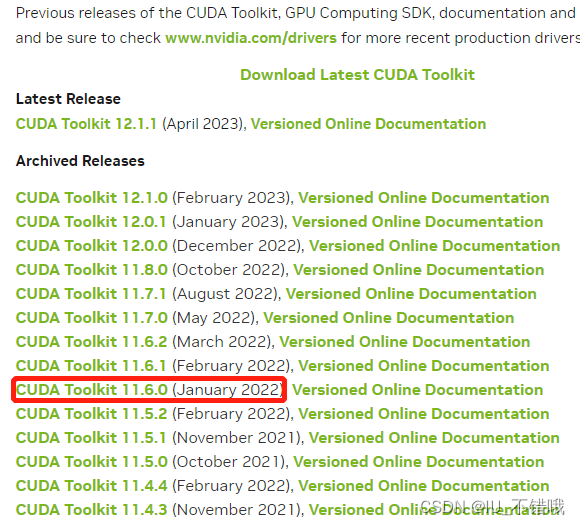
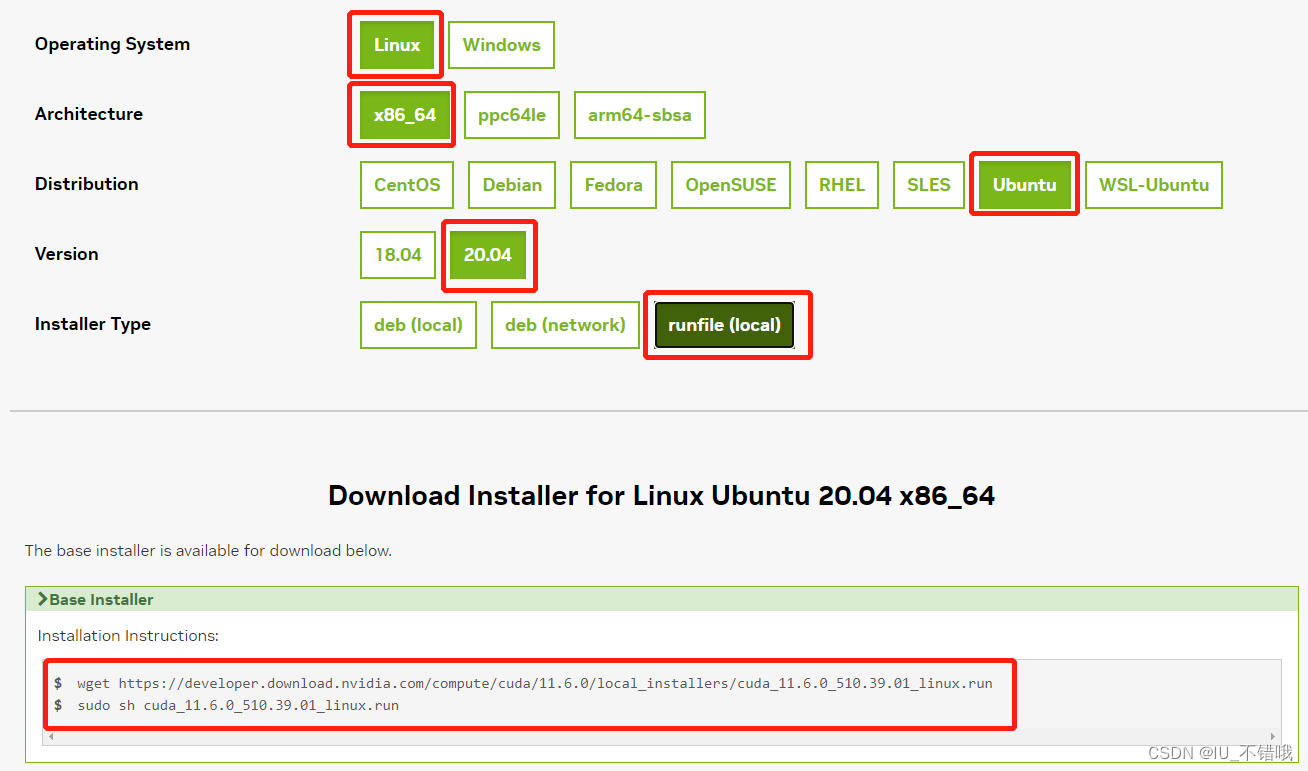
2.3 Download and install CUDA11.6.0
I am more used to downloading and installing some files in the same folder "software"
Step 1: Create a new file under home
cd # 返回home目录
mkdir software # 新建 software文件夹
Step 2: CUDA11.6.0 installation package downloaded in the software folder
wget https://developer.download.nvidia.com/compute/cuda/11.6.0/local_installers/cuda_11.6.0_510.39.01_linux.run
The third step (can be omitted): give permission to the run file
sudo chmod 777 cuda_11.6.0_510.39.01_linux.run
Step 4: Run the run file (--override: means to override and replace the file)
sudo sh cuda_11.6.0_510.39.01_linux.run --override
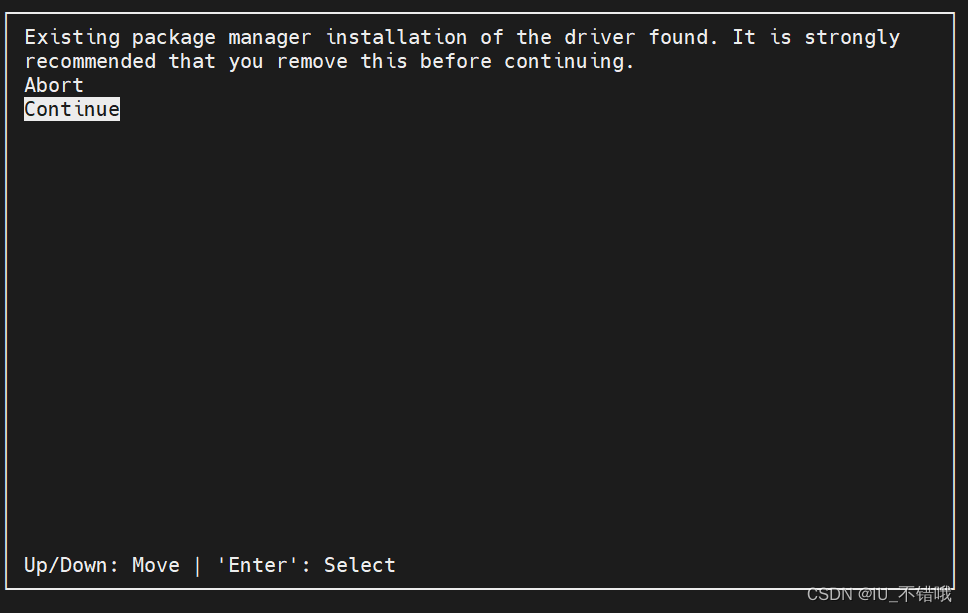
Waiting for the follow-up:
(1) Select continue
(2) Input: accept
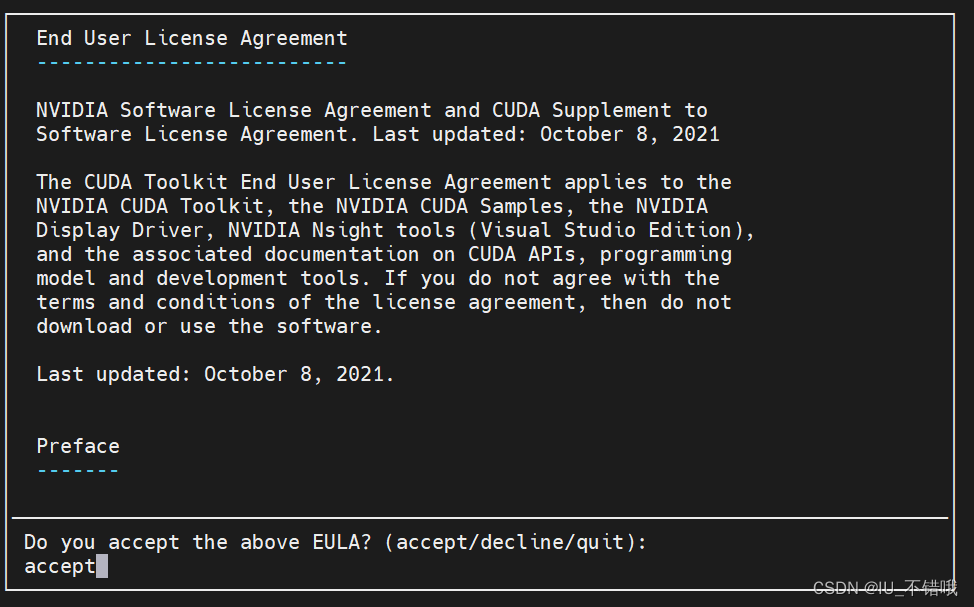
(3) Select the
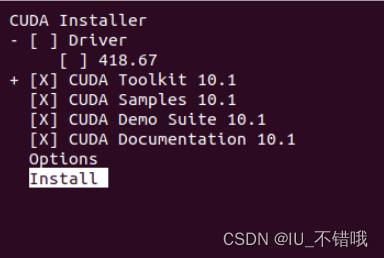
"Enter" button to select or cancel
the Nvidia graphics card 525 that has been installed before, and the Driver is not needed here (the first two are canceled) (X stands for Checked)
Finally, Install, wait for completion
2.4 Configuration after installing CUDA11.6.0
Step 1: Configure relevant environment variables.
(1) Open the ~/.bashrc file, the code is as follows:
sudo vim ~/.bashrc
(2) Write the following content to the end of ~/.bashrc and save it successfully.
export CUDA_HOME=/usr/local/cuda
export PATH=$PATH:$CUDA_HOME/bin
export LD_LIBRARY_PATH=/usr/local/cuda-11.6/lib64${LD_LIBRARY_PATH:+:${LD_LIBRARY_PATH}}
(3) Save and exit. terminal execution
source ~/.bashrc
The follow-up can be carried out according to the wishes, and I am not sure.
References: ubuntu18.04 install nvidia_driver_510+cuda_11.6+cudnn_11.x
Step 2: Use the vim command to open the /etc/profile file and add the CUDA environment variable. The code is as follows:
(1)
sudo vim /etc/profile
(2) Open the document and add the following two sentences at the end of the document:
PATH=/usr/local/cuda/bin:$PATH
export PATH
(3) After saving, execute the following command to make the environment variable take effect immediately, the code is as follows:
source /etc/profile
Step 3: Add the lib library path at the same time, create a new file cuda.conf in /etc/ld.so.conf.d/, the command is as follows:
(1)
sudo vim /etc/ld.so.conf.d/cuda.conf
(2) Add the following to the text:
/usr/local/cuda/lib64
(3) Execute the following command to make it take effect immediately, the code is as follows:
sudo ldconfig
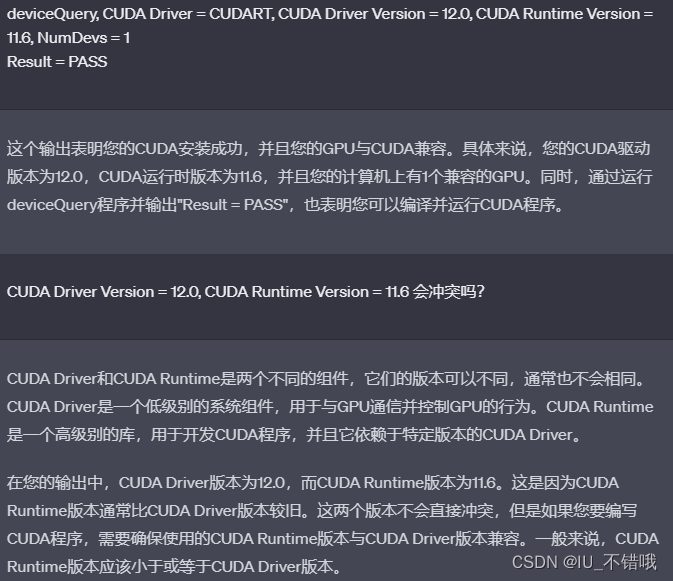
2.5 Use the CUDA samples to test whether the cuda installation is successful
cd /usr/local/cuda-11.6/samples/1_Utilities/deviceQuery
sudo make
./deviceQuery
Generally, you will face the following problems:
There is only one txt file in the installation directory /usr/local/cuda-11.6/samples of version 11.6 cuda, which roughly means to tell you the new version of cuda, and the content in samples needs to be downloaded from github.
Solution:
Step 1: Download the test example
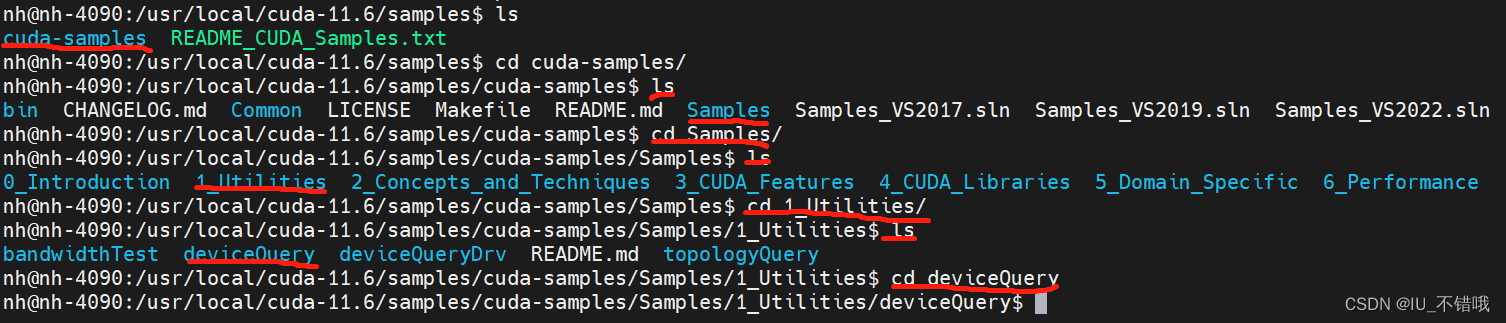
(1) Switch to the /usr/local/cuda-11.6/samples directory
cd /usr/local/cuda-11.6/samples/
(2) github download
git clone https://gitee.com/liwuhaoooo/cuda-samples.git
There is a high probability that you do not have the right to access. At this time, open the terminal under the cuda-11.6 folder
su
输入密码切换超级用户
chmod 777 samples
Just execute git clone again.
Step 2: Find the 1_Utilities/deviceQuery folder
(1) Switch to the deviceQuery folder
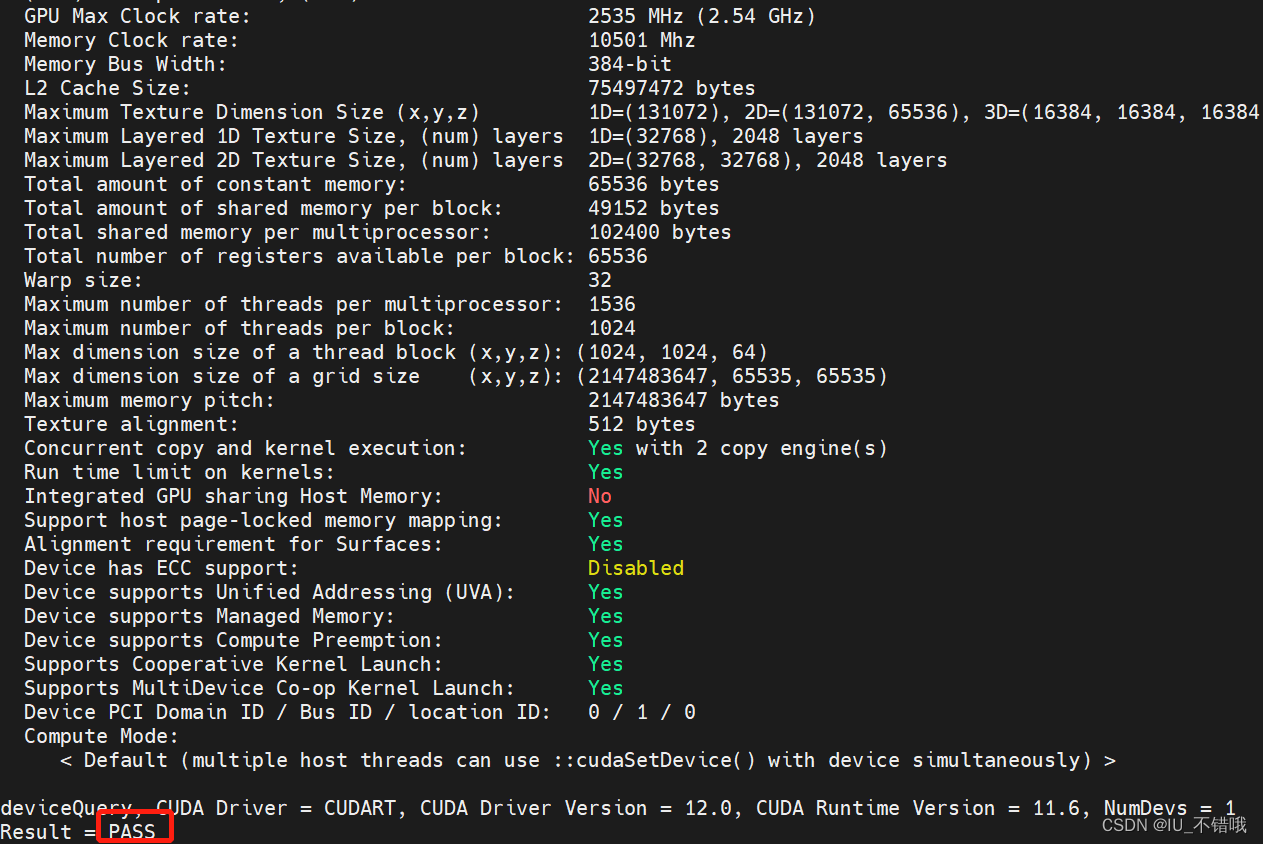
(2) Run
sudo make
./deviceQuery
(3) show pass
Notice:
3. Install cuDNN v8.5.0 (August 8th, 2022), for CUDA 11.x
References: From zero to one nanny level Ubuntu deep learning server environment configuration tutorial
3.1 Open the official website and register with an email address (I use the qq email address)
See references (cuDNN part): From zero to one nanny level Ubuntu deep learning server environment configuration tutorial
3.2 Download cuDNN v8.5.0 (August 8th, 2022), for CUDA 11.x
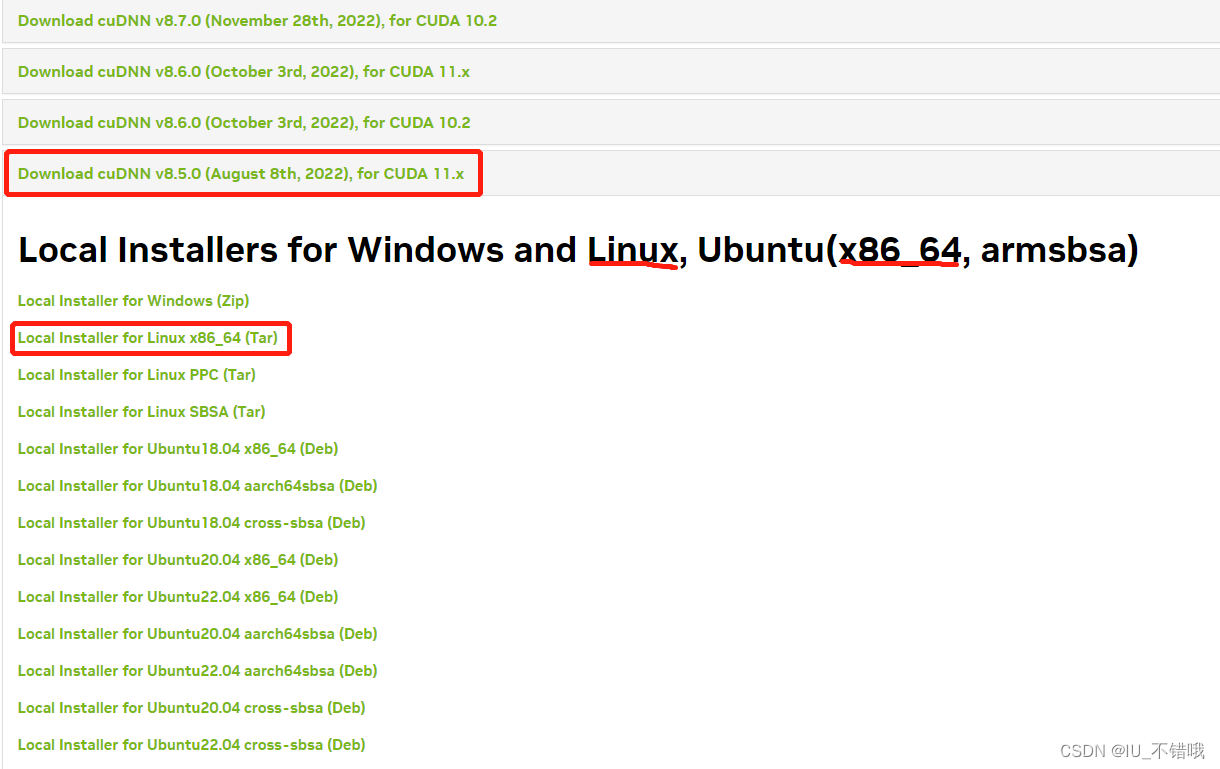
Similarly, after downloading, place it in the software folder.
3.3 Install cuDNN v8.5.0 (August 8th, 2022), for CUDA 11.x
Step 1: View the official installation method
Nvidia official installation tutorial: https://docs.nvidia.com/deeplearning/cudnn/install-guide/index.html
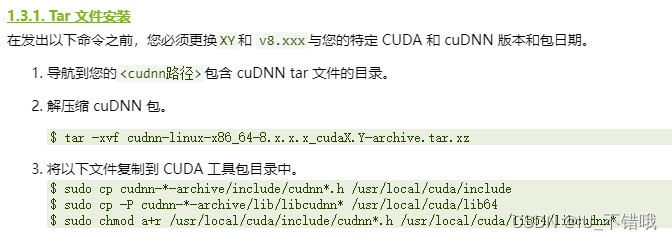
Completely follow the official operation, which probably means to modify the XY in the document to the CUDA version number, v8.xxx Change it to the cuDNN version number. Here we change XY to 11.5 and v8.xxx to 8.3.2.44. Students can refer to the modification.
Step Two: Install
(1) Switch to the download path
cd ~/software
(2) Unzip
tar -xvf cudnn-linux-x86_64-8.5.0.96_cuda11-archive.tar.xz
(3) After the file is successfully extracted, ignore it and execute the following command directly (no modification, no version number, etc.)
sudo cp cudnn-*-archive/include/cudnn*.h /usr/local/cuda/include
sudo cp -P cudnn-*-archive/lib/libcudnn* /usr/local/cuda/lib64
sudo chmod a+r /usr/local/cuda/include/cudnn*.h /usr/local/cuda/lib64/libcudnn*
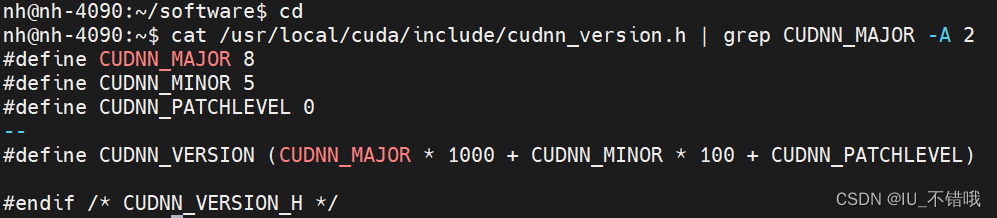
3.4 Verifying the installation
cat /usr/local/cuda/include/cudnn_version.h | grep CUDNN_MAJOR -A 2
Category of website: technical article > Blog
Author:Swilder
link:http://www.pythonblackhole.com/blog/article/83322/bdb8c009526aa5342f82/
source:python black hole net
Please indicate the source for any form of reprinting. If any infringement is discovered, it will be held legally responsible.
name:
Comment content: (supports up to 255 characters)