
CUDA安装教程
posted on 2023-06-06 10:07 read(1091) comment(0) like(14) collect(2)
1 Download and installation of cuda
1.1 Check the suitable cuda version
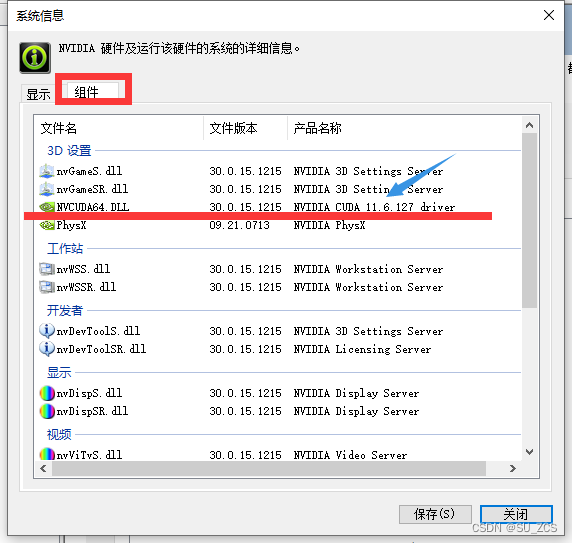
The cuda supported on my computer is 11.6
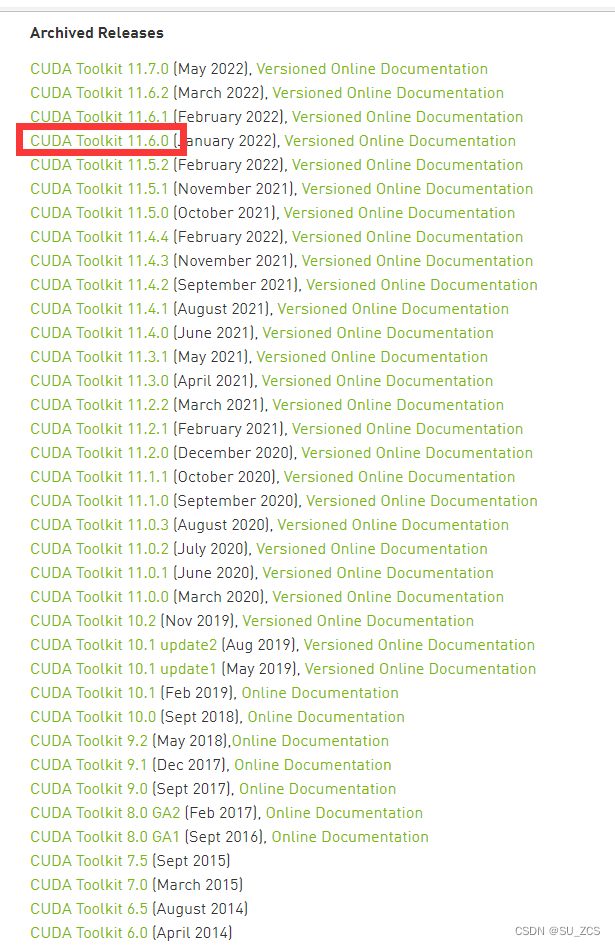
1.2 cuda toolkit download
kCUDA Toolkit Archive | NVIDIA Developer
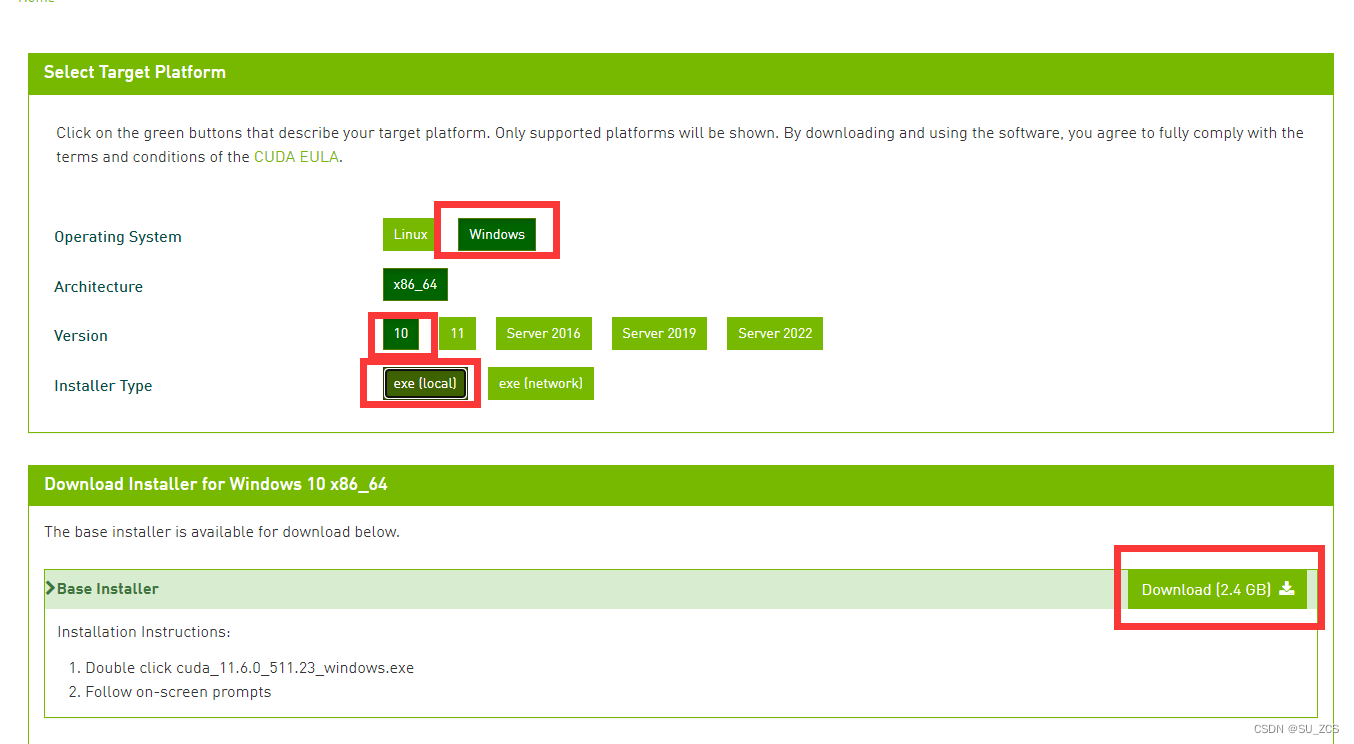
Enter the above webpage and find the suitable cuda
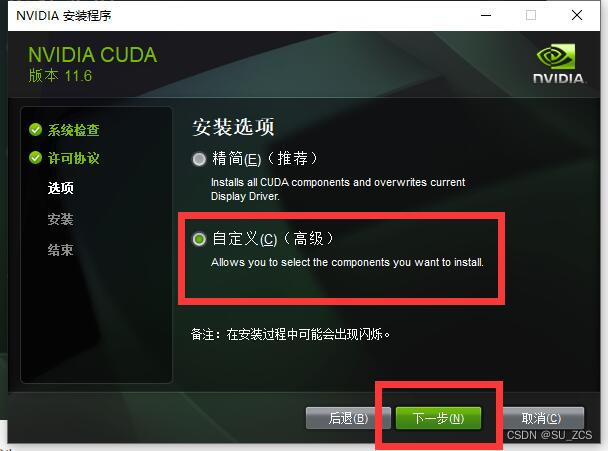
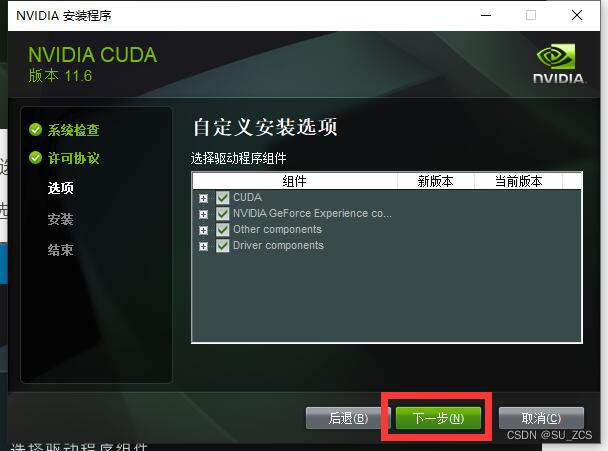
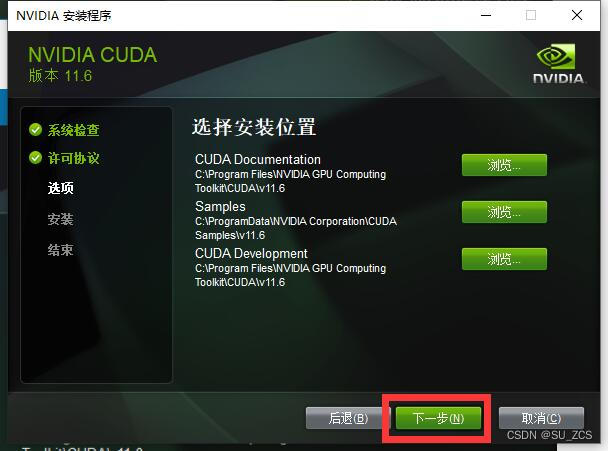
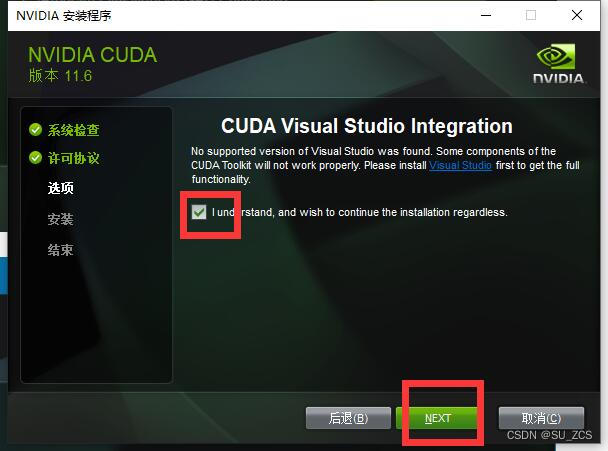
1.3 cuda toolkit installation
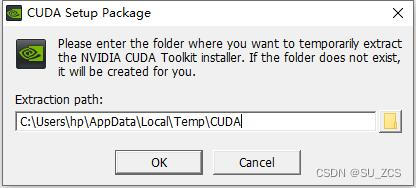
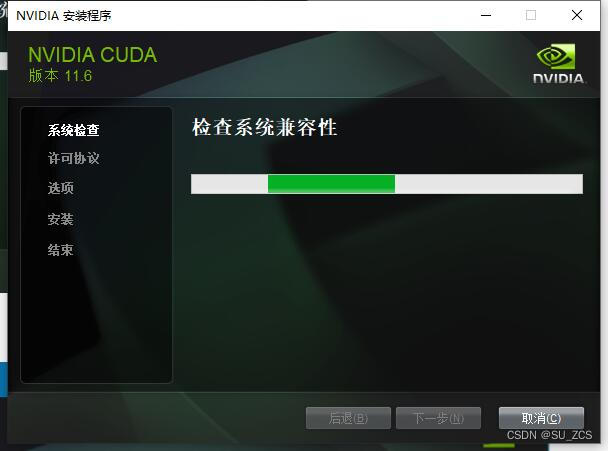
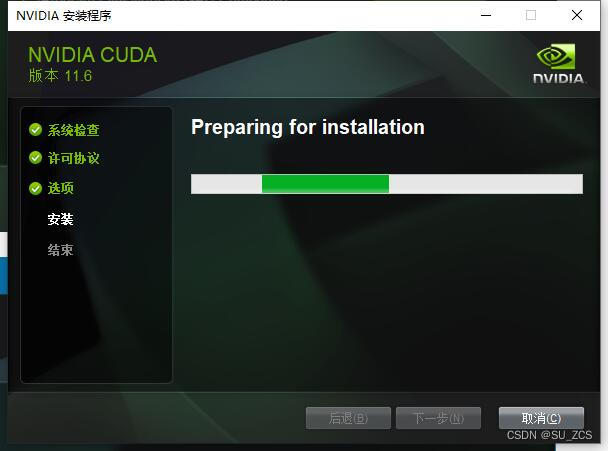
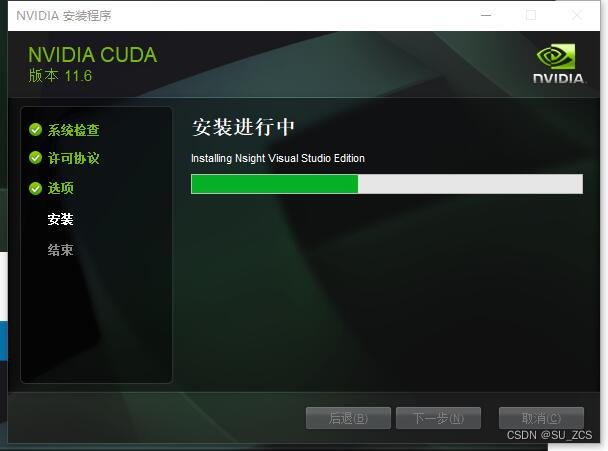
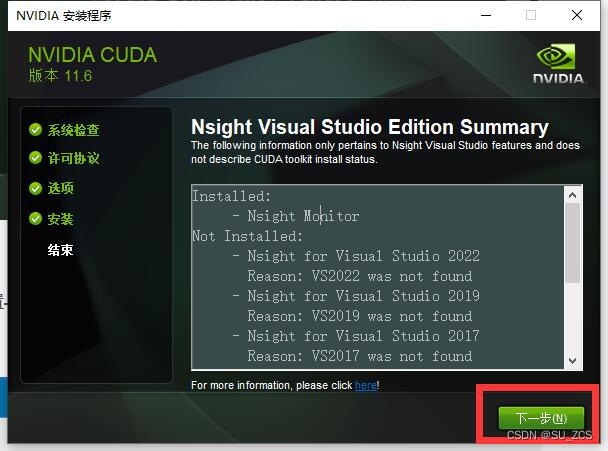
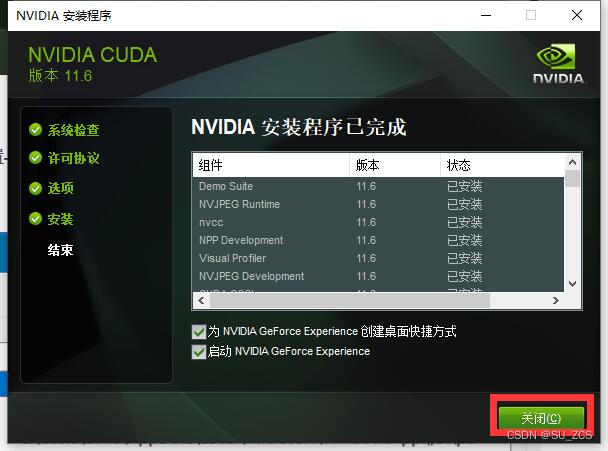
Double-click the exe file to install

1.4 Configuration environment
Open Settings -> Advanced System Settings -> Environment Variables
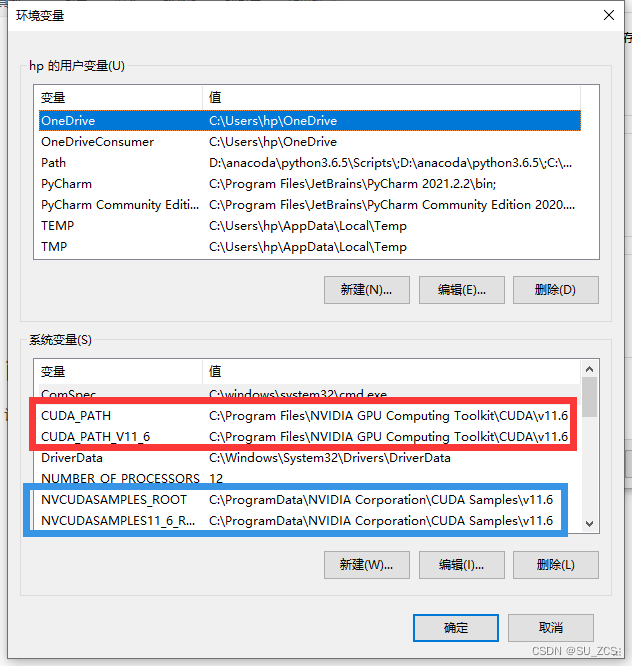
The ones in the red box are added automatically by the system, and the ones in the blue box are not automatically added by the system in some cases, and need to be added manually. Pay attention to your own path when adding.
- NVCUDASAMPLES_ROOT C:\ProgramData\NVIDIA Corporation\CUDA Samples\v11.6
-
- NVCUDASAMPLES11_6_ROOT C:\ProgramData\NVIDIA Corporation\CUDA Samples\v11.6
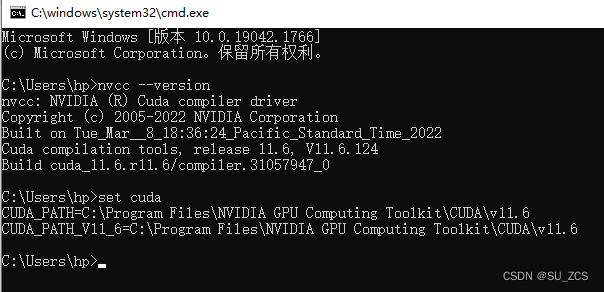
1.4 Verification
win+R, enter cmd, enter nvcc --version to view the version number, enter set cuda to view the set environment variables
2 cuANN download and installation
2.1 cuDNN download
The download address is as follows, you need to register
https://developer.nvidia.com/rdp/cudnn-download before downloading


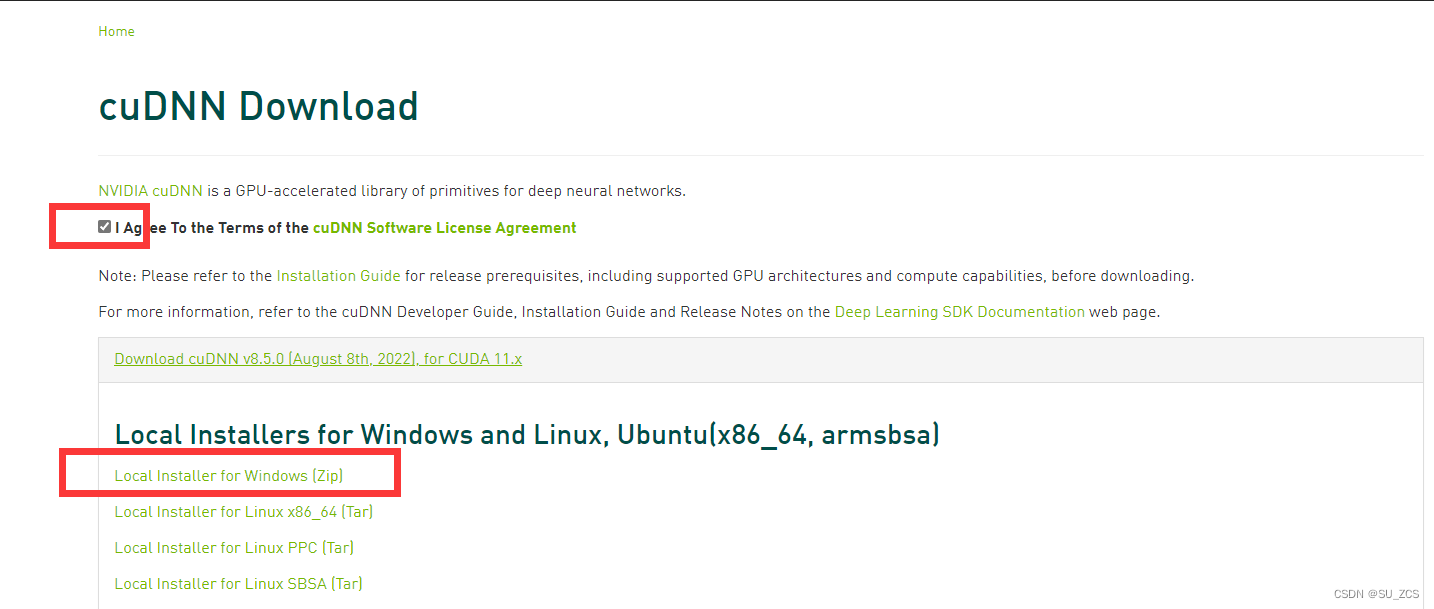
The following link has a version that suits you
cuDNN Archive | NVIDIA Developer
2.2 cuDNN configuration
Unzip cuDNN to drive D
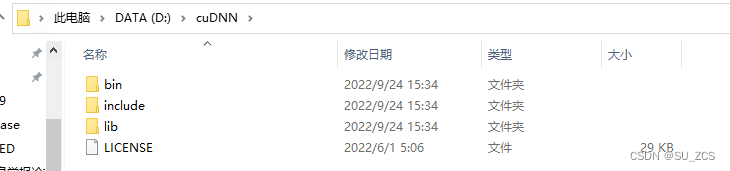
Copy the three folders to the cuda installation directory. The default installation path is
C:\Program Files\NVIDIA GPU Computing Toolkit\CUDA\v11.62.3 Add environment variables
- C:\Program Files\NVIDIA GPU Computing Toolkit\CUDA\v11.6\bin
- C:\Program Files\NVIDIA GPU Computing Toolkit\CUDA\v11.6\include
- C:\Program Files\NVIDIA GPU Computing Toolkit\CUDA\v11.6\lib
- C:\Program Files\NVIDIA GPU Computing Toolkit\CUDA\v11.6\libnvvp

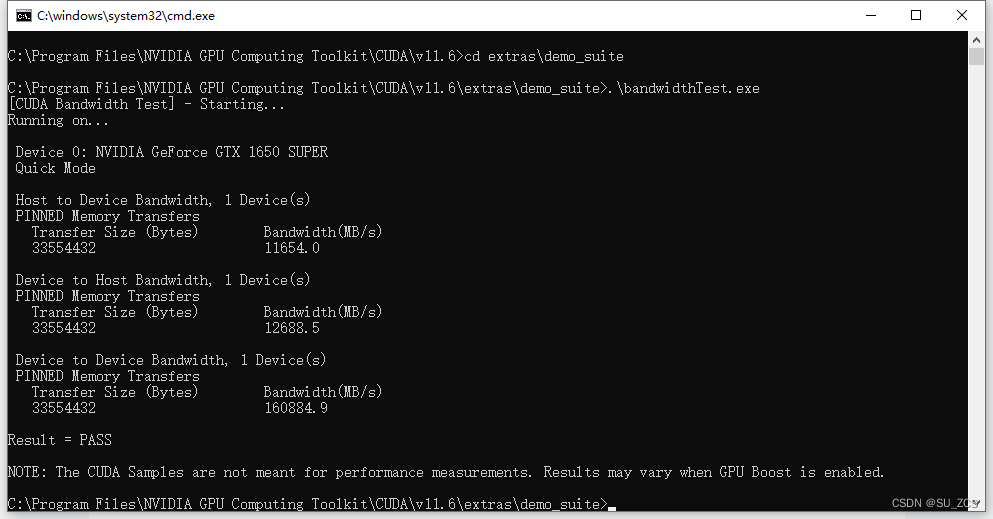
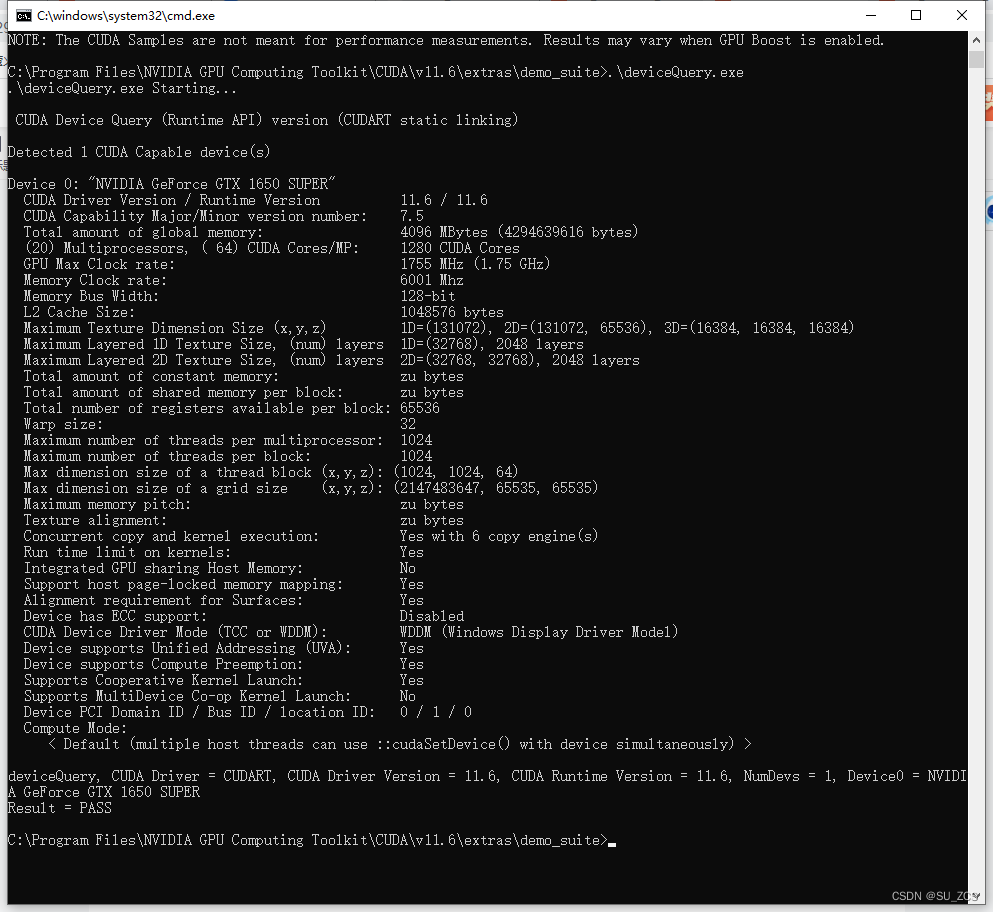
2.4 Verification
win+R cmd to enter the installation directory, then enter extras\demo_suite, execute .\bandwidthTest.exe and .\deviceQuery.exe, and get the following figure.
3 Install the GPU version of torch (no need to ignore torch)
When running the deep learning code, the following error occurs because the GPU version of torch was originally installed.

3.1 Install GPU version torch
Enter the official website Start Locally | PyTorch
Select each configuration and copy the red line link
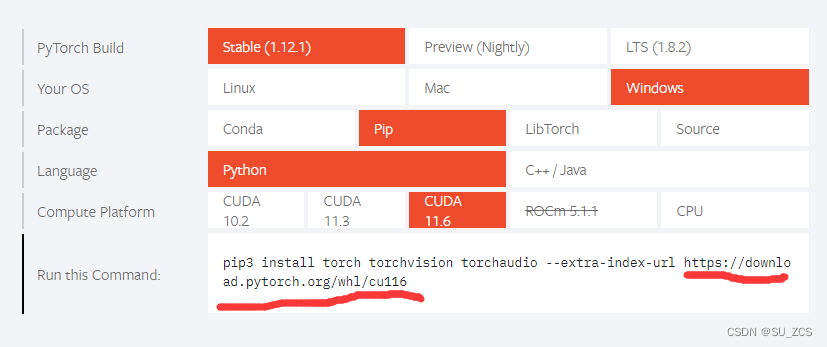
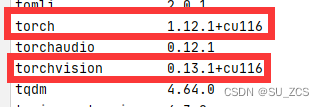
Open torch and torchvision to choose the version that suits you

Enter the path to execute pip
- pip install torch-1.12.1+cu116-cp38-cp38-win_amd64.whl
-
- pip install torchvision-0.13.1+cu116-cp38-cp38-win_amd64.whl
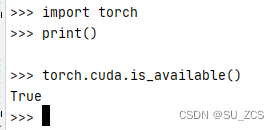
cuda is available, and the code can be executed normally

Category of website: technical article > Blog
Author:Poison
link:http://www.pythonblackhole.com/blog/article/79743/a86da50410e660c9f8e4/
source:python black hole net
Please indicate the source for any form of reprinting. If any infringement is discovered, it will be held legally responsible.
name:
Comment content: (supports up to 255 characters)
no articles