
Wanke cloud brush home assistant (2023-01-19 personal test)
posted on 2023-06-06 10:06 read(297) comment(0) like(10) collect(2)
Required software: access code: kjw4
Zero. Flash into armbian.
0.1 Use the Aml Burn Tool software to burn the preferred base package to the firmware. After the burning is completed, disconnect the power supply of the Wankeyun for backup. (The hole near the hdmi.)
0.2 Use the rufus software to write the emmc firmware into the U disk.
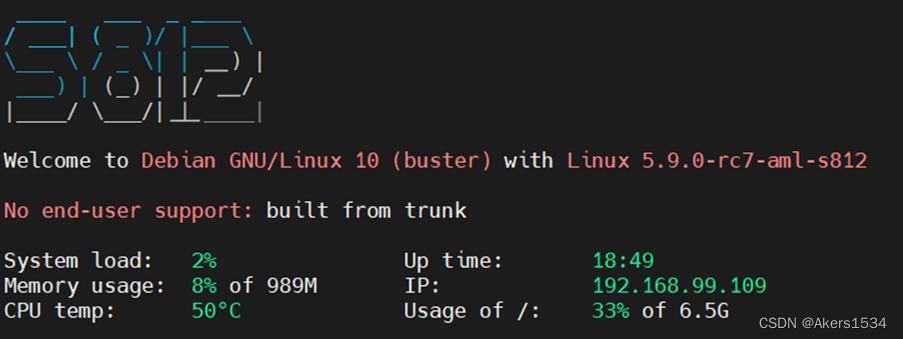
0.3 After the writing is successful, first insert the U disk into the USB port of Oneke Cloud near the network cable interface, and then connect the power supply. After the Wankeyun is powered on, the indicator light will first turn on the green light, then turn on the blue light, flash red and blue, and finally the blue light will always be on. Wait until it is confirmed that the blue light is always on, and then unplug the U disk and power supply. (It is best to start the Wankeyun once after the blue light is always on to see if the ssh is normal.)
0.4 Use rufus to write WKY-Armbian_20.12_5.9.0 firmware.
0.5 After the firmware is successfully written, insert the U disk again to the USB port near the end of the network cable. After the U disk is inserted, connect the power supply of Onekeyun and its network cable. At this time, the blue light will always be on. Open the LAN viewing tool to find the IP of Onekeyun.
0.6 Use MobaXterm, ssh to connect to the LAN IP obtained before.
User: root, password: 1234 (change the password if prompted)
0.7 flashed into armbian5.9.
cd /boot/install/
sudo ./install.sh
0.8 Disconnect the power of Wankeyun, unplug the U disk, wait for a while and then restart Wankeyun
1. Install the required environment packages ( install all in order not to make mistakes)
apt update
apt upgrade -y
apt-get install -y arm-linux-gnueabihf* autoconf build-essential gcc lcov libldap2-dev libsasl2-dev libsqlite3-dev libffi-dev libjpeg-dev libssl-dev libopenjp2-7 libtiff5 libturbojpeg0-dev libpcap-dev ldap-utils python-dev python3-dev python3-venv python3-pip zlib1g-dev sqlite* tzdata tox valgrind zlib*
2. Install python3 (after testing, version 3.10.6 can be installed with HA)
download: wget https://www.python.org/ftp/python/3.10.6/Python-3.10.6.tgz (可以自己下载然后放到root目录下)
Decompression: tar xvf Python-3.10.6.tgz Python-3.10.6/
Enter the directory: cd Python-3.10.6
配置:./configure --enable-loadable-sqlite-extensions --enable-optimizations --with-ssl --prefix=/usr/local/python-3.10
Compile and install: make && make install
3. Set up python
3.1 Setting environment variables
cd /etc/profile.d
vim python.sh
3.2 Write the following content in the python.sh file (python is mainly based on reality)
export PATH=/usr/local/python-3.10/bin:$PATH
alias py='/usr/local/python-3.10/bin/python3.10'
3.3 Execute the following command to make the above configuration file take effect immediately
source /etc/profile.d/python.sh
3.4 Add domestic sources
Modify the ~/.pip/pip.conf file, if not, create it
mkdir -p ~/.pip/ && vim ~/.pip/pip.conf
Paste the following content (domestic sources can be replaced by themselves)
[global]timeout = 6000
index-url = https://pypi.tuna.tsinghua.edu.cn/simple/
trusted-host = pypi.tuna.tsinghua.edu.cn
4. Install homeassisant
4.1 Install and compile the environment required for cryptography
curl https://sh.rustup.rs -sSf | sh
source "$HOME/.cargo/env"
export CRYPTOGRAPHY_DONT_BUILD_RUST=1
export CARGO_NET_GIT_FETCH_WITH_CLI=true
4.2 Install the latest version of SQLite
wget https://sqlite.org/2022/sqlite-autoconf-3390200.tar.gz
tar -xvf sqlite-autoconf-3390200.tar.gz
cd sqlite-autoconf-3390200
./configure
make && make install
4.3 Install some environments and dependencies
pip3 install wheel
pip3 install aiohttp_cors
pip3 install --upgrade pip
pip3 install sqlalchemy
pip3 install frontend_assets
pip3 install fnvhash
pip3 install pyproject-toml
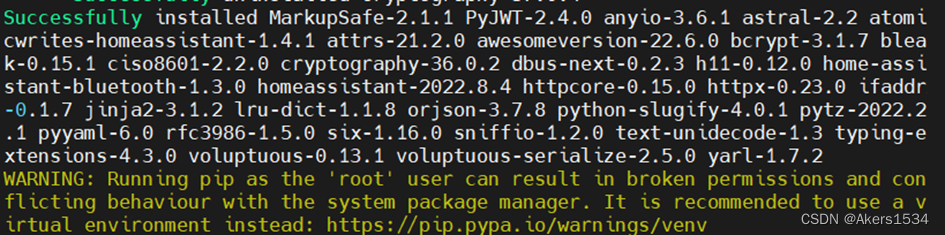
pip3 install homeassistant
安装完成显示
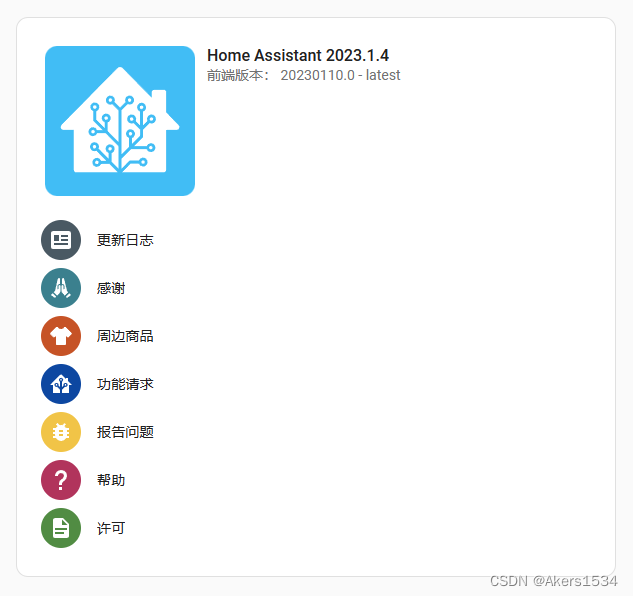
4.5 Log in to hass for the first time
hass ( the time should be a bit long, what is missing, what is missing, can be run multiple times until there is no need to install anything)
![]()
The browser accesses IP:8123 until the ha login page appears

4.6 Add the service file to the system service
sudo nano -w /etc/systemd/system/home-assistant@root.service
Copy and paste the following
[Unit]
Description=Home Assistant
After=network-online.target
[Service]
Type=simple
User=%i
ExecStart=/usr/local/python-3.10/bin/hass
[Install]
WantedBy=multi-user.target
Ctrl + X , Y, Enter to save and exit
The startup configuration takes effect
systemctl daemon-reload
Service starts automatically
sudo systemctl enable home-assistant@root
start service
systemctl start home-assistant@root
At this point, homeassistant has completed the installation
Install HACS (easy to install various plug-ins)
wget -O - https://ghproxy.com/raw.githubusercontent.com/hasscc/get/main/get | HUB_DOMAIN=ghproxy.com/github.com DOMAIN=hacs REPO_PATH=hacs-china/integration ARCHIVE_TAG=china bash -
Category of website: technical article > Blog
Author:Fiee
link:http://www.pythonblackhole.com/blog/article/79549/ce4c356da340e532169d/
source:python black hole net
Please indicate the source for any form of reprinting. If any infringement is discovered, it will be held legally responsible.
name:
Comment content: (supports up to 255 characters)
no articles