如何用python做交互式界面?五分钟教会你。
posted on 2023-06-03 20:06 read(554) comment(0) like(26) collect(3)
I wrote an article on the login interface made in Python before. This time, I will teach you to implement a simple registration interface. Compared with the login, the registration interface has added a function of uploading avatars and saving the registration information to a local txt file. The function, the final effect is like this

2. Import the necessary libraries
- from tkinter import *
- # filedialog函数用于上传文件
- from tkinter import filedialog
- # 因为头像是图片需要用到pillow库
- from PIL import Image
3. Create window
After importing the necessary libraries, we first create a window with a width of 350 and a height of 220. The title of the window is called "Registration"
- Create window - code
- # 创建窗口
- win = Tk()
- # 设置窗口标题
- win.title('注册')
- # 设置窗口宽度和高度
- win.geometry('350x220')
-
- # 主循环
- win.mainloop()
- achieve effect
After completing the above code, the effect of running the program is as follows

4. Create account text box
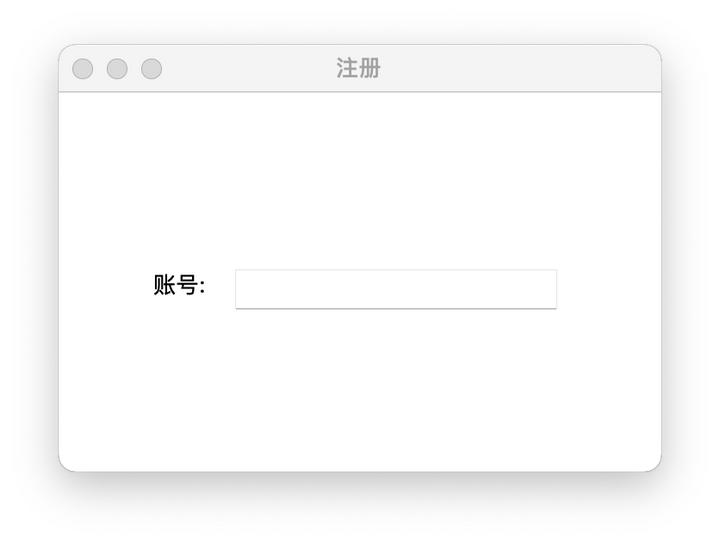
After the window is created, the word "account" will be displayed on the window, and then a text box for inputting the account will be created behind the "account"
- Create account text box - code
- # 将“账号:”显示在x坐标为50, y坐标为100的位置
- Label(text='账号:').place(x=50, y=100)
- # 用变量uname表示输入账号的文本框,方便获取里面的内容
- uname = Entry(win)
- # 将用于输入账号的文本框放置在x坐标为100,y坐标为100的位置
- uname.place(x=100, y=100)
- achieve effect
5. Create a password text box
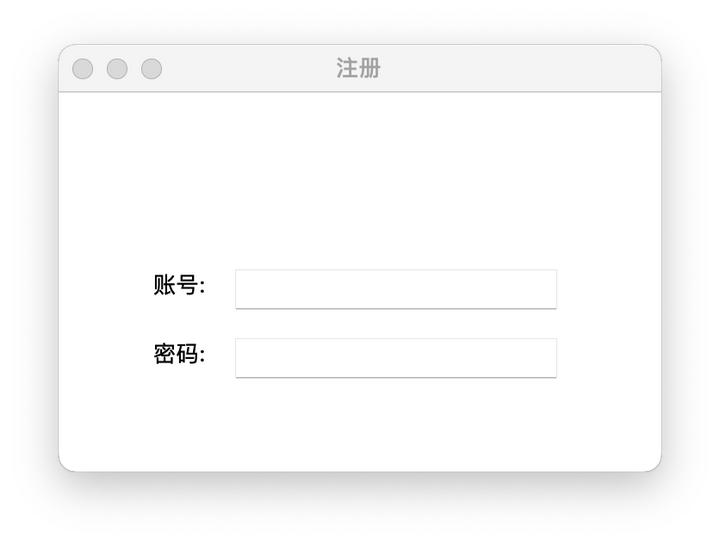
Next, use the same method to set the word "Password:" and the text box for entering the password on the window
- Create password textbox - code
- Label(text='密码:').place(x=50, y=140)
- # 使用show="*",在文本框输入的内容就全部显示为*
- pwd = Entry(win, show='*')
- pwd.place(x=100, y=140)
- achieve effect
6. Click to upload avatar
Next, add a click to upload avatar function in the interface
- Upload avatar-code
- 作者:python爱好者
- 链接:https://www.zhihu.com/question/60013978/answer/2222608439
- 来源:知乎
- 著作权归作者所有。商业转载请联系作者获得授权,非商业转载请注明出处。
-
- # 创建一个自定义函数,用于点击上传按钮的时候调用
- def upload_pic():
- # 这行代码会打开C:盘根目录,当你选中文件的时候,将文件的路径保存到pic_path变量
- pic_path = filedialog.askopenfilename(initialdir='C:/')
- # 根据获取到的图片路径打开图片
- img = Image.open(pic_path)
- # 将图片固定设置为宽度为80,高度为80方便在界面中展示
- img = img.resize((80, 80))
- # 想修改完宽和高的图片保存
- img.save('head.png')
- # 加载保存的图片
- head = PhotoImage(file='head.png')
- # 将上传按钮中的图片设置为刚才加载的图片
- head_button.config(image=head)
- head_button.image=head
-
- # 加载一个默认图片,用于在上传按钮中显示
- default_pic = PhotoImage(file='default_pic.png')
- # 创建一个按钮,设置按钮中要显示的图片,以及点击按钮是调用的函数
- head_button = Button(image=default_pic, command=upload_pic)
- # 将按钮放置在x坐标为150,y坐标为10的位置,并且设置宽度和高度都是80
- head_button.place(x=150, y=10, width=80, height=80)

Author: Python lover
Link: https://www.zhihu.com/question/60013978/answer/2222608439
Source: Zhihu
The copyright belongs to the author. For commercial reprint, please contact the author for authorization, for non-commercial reprint, please indicate the source.
- achieve effect
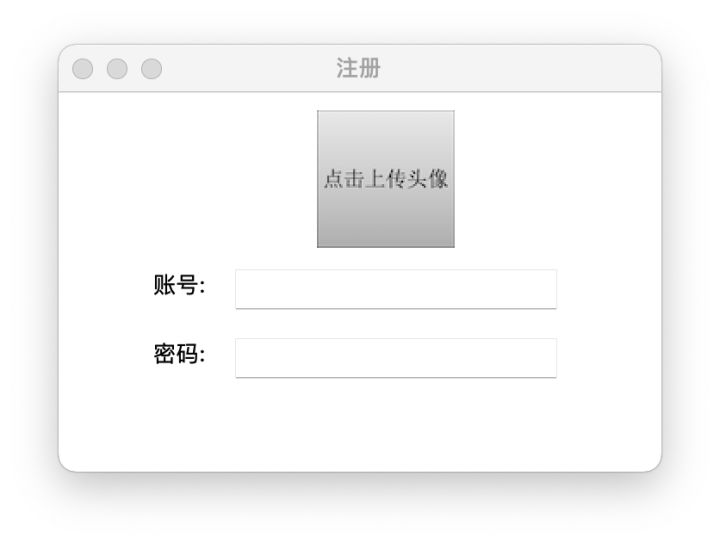
Added a button to upload an avatar in the interface
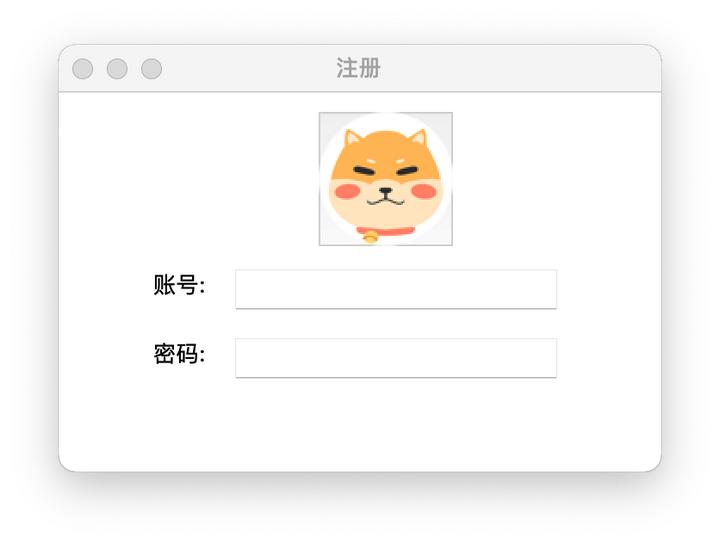
The effect after selecting a picture to upload
7. Save the registration information to a local txt file
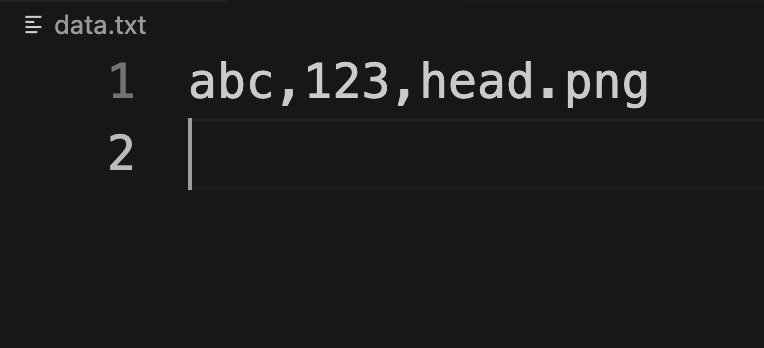
Next, save the entered account, password, and avatar information to a local txt file.
- save info-code
- # 创建register函数,用于在点击注册按钮的时候调用
- def register():
- # 从输入账号的文本框中获取账号
- user_name = uname.get()
- # 从输入密码的文本框中获取密码
- password = pwd.get()
- # 保存上传的图片路径
- head_path = 'head.png'
- # 将以上三条信息写入到本地的txt文件
- with open('data.txt', 'a', encoding='utf-8') as f:
- f.write('{},{},{}\n'.format(user_name,password,head_path))
-
- # 创建注册按钮,点击按钮时调用register函数
- Button(text='注册', command=register).place(x=100, y=180, width=190)
- achieve effect
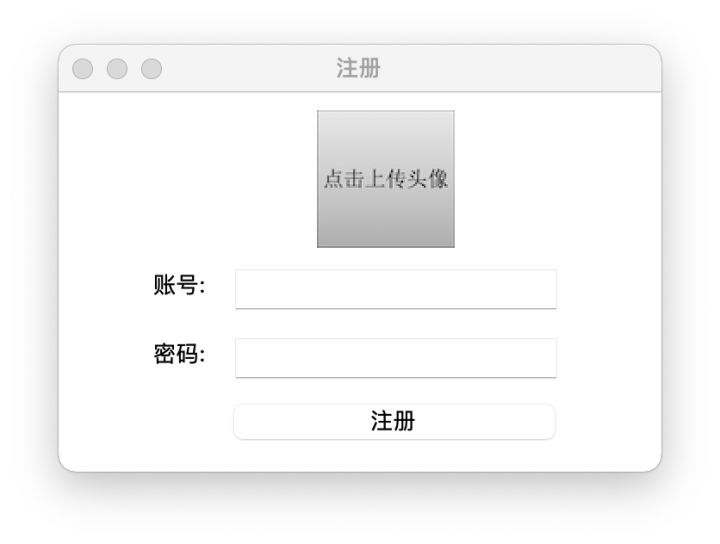
Added a registration interface to the interface
After the avatar, account number, and password are ready, click the registration button, and the information will be saved in the "data.txt" file
8 complete code
- 作者:python爱好者
- 链接:https://www.zhihu.com/question/60013978/answer/2222608439
- 来源:知乎
- 著作权归作者所有。商业转载请联系作者获得授权,非商业转载请注明出处。
-
- from tkinter import *
- from tkinter import filedialog
- from PIL import Image
-
- # 注册窗口
- win = Tk()
- win.title('注册')
- win.geometry('350x220')
- win.resizable(0, 0)
- # 账号文本框
- Label(text='账号:').place(x=50, y=100)
- uname = Entry(win)
- uname.place(x=100, y=100)
- # 密码文本框
- Label(text='密码:').place(x=50, y=140)
- pwd = Entry(win, show='*')
- pwd.place(x=100, y=140)
- # 上传头像
- def upload_pic():
- pic_path = filedialog.askopenfilename(initialdir='C:/')
- img = Image.open(pic_path)
- img = img.resize((80, 80))
- img.save('head.png')
- head = PhotoImage(file='head.png')
- head_button.config(image=head)
- head_button.image=head
- default_pic = PhotoImage(file='default_pic.png')
- head_button = Button(image=default_pic, command=upload_pic)
- head_button.place(x=150, y=10, width=80, height=80)
- # 注册
- def register():
- user_name = uname.get()
- password = pwd.get()
- head_path = 'head.png'
- with open('data.txt', 'a', encoding='utf-8') as f:
- f.write('{},{},{}\n'.format(user_name,password,head_path))
-
- Button(text='注册', command=register).place(x=100, y=180, width=190)
-
- win.mainloop()

Q&A source code sharing can pay attention to the official account: Python source code acquisition
Category of website: technical article > Blog
Author:Disheartened
link:http://www.pythonblackhole.com/blog/article/78459/050523fc3b5e0935bfdd/
source:python black hole net
Please indicate the source for any form of reprinting. If any infringement is discovered, it will be held legally responsible.
name:
Comment content: (supports up to 255 characters)
no articles