
stable diffusion安装踩坑
posted on 2023-06-03 19:51 read(659) comment(0) like(14) collect(4)
#This article is a personal installation of stable diffusion stepping pit log, the content is messy, and the reference value is not great.
#Stepping on the pit took three days time
#Q: 491516541Environment
: notebook win10, 12G memory, GTX850m (2G video memory)
#Preparation work:
install Python 3.10.10
and install git reference tutorial https://blog.csdn.net/qq_38952352/ article/details/127656385
#Installing stable diffusion reference tutorial:
https://blog.csdn.net/weixin_44724619/article/details/129308657
https://blog.csdn.net/qq_44232564/article/details/129316829
https:// www.bilibili.com/read/cv22604427
https://www.bilibili.com/read/cv22614127
#Knowledge:
During the installation process, if you want to try again, you can delete the VENV folder and try again.
Command to upgrade pip: python.exe -m pip install --upgrade pip
4G video memory can generate 512*512 pictures, 6G video memory can generate 576*1280 pictures, 8G video memory can generate 768x2048 (quasi 2K) P104 8G uses Novelai model , can generate a maximum image of 1600x1600
View CUDA version: nvidia-smi
#Modify pip image
#Modify to Alibaba cloud image
pip config set global.index-url http://mirrors.aliyun.com/pypi/simple/
pip config set install.trusted-host mirrors.aliyun.com
#Modify to official site
pip config set global.index-url https://pypi.org/simple
#Error 1: AssertionError: Torch is not able to use GPU; add --skip-torch-cuda-test to COMMANDLINE_ARGS variable to disable this check #Solution
:
Modify webui.bat, add a line after set ERROR_REPORTING=FALSE:
set COMMANDLINE_ARGS = --lowvram --precision full --no-half --skip-torch-cuda-test
#Note: I commented out this line later, and the GPU can also be used to generate images. I don't know why
#Error 2: When executing git clone related commands, the error is similar to "Connection was reset"
#Solution:
#1 Add github.com to hosts
#1.1 Find the IP through this URLhttps://www.ipaddress.com/site/github .com
#1.2 Find the C:\Windows\System32\drivers\etc\hosts file, add a line: 140.82.112.3 github.com
#2 Refresh to DNS, execute under CMD: ipconfig/flushdns
#3 Execute these two commands under CMD
git init
git remote add origin https://github.com/
#Find a folder, find a command to test git clone https://github.com/TencentARC/GFPGAN.git
#Commands that may be wrong, need to be alone in the cmd window Execution, if it fails once, it may need to be executed multiple times. The following commands are extracted from the error log when executing webui.bat: E:
\project\stable_diffusion\stable-diffusion-webui-master\venv\Scripts \python.exe -m pip install git+https://github.com/mlfoundations/open_clip.git@bb6e834e9c70d9c27d0dc3ecedeebeaeb1ffad6b --prefer-binary
git clone https://github.com/CompVis/taming-transformers.git E:\project\stable_diffusion\stable-diffusion-webui-master\repositories\taming-transformers
git -CE:\project\stable_diffusion\stable-diffusion- webui-master\repositories\taming-transformers fetch
git clone https://github.com/crowsonkb/k-diffusion.git E:\project\stable_diffusion\stable-diffusion-webui-master\repositories\k-diffusion
git -CE :\project\stable_diffusion\stable-diffusion-webui-master\repositories\k-diffusion fetch
git clone https://github.com/salesforce/BLIP.git E:\project\stable_diffusion\stable-diffusion-webui-master\ repositories\BLIP"
#Note: This is a very troublesome error. It took two days, various methods, and repeated tests before it passed
#Error 3: Change to aliyun cloud image when similar gradio==3.23 appears during installation
#Error 4: I forgot the prompt information, probably an error was reported when downloading the model, you can manually download the file v1-5-pruned-emaonly.safetensors (about 4G) and put it in the stable-diffusion-webui-master\models\Stable-diffusion directory Next
solution:
#1. Use Thunder to download https://huggingface.co/runwayml/stable-diffusion-v1-5/resolve/main/v1-5-pruned-emaonly.safetensors
#2. Baidu network disk download: https: //pan.baidu.com/s/1p7tvgXlHPjr59d_0JTicjw Extraction code: wifx Author: Cynika https://www.bilibili.com/read/cv19880721 Source: bilibili
So far, the installation has been successful. When starting to run webui.bat (this file is used for installation, and this file is still used for starting the service), a prompt appears in the background:
Running on local URL: http://127.0.0.1:7860
Open with a browser This link, you can try out a picture.
I also encountered many problems in the middle, and checked many webpages to solve the errors, but I solved them as I checked, and I forgot to record the process.
#Error 5: Start webui.batNo module 'xformers'. Proceeding without it.
#Analysis: This is not an error, without xformers does not affect the operation, but having xformers can improve the efficiency of drawing, and it seems that it can also affect the quality of drawing.
#Solution:
Add a line to the webui.bat file: set COMMANDLINE_ARGS=--xformers
directly install pip install -v xformers==0.0.16
#Note: Previously refer to the tutorial https://blog.csdn.net/watson2017/article/details /129358022 It took a day to install xformers 0.0.18+c7cf593.d20230401. Although xformers was installed normally, the picture could not be displayed at the last moment of the drawing, and the background reported an error xFormers wasn't build with CUDA support. Although I took a detour, I learned a lot of knowledge in the process.
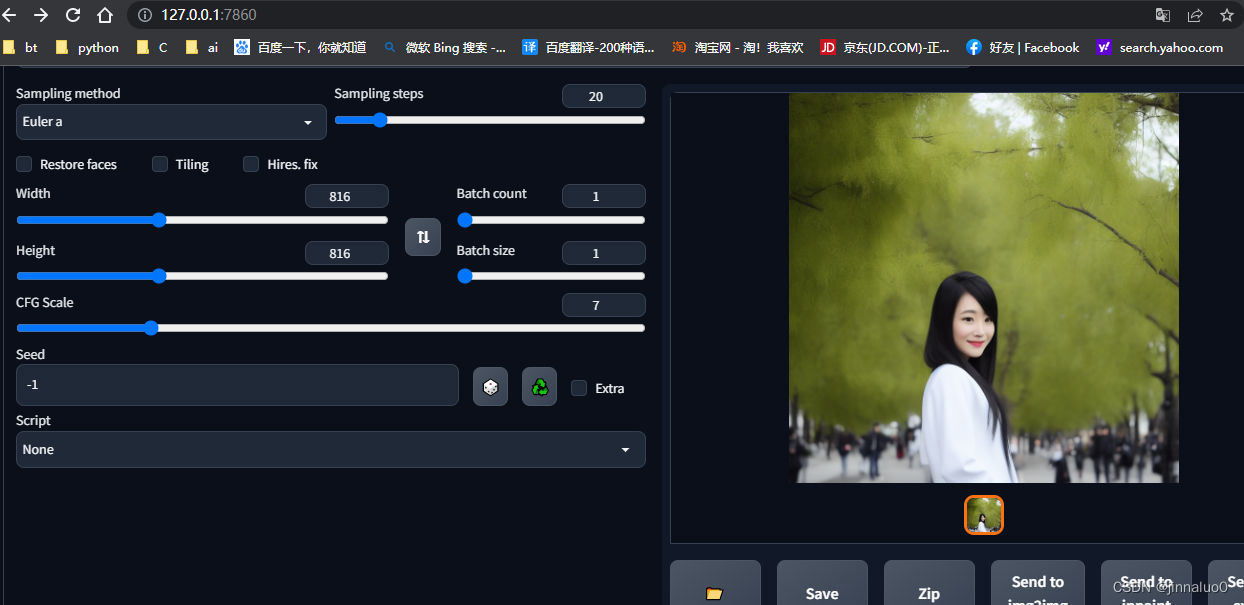
The machine configuration is too low, it takes about 5-10 minutes to produce a picture, and the size cannot be adjusted too large, otherwise the background will report an error of insufficient memory, so post a picture with normal content:
Sinicization
1. Use `git clone https://github.com/VinsonLaro/stable-diffusion-webui-chinese` in any directory
2. Enter the downloaded folder, copy "Chinese-All.json" and "Chinese-English.json" in the "localizations" folder to the "stable-diffusion-webui\localizations" directory
3. Click "Settings", click the "User interface" interface on the left, and select "Chinese-All" or "Chinese-English" in the "Localization (requires restart)" at the bottom of the interface
4. Click the yellow button "Apply settings" at the top of the interface, and then click "Reload UI" on the right to complete the Sinicization
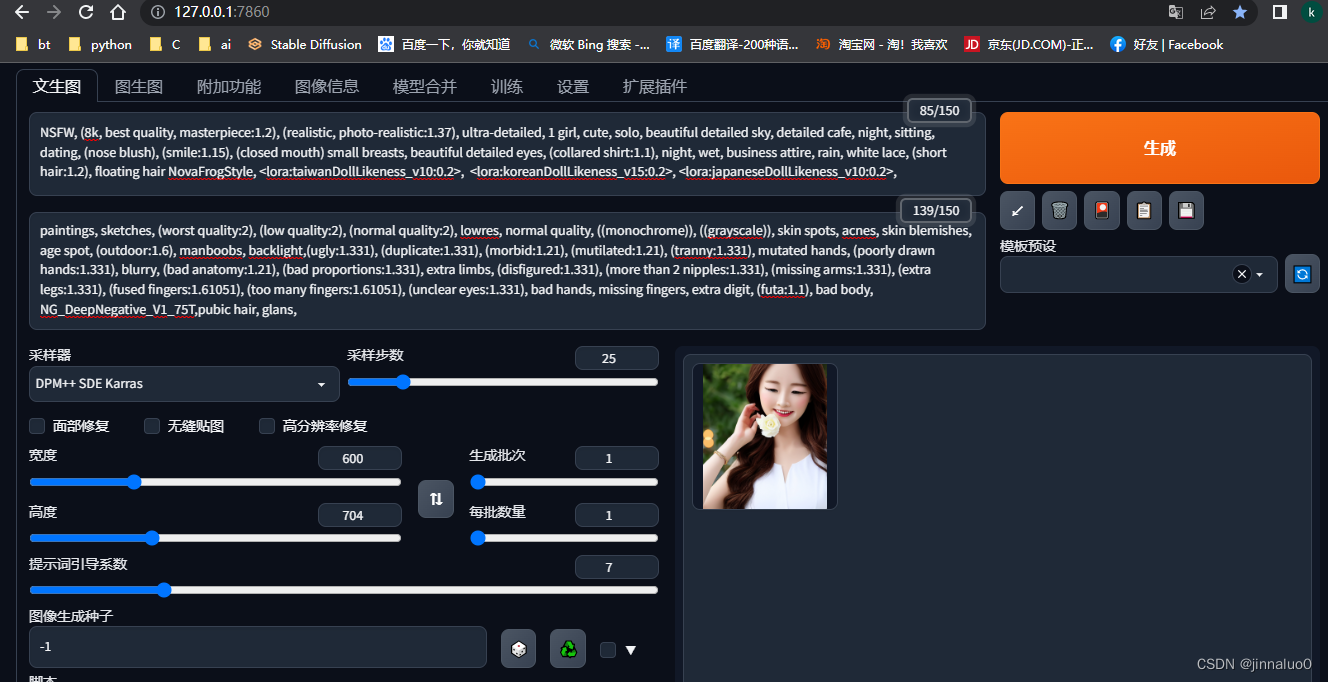
The effect is as follows:
Category of website: technical article > Blog
Author:Disheartened
link:http://www.pythonblackhole.com/blog/article/78456/ade77deca752ef884d8e/
source:python black hole net
Please indicate the source for any form of reprinting. If any infringement is discovered, it will be held legally responsible.
name:
Comment content: (supports up to 255 characters)
no articles