
anaconda中安装pytorch(GPU版)(离线安装)(最简单)
posted on 2023-05-03 20:36 read(757) comment(0) like(28) collect(3)
This article describes the installation of pytorch in anaconda .
Recently, because of learning needs, I have to download the pytorchGPU version to train the network. I believe that everyone is familiar with pytorch. PyTorch is an open-source Python-first deep learning framework from the Torch7 team , which provides two advanced functions:
- Powerful GPU accelerated Tensor computing (similar to numpy)
- Building Deep Neural Networks on Tape-Based Automatic Upgrading Systems
So I checked the corresponding version on the Internet, created a virtual environment in anaconda , and then copied the conda command installation on the pytorch official website, but encountered many problems. I checked the Internet, and many articles are about modifying the source, or changing the mirror image, and then increasing the error reporting time, etc. However, many of them were unsuccessful after I tried, and various error reports occurred, and a lot of time was wasted. Finally, directly download the corresponding whl file, install it locally, and finally install it successfully.
Step 1: Check the cuda version of the graphics card corresponding to the computer
Win+r to open and run, enter cmd to open the command line, enter nvidia-smi, and check the cuda version. (The premise is that there is a GPU in the computer)

My cuda version is 11.7
Step 2: Find the corresponding torch and torchvision in the following website, and download the whl file
点击torch和torchvision下载
进去后里面全是torch和torchvision下载链接,你需要根据自己cuda版本下载对应的whl文件。
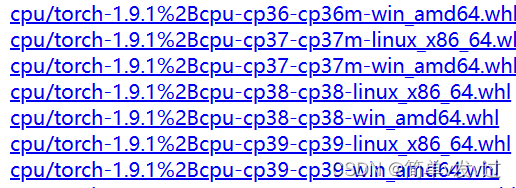
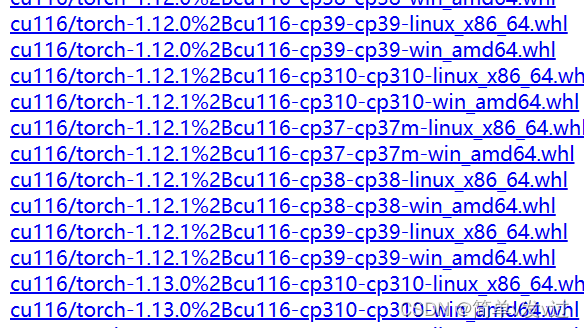
cpu代表cpu版本的torch,cu开头的是gpu版本;torch后面的数字表示版本;cp代表需要的python版本,后面linux和win表示操作系统;
根据自己cuda版本和在虚拟环境中创建的python版本对应下载即可。
注意,需要下载两个whl文件,分别是torch和torchvision的whl文件。
第三步:在anaconda中创建新环境
首先打开anaconda prompt,类似与Windows命令行。打开后默认进入base环境,我们创建一个新的环境(一般我们都不在base环境跑项目)。
输入
conda create -n your_env_name python=x.x
这一步可以在创建环境的时候同时安装python。your_env_name更改为你自己想起的环境名字,python后面的x.x表示python的版本号,对应上面下载的whl文件中的python版本号。(你也可以先创建虚拟环境,然后根据python版本去下载whl文件)
另外,一些常用的anaconda命令请参考这篇文章(感谢作者)
第四步:安装
创建好环境后,安装下载的whl文件
仍然在anaconda prompt中,切换到你创建的环境之中
conda activate your_env_name
切换之后,原来开头括号里的base变成你环境的名字。
然后使用下面命令分别安装两个whl文件
pip install your_whl_location
your_whl_location indicates the address of the two whl files you downloaded (you can switch the path to the folder where the whl file is located, and then just use the name of the whl file; you can also use the absolute address directly without switching the path) (absolute address: right click Click the whl file, click properties, click security, the object name is the absolute address)
Note that both whl files need to be pip installed once, and the whl file of torch must be installed first (if torchvision is installed first, it does not detect torch exists, it will automatically download the torch corresponding to the cpu version).
During the installation process, it will automatically install some other necessary packages, like numpy, pillow, etc. Of course, you can also use the pip install command to install these necessary packages first, and then install torch.
Step Five: Verify
After the installation is complete, enter
python
Enter the python environment and enter the following code
import torch
torch.cuda.is_available()
No error is reported, True means that the GPU version of torch is successfully installed.

Category of website: technical article > Blog
Author:Soledad
link:http://www.pythonblackhole.com/blog/article/266/695f7fe355a943a9df6f/
source:python black hole net
Please indicate the source for any form of reprinting. If any infringement is discovered, it will be held legally responsible.
name:
Comment content: (supports up to 255 characters)