本地从0搭建Stable Diffusion WebUI及错误记录
posted on 2023-05-03 20:10 read(497) comment(0) like(19) collect(5)
Build a local Stable Diffusion WebUI environment from scratch
1. Environment configuration
1. The computer configuration used
| system | Windows10 |
| processor | Intel i7 |
| Memory | 24GB |
| graphics card | NVIDIA GTX 1060(6GB) |
2. Mirror source
Alibaba Cloud
Tsinghua University
University of Science and Technology of China
3. Computer environment variable configuration
My Computer – Properties – Advanced System Settings – System Properties (Advanced) – Environment Variables
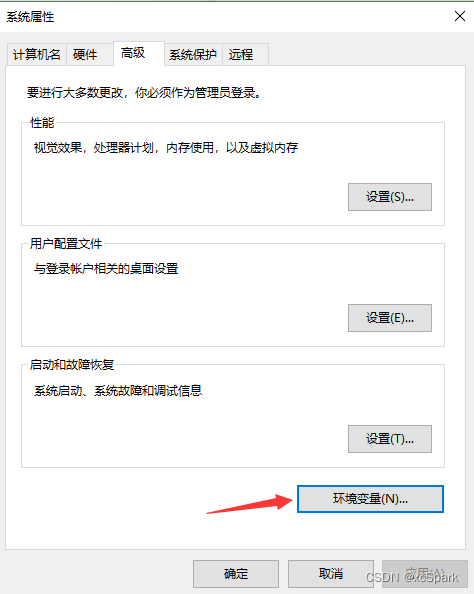
Create a new environment variable and click OK

Edit path, click New

Increase NVSMI_HOME configuration

2. Software download and installation
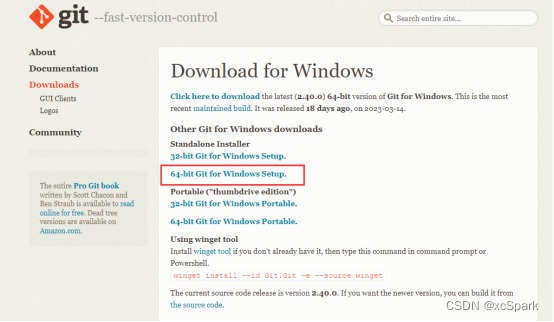
1. Install git
After downloading, double-click to install, and click next to install by default.
Open the cmd command window and enter
git --version
2. Download miniconda
download miniconda
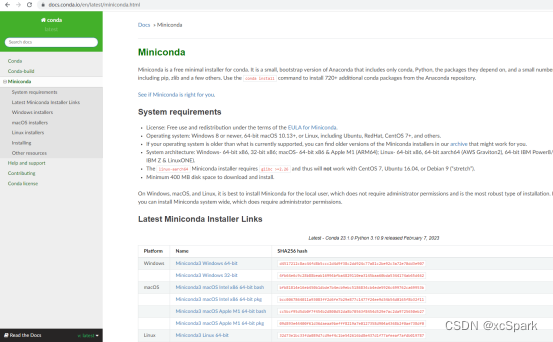
Windows computer selection is as follows

2.1. Installation
Double click to install

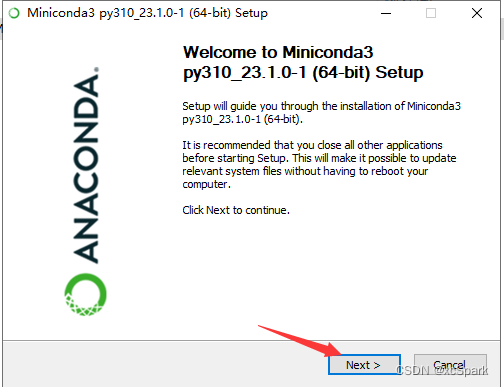
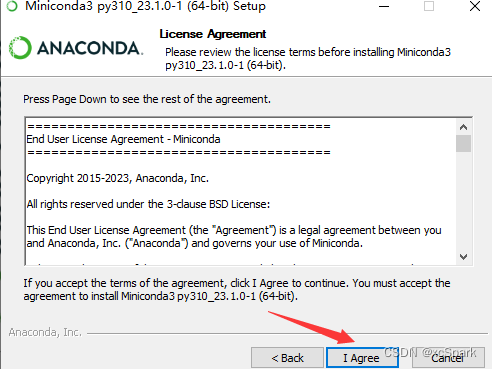

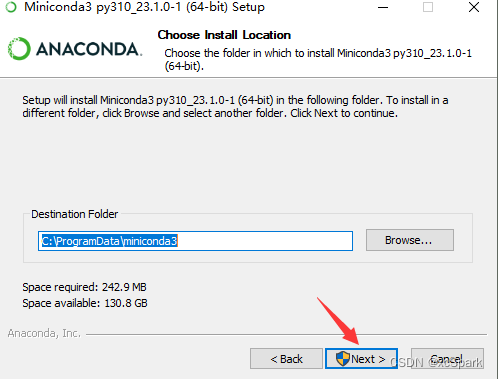
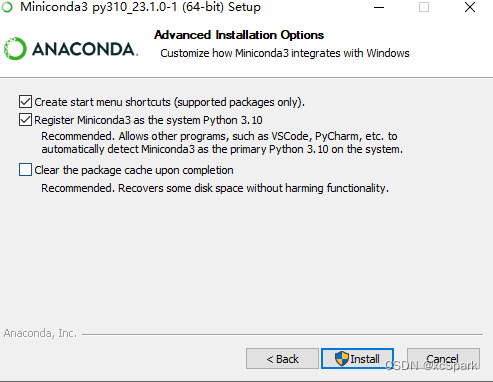
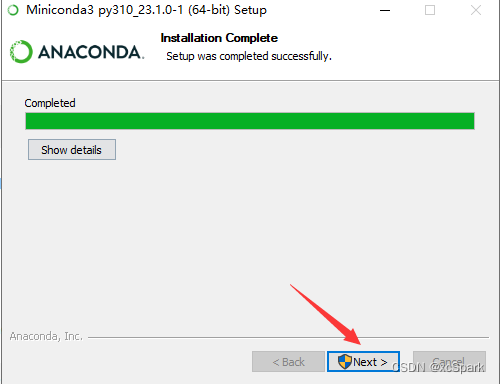
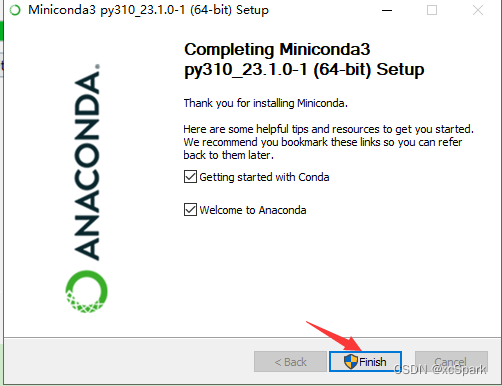
open mini conda

conda -V

conda config --set show_channel_urls yes
# 清除索引缓存
conda clean -i
# 输入y

3. Build sdwebui python environment
python3.10 used here
conda create --name sdwebui python=3.10.9


enter and
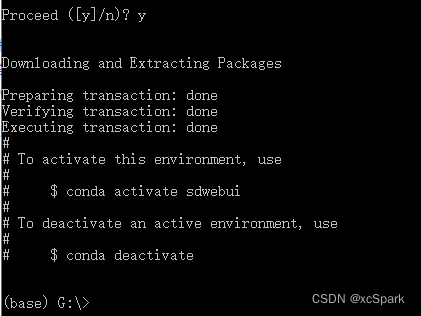
Upgraded conda here
conda update -n base -c defaults conda

enter and

4. Activate the environment
# 输入
conda env list
conda activate sdwebui

5. Upgrade pip
upgrade pip
python -m pip install --upgrade pip
Set the mirror source (the original Tsinghua mirror, set the Alibaba cloud mirror here)
pip config set global.index-url http://mirrors.aliyun.com/pypi/simple/
6. Install CUDA
CUDA is the program that NVIDIA graphics cards need to execute algorithms
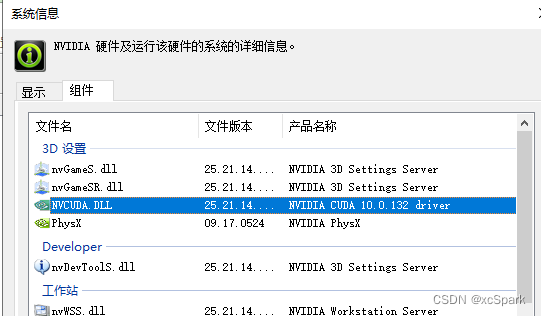
6.1 First check the CUDA version of the computer
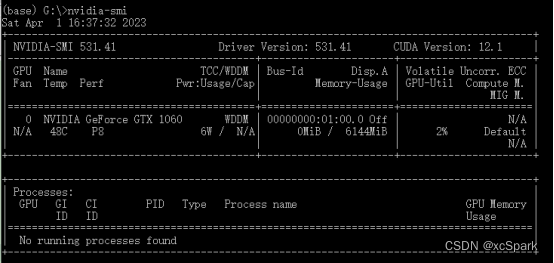
Enter nvidia-smi in the miniconda command window
nvidia-smi

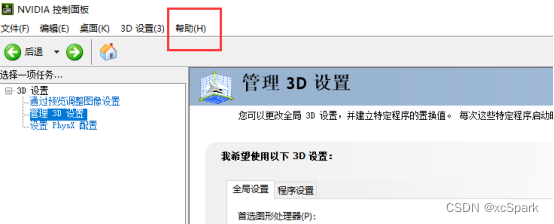
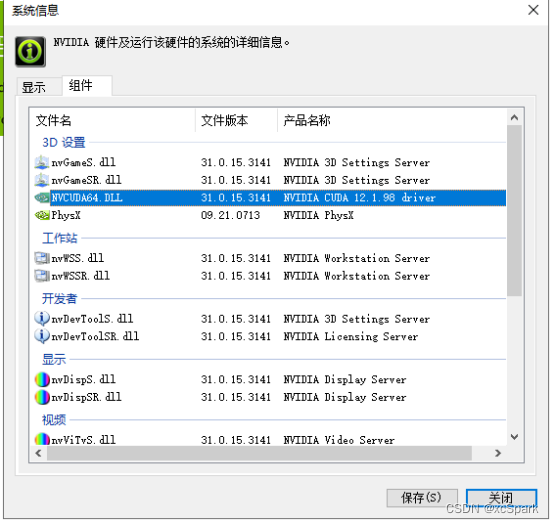
Or open NVIDIA Control Panel – Help – System Information
6.2下载对应版本CUDA
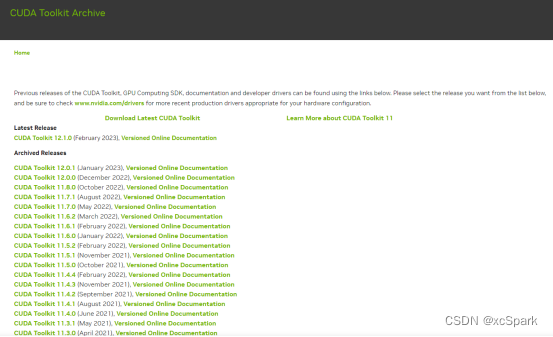
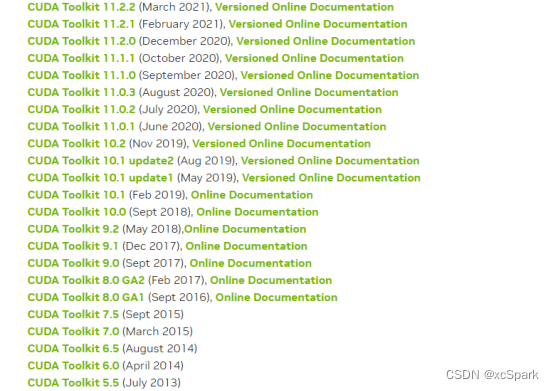
此处下载10.0版本
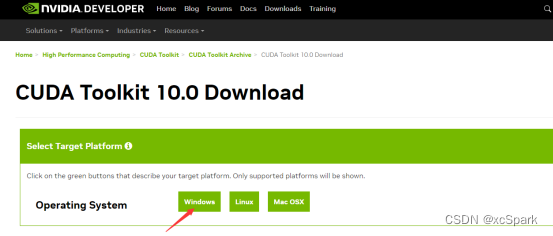
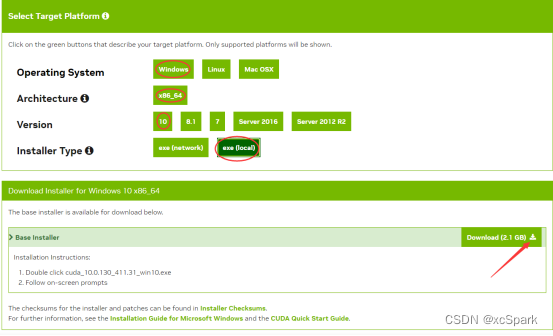
6.3安装CUDA
下载完,双击安装包,选择自定义的目录(不选择使用默认位置,确保空间足够即可)
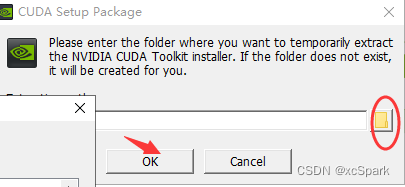
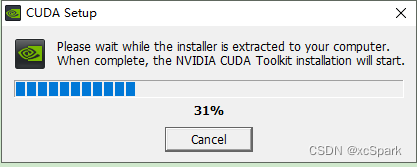
等待执行完成
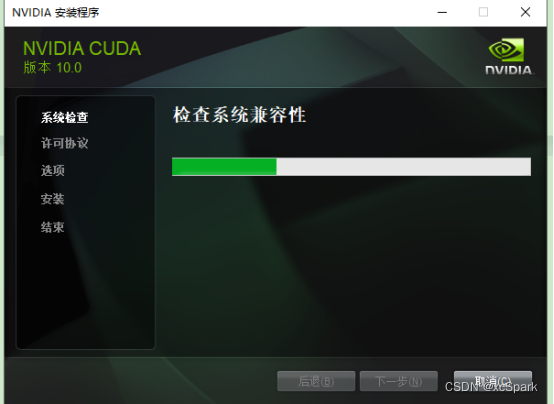
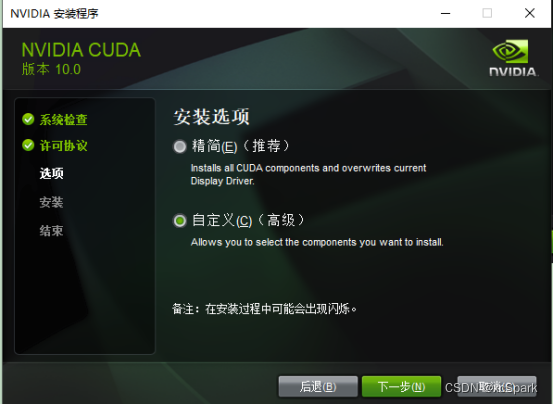
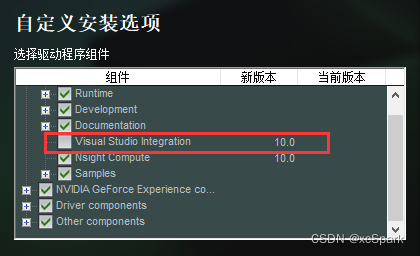
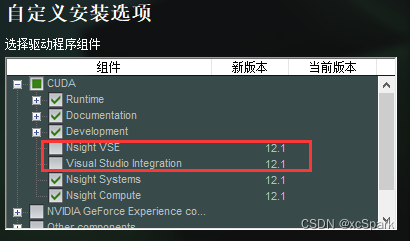
Visual Studio 取消勾选(本电脑未安装visual studio)
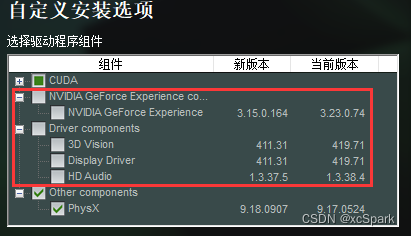
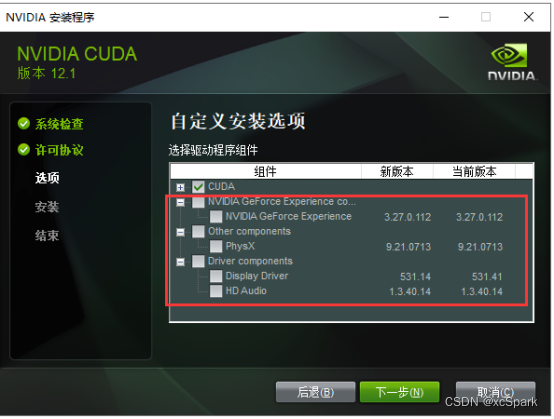
取消勾选NVIDIA GeForce和Driver components,当前版本已经比安装的要高了,就不安装低版本了
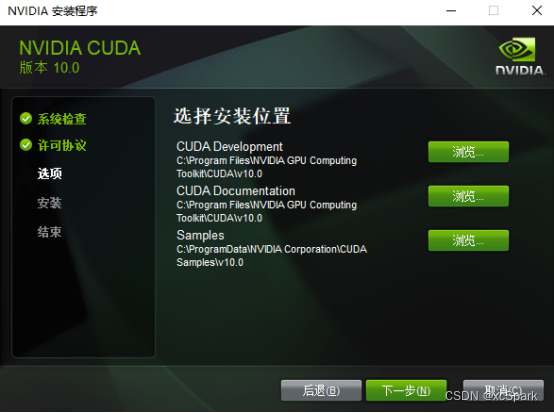
默认的安装位置
安装失败。。。。
6.4.升级驱动
NVIDIA驱动下载
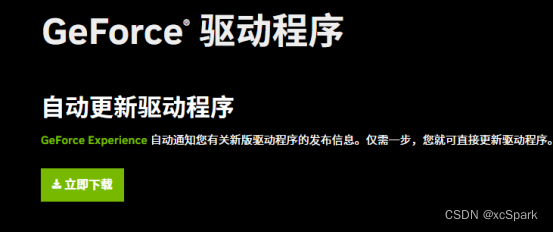
知道电脑配置可以手动搜索
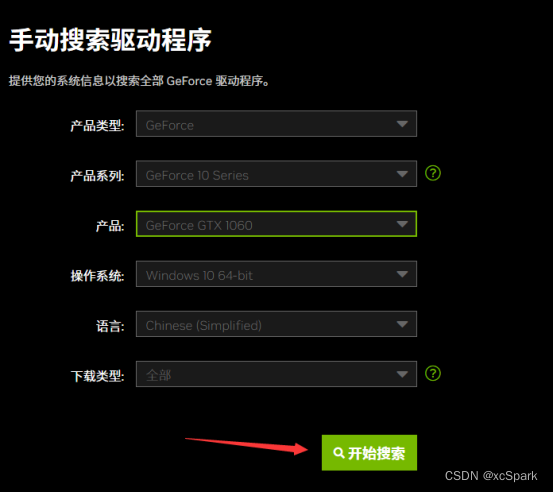
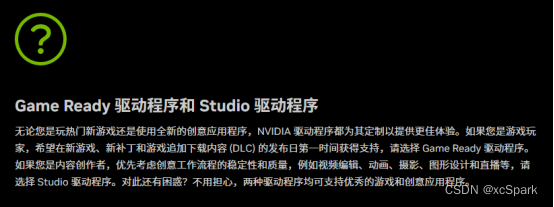
下载NVIDIA Studio驱动程序,下载前查看NVIDIA Studio对应的版本和电脑的配置是否对应。
安装
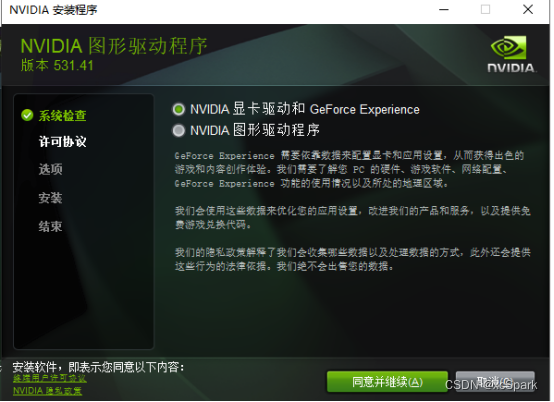
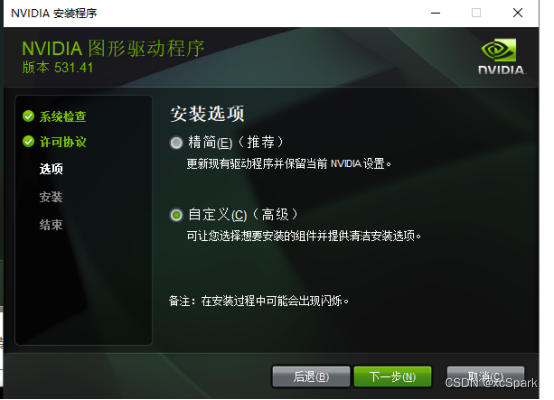
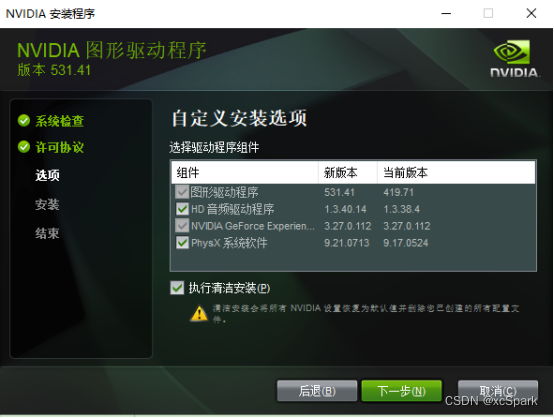
等待安装完成

6.4.1 检查NVIDIA版本
打开NVIDIA控制面板,检查版本
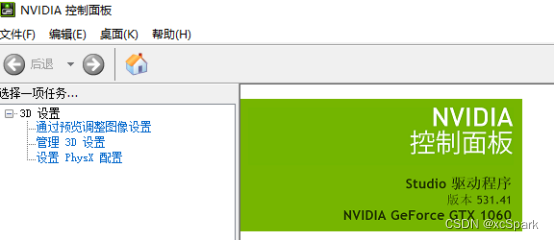
此时要求的CUDA版本为12.1版本了,因此需要重新下载12版本的CUDA
命令行检查,CUDA Version也为12.1版本
6.5 重新下载新版CUDA
重启一下电脑
打开CUDA页面,找到版本为12.1,重新下载

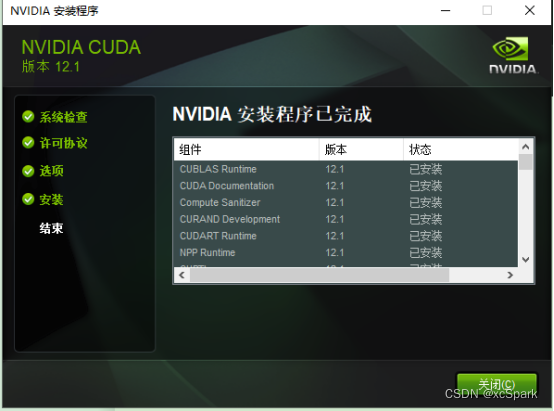
安装选择默认路径,自定义安装,只安装CUDA,其他的驱动已经是新版了不需要重复安装。
Nsight VSE、Visual Studio 取消勾选

7.下载stable-diffusion-webui
git clone https://github.com/AUTOMATIC1111/stable-diffusion-webui.git
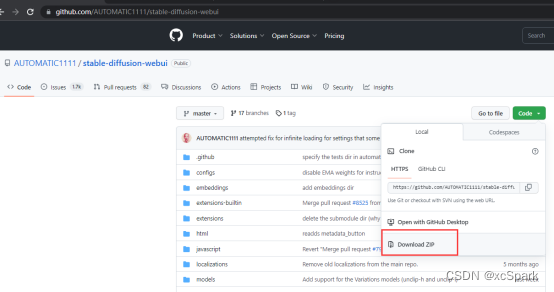
或者直接下载压缩包
8.下载训练模型Stable Diffusion
Stable Diffusion下载地址
下载模型,此处选择stable-diffusion-2-1版本
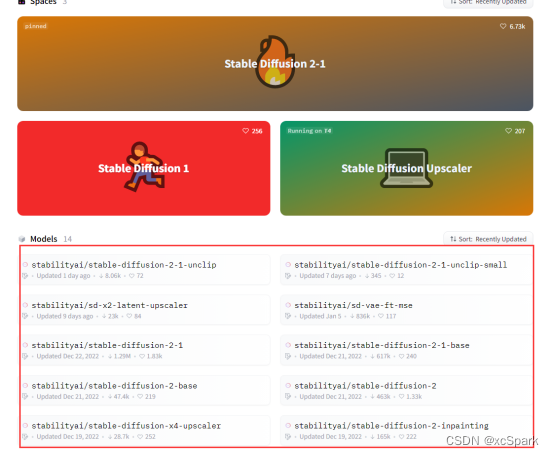
此处点击stabilityai/stable-diffusion-2-1,点击右侧的下载按钮
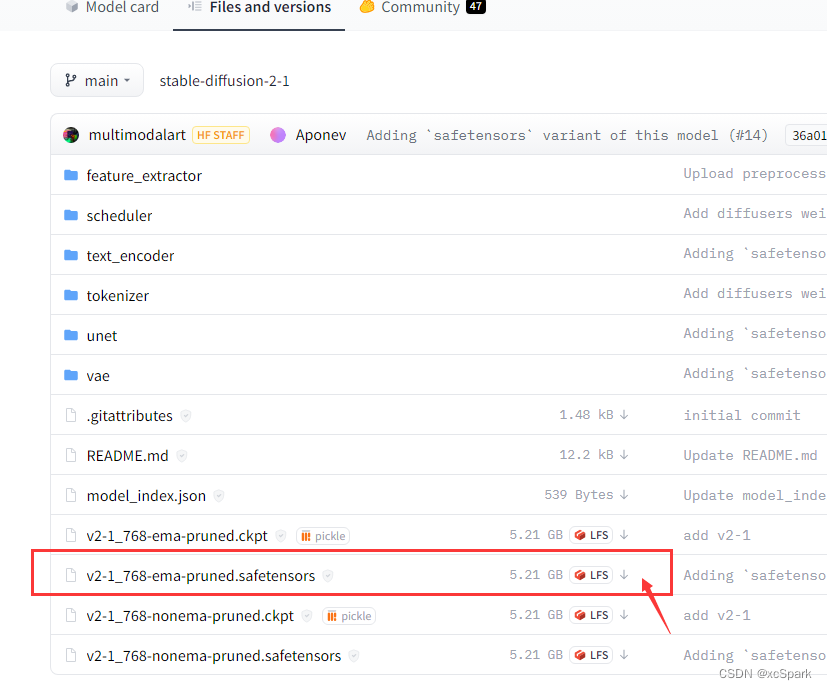
将下载的v2-1_768-ema-pruned.safetensors文件复制到models/Stable-diffusion模型文件夹下
如G:\sd_webui\models\Stable-diffusion,具体路径根据实际情况
三.运行webui
打开miniconda窗口,进入stable diffusion的解压目录
1.执行webui-user.bat

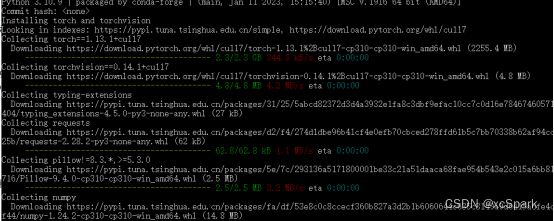
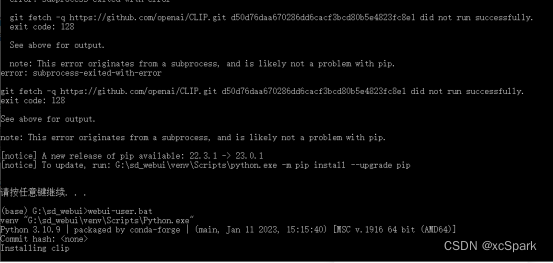
1.1修改launch.py
执行了几次失败,用文本编辑器打开launch.py文件(解压的文件夹下)

搜索prepare_environment,找到对应位置
将后面的地址加上代理地址https://ghproxy.com/


保存后,继续执行webui-user.bat
1.2报错No matching distribution found for gradio==3.23
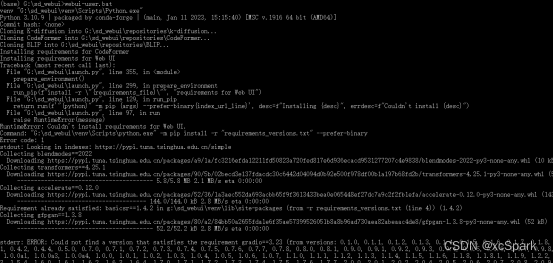
错误:ERROR: No matching distribution found for gradio==3.23
1.3更换新源(之前搭建用的清华镜像源)
pip config set global.index-url http://mirrors.aliyun.com/pypi/simple/
1.4升级下pip
G:\sd_webui\venv\Scripts\python.exe -m pip install --upgrade pip

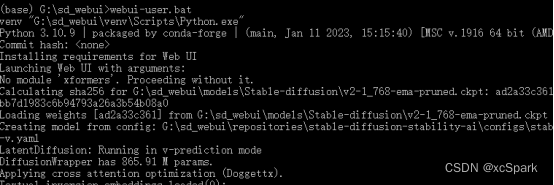
1.5修改webui-user.bat文件
报错信息
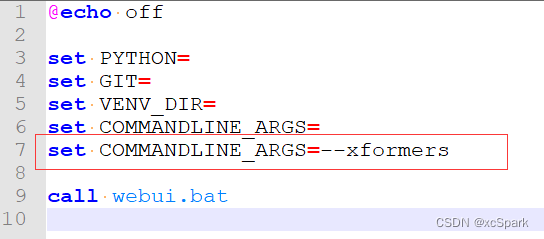
错误:No module ‘xformers’. Proceeding without it.
编辑器打开webui-user.bat文件,增加一行
set COMMANDLINE_ARGS=--xformers
2.再次执行webui-user.bat
修复完错误问题后,再次运行。
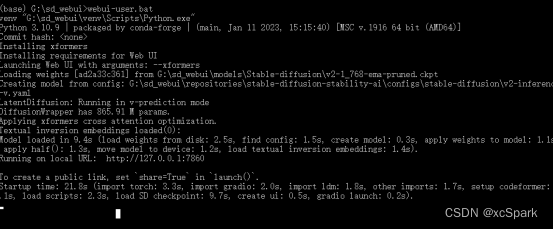
四.使用
4.1 访问webui
打开图中的URL地址:http://127.0.0.1:7860
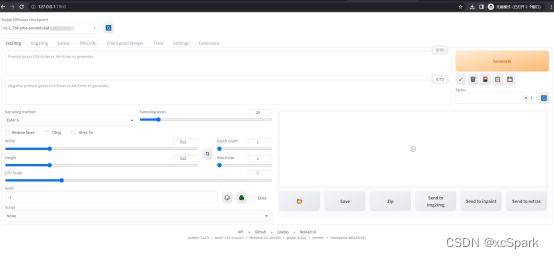
设置

4.2 安装扩展
4.2.1 安装扩展
若通过url方式安装失败,可以下载压缩包,解压安装。
方式一:Available 页面安装
点击Extensions,取消localization勾选,下面会列出来很多extension。

若取消localization勾选没显示,则在Extension index URL加代理地址,在点击"Load from"按钮。

在下面找到中文安装包,点击右侧Install按钮

方式二:Install from URL(略)
也可通过Install from URL 方式安装,粘贴url后点击Install按钮。
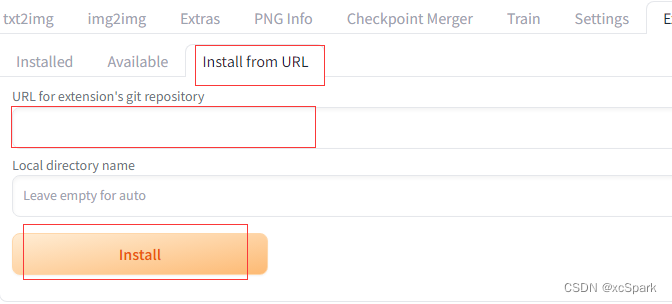
方式三:下载压缩包方式安装
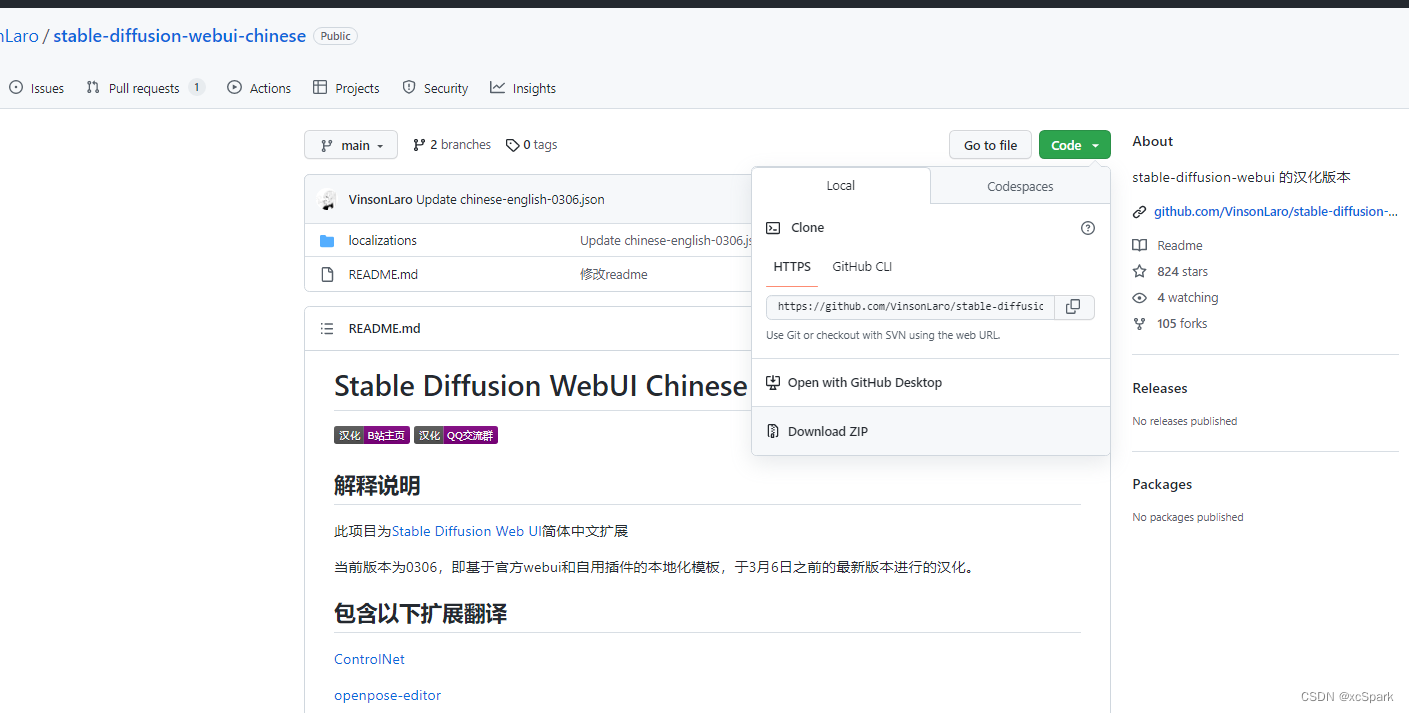
打开sd-webui-controlnet地址,点击Code按钮,点击Download ZIP下载ZIP包
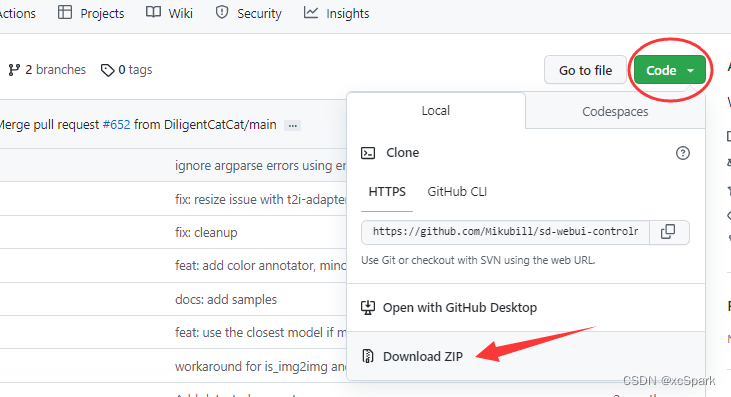

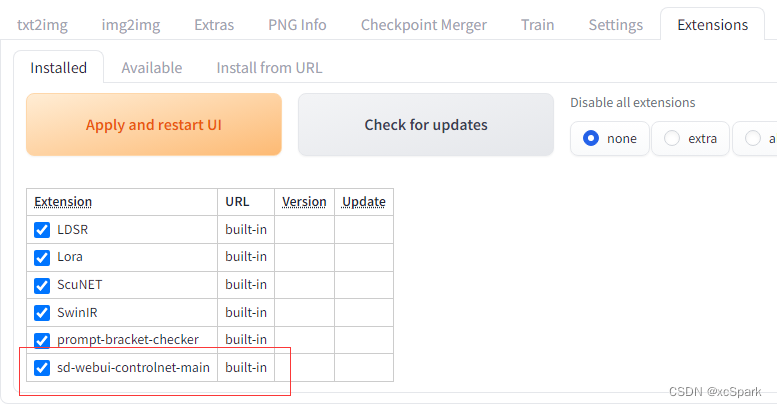
解压到webui项目的extensions-builtin目录下
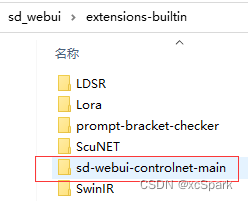
点击页面的Apply and restart UI 按钮。
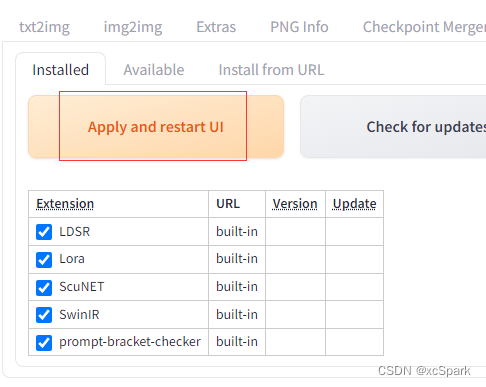
点击Extensions — Installed查看已经存在。
安装汉化包,安装方法同上(略)
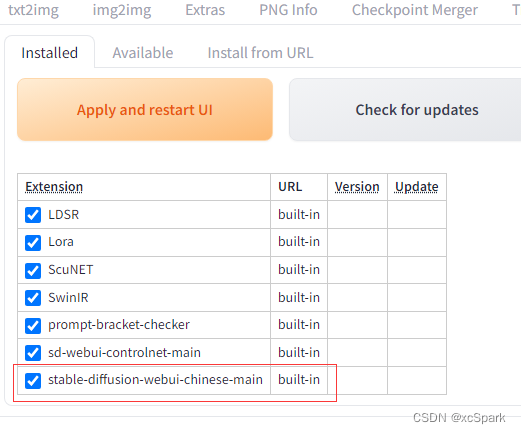
4.2.2 生效extension
生效汉化包
安装完成后,点击setting----->User interface---->Localization (requires restart)(选择中文)
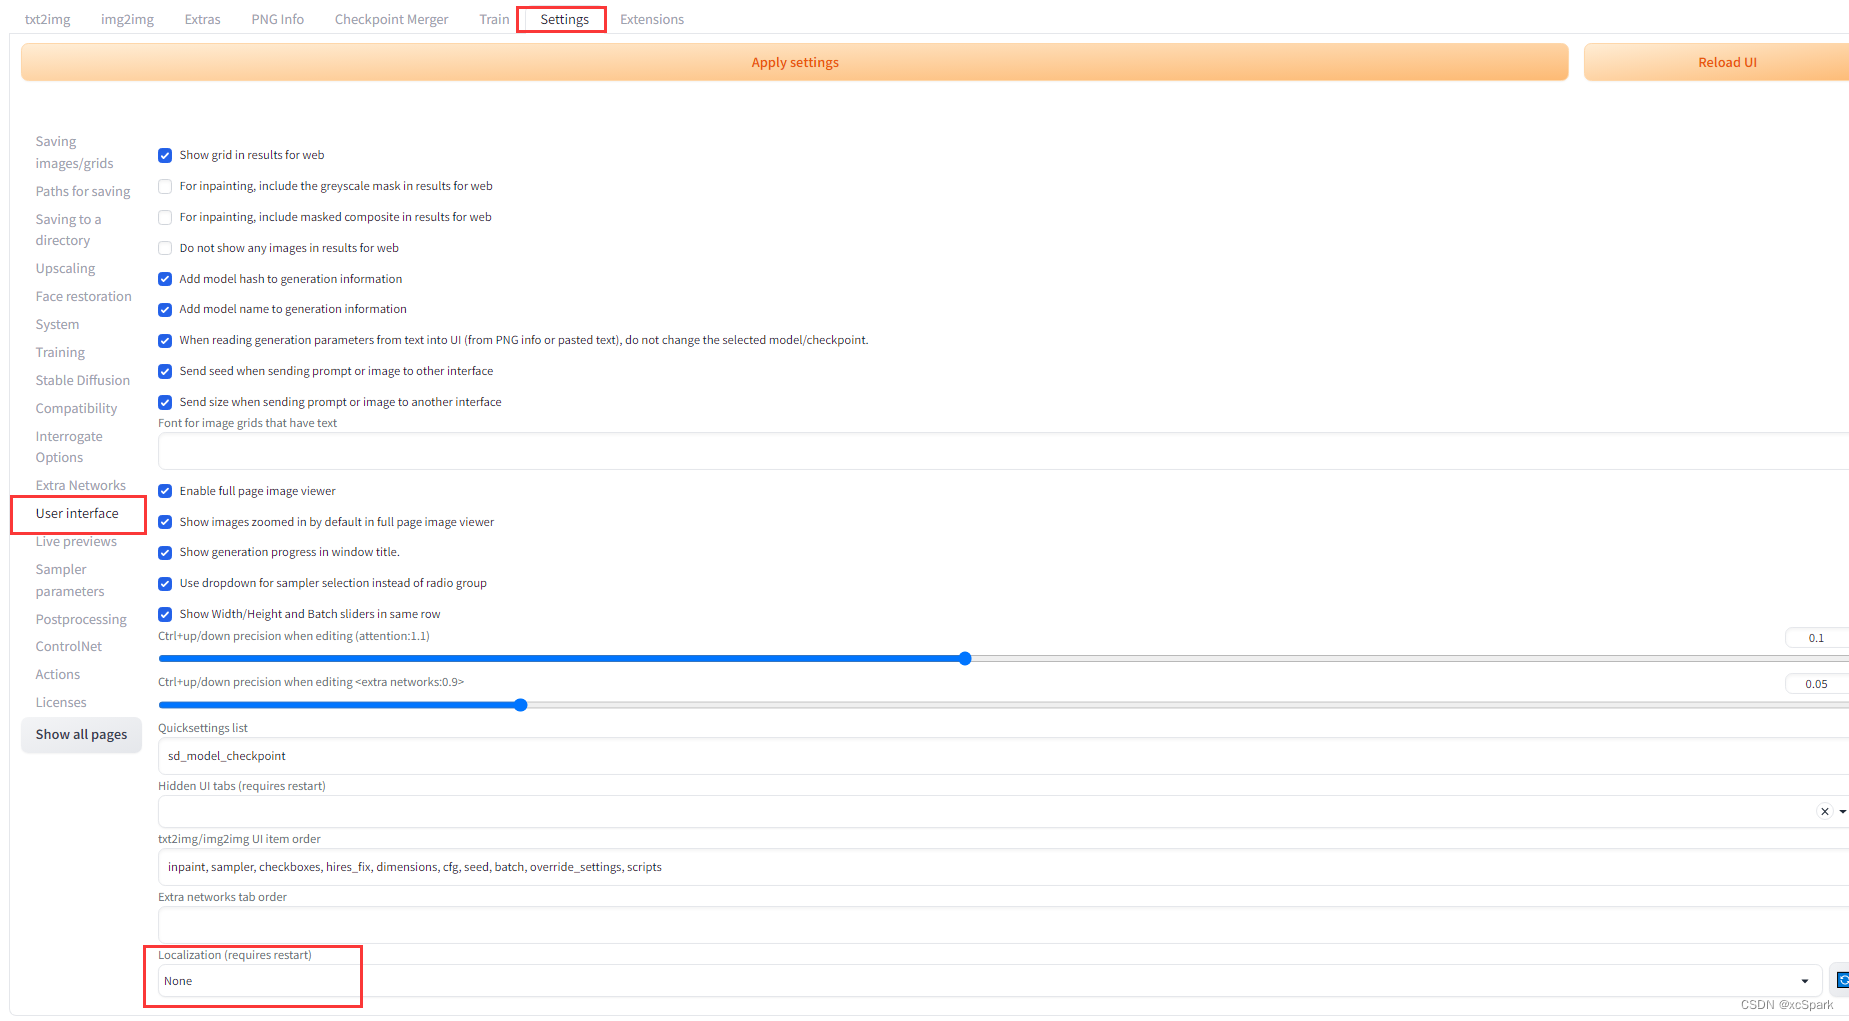

点击最上方的Apply setting 按钮,点击Reload UI按钮

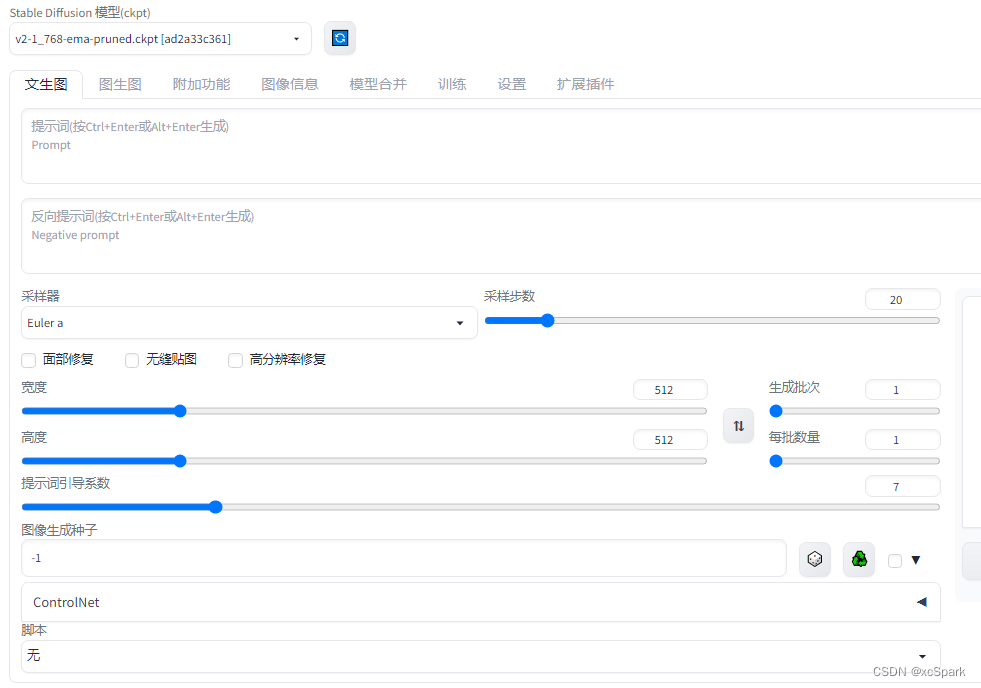
五.体验
输入water,敲CTRL+ENTER或者右侧的Generate按钮
同时可以在后台看到正在运行

效果
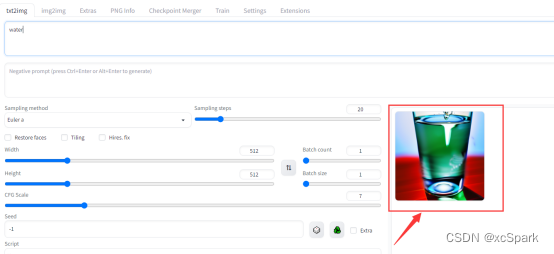
六.创建一键启动的脚本
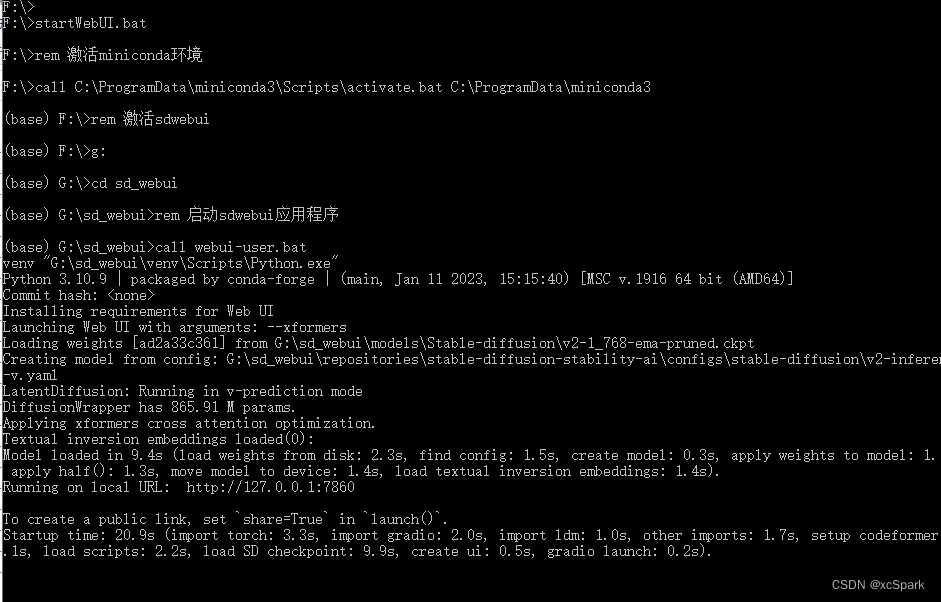
进入F盘(根据实际情况),新建一个文件名为startWebUI.bat文件。以后开机只要执行这个脚本就能启动sdwebui项目了。
用文本编辑器编辑如下内容
rem 激活miniconda环境
call C:\ProgramData\miniconda3\Scripts\activate.bat C:\ProgramData\miniconda3
rem 激活sdwebui
::conda activate sdwebui
rem 进入webui工程目录G盘
G:
cd sd_webui
rem 启动sdwebui应用程序

:: 注释call方式调用,使用start方式
::call webui-user.bat

::启动webui并调用浏览器无痕窗口自动打开webui的地址
:: 第二个start的第一个参数是谷歌浏览器路径,第二个参数--incognito是无痕模式,第三个参数是webui启动后默认地址

start webui-user.bat && start C:\Users\administrator\AppData\Local\Google\Chrome\Application\chrome.exe  --incognito "http://127.0.0.1:7860"
Open the cmd command window and execute
startWebUI.bat
At this time, a new command line window will be opened to execute the webUI, and a browser incognito window will be opened to access the address of the webUI. After the webUI is started, the browser will automatically display the page. (If the browser cannot access after the webUI starts normally, please refresh it)
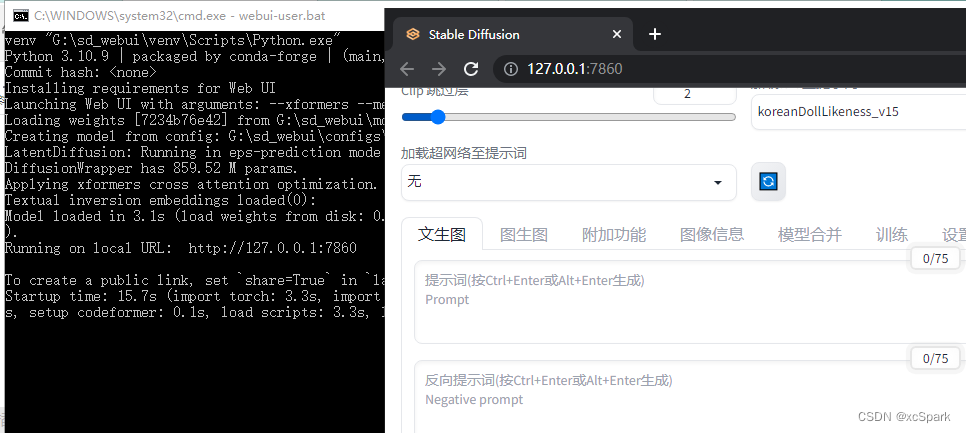
The original call method calls the reference
7. Other error records
It ran normally before, but suddenly failed with the following error:
RuntimeError: CachingAllocator option max_split_size_mb too small, must be > 20

Solution
Modify the webui-user.bat file to add configuration. The current computer graphics card memory is 6G, so set 6G first.
set PYTORCH_CUDA_ALLOC_CONF=max_split_size_mb:6144
Category of website: technical article > Blog
Author:Poison
link:http://www.pythonblackhole.com/blog/article/261/906a29dfe1a1fc2368df/
source:python black hole net
Please indicate the source for any form of reprinting. If any infringement is discovered, it will be held legally responsible.
name:
Comment content: (supports up to 255 characters)
no articles
