
pytorch超级详细的安装教程
posted on 2023-05-21 18:12 read(281) comment(0) like(27) collect(1)
Pytorch super detailed installation tutorial
It took almost a whole day to install it for the first time, and the installation failed. The installation was quick this time.
The first is the download of Anaconda. I used the installation package given by the teacher when I was learning python last semester. It was installed quickly, or it is very fast to download Anaconda from the official website. The link is as follows: Anaconda official website followed by Anaconda
installation
, The whole download process is all the way to next, I just changed the download path. The default path is the C drive, and I adjusted it to another drive.
After the installation is complete, you can see the newly added things in the menu.
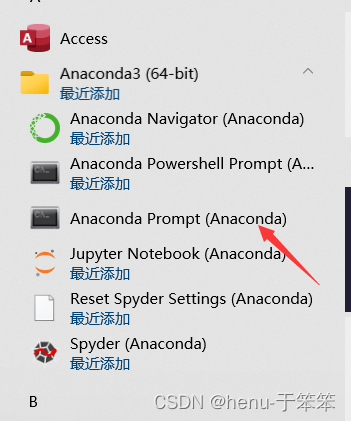
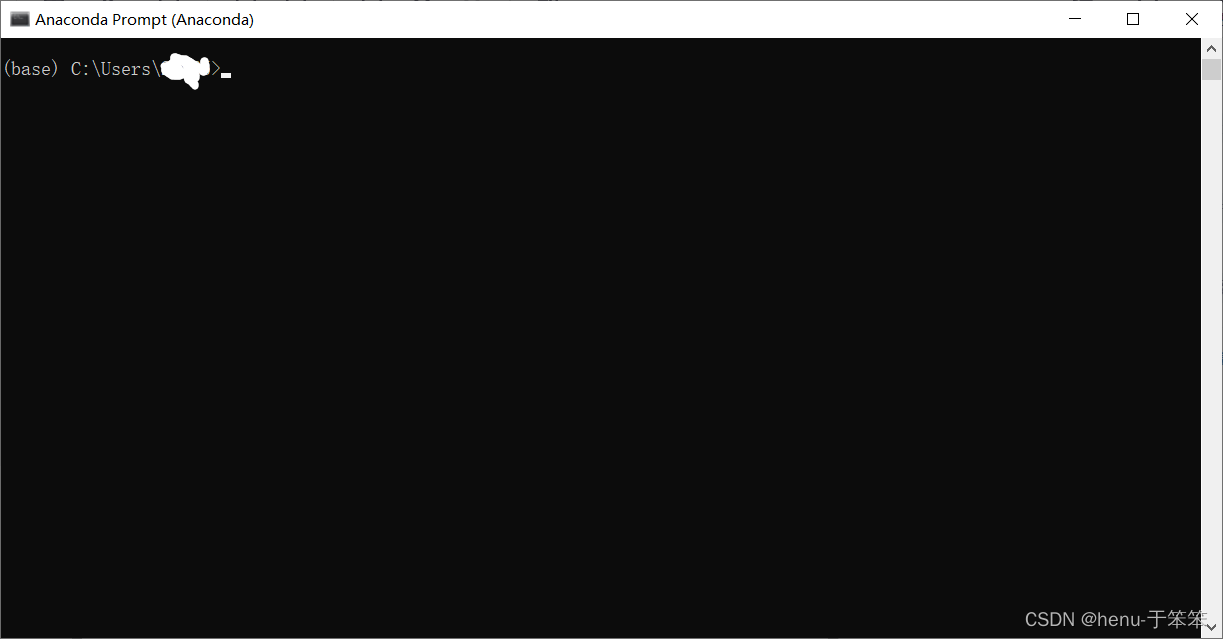
Open the Anaconda Prompt application and enter and start with (base).
The next step is to create the pytorch package.
My version is 3.8, so the 3.8 version is also installed below. , pytorch is the name in the later build.
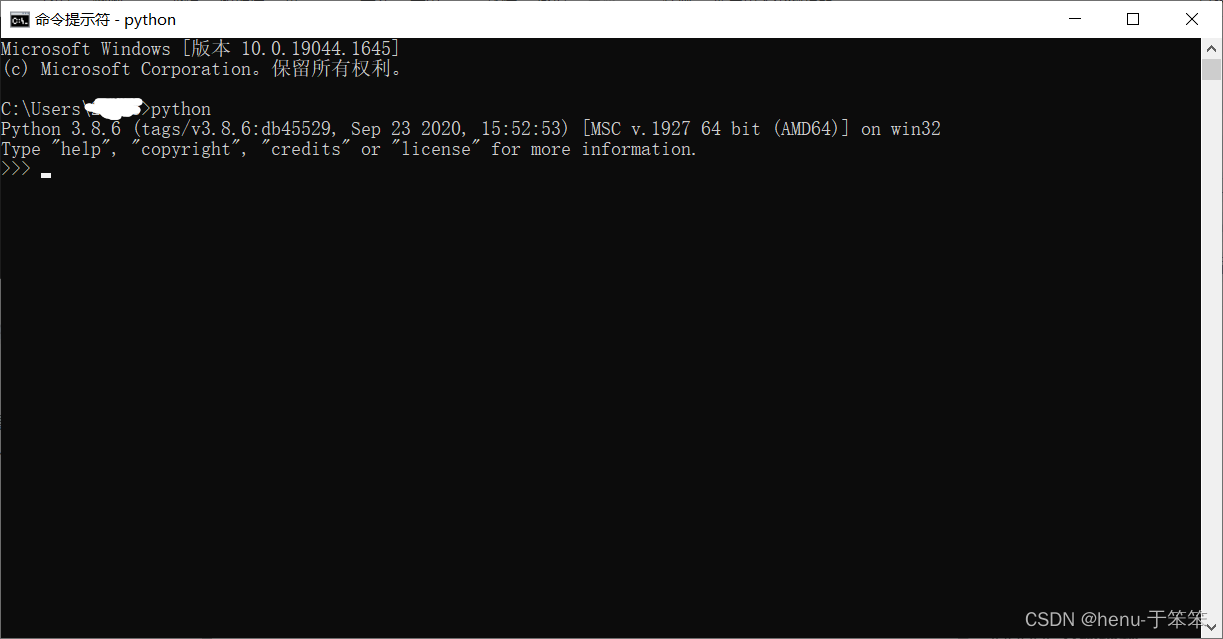
If you don’t know your python version, win+R, open the cmd console, and enter python to see your version information.
conda create -n pytorch python=3.8
After that, a prompt pops up, enter y to install.
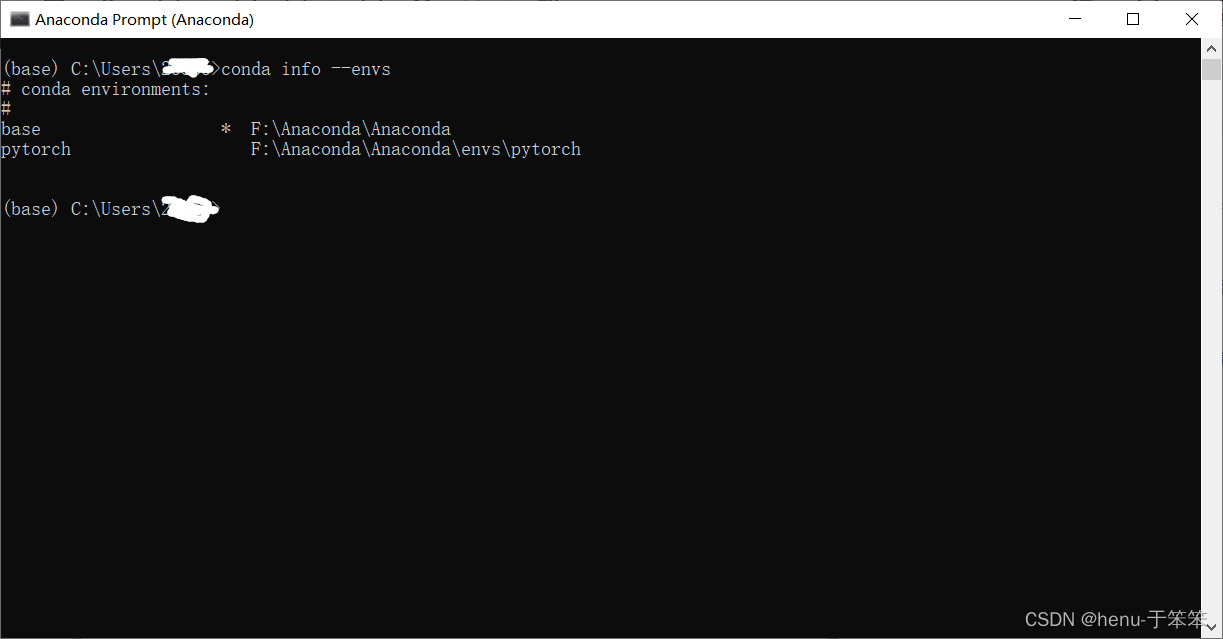
After the installation is successful, enter the following command:
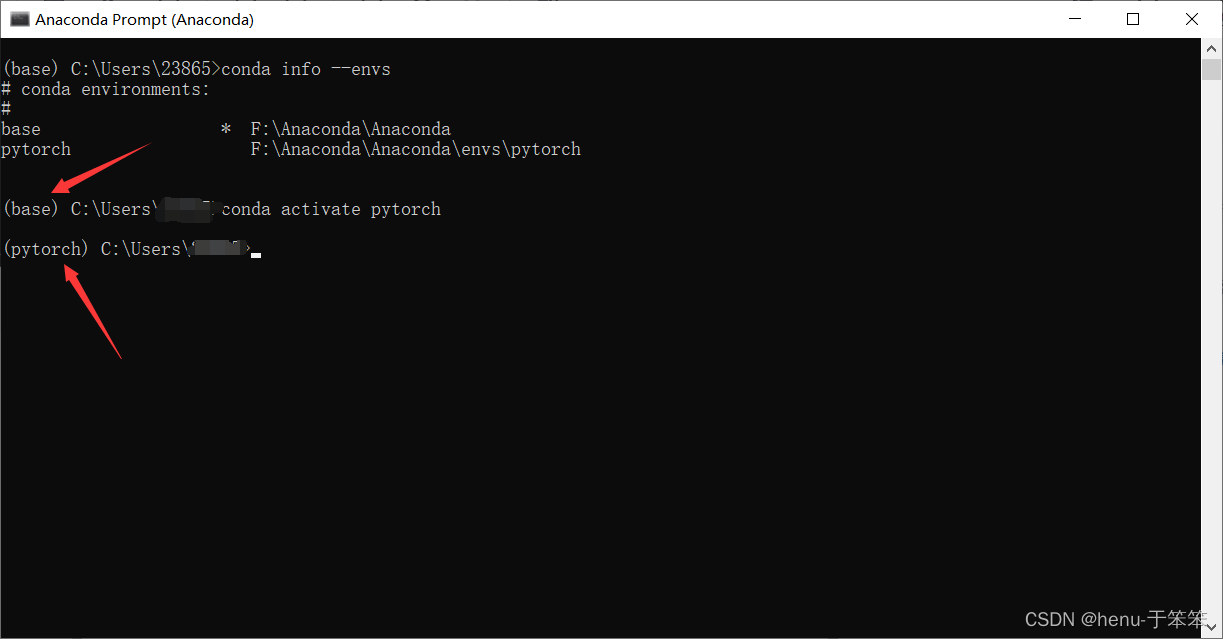
conda info --envs
Next we have to enter the pytorch environment
conda activate pytorch
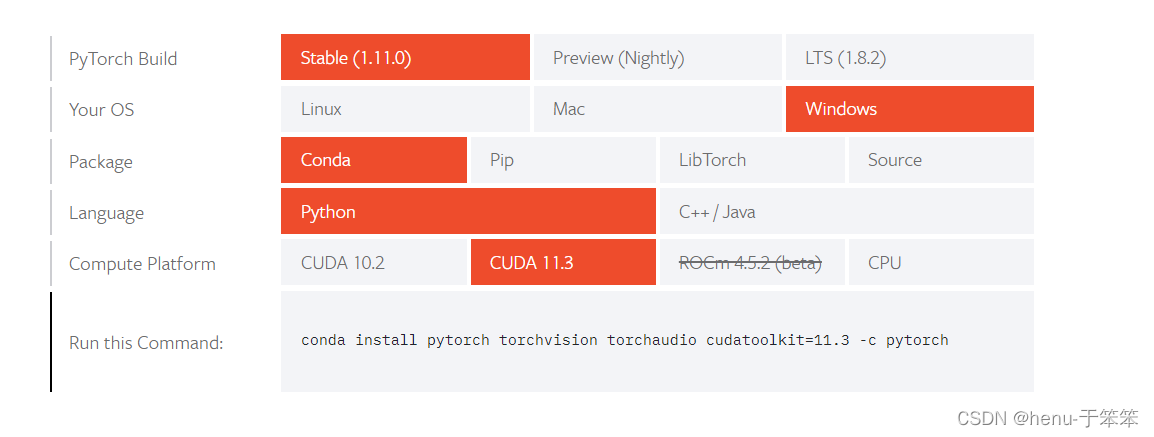
The next step is to install the pytorch environment
pytorch official website
这里面我是按照一个blog用的清华的一个镜像安装的,相对于去年我第一次下载安装pytorch来说,速度很快
下载的时候有显卡用显卡,没显卡就只能用cpu了
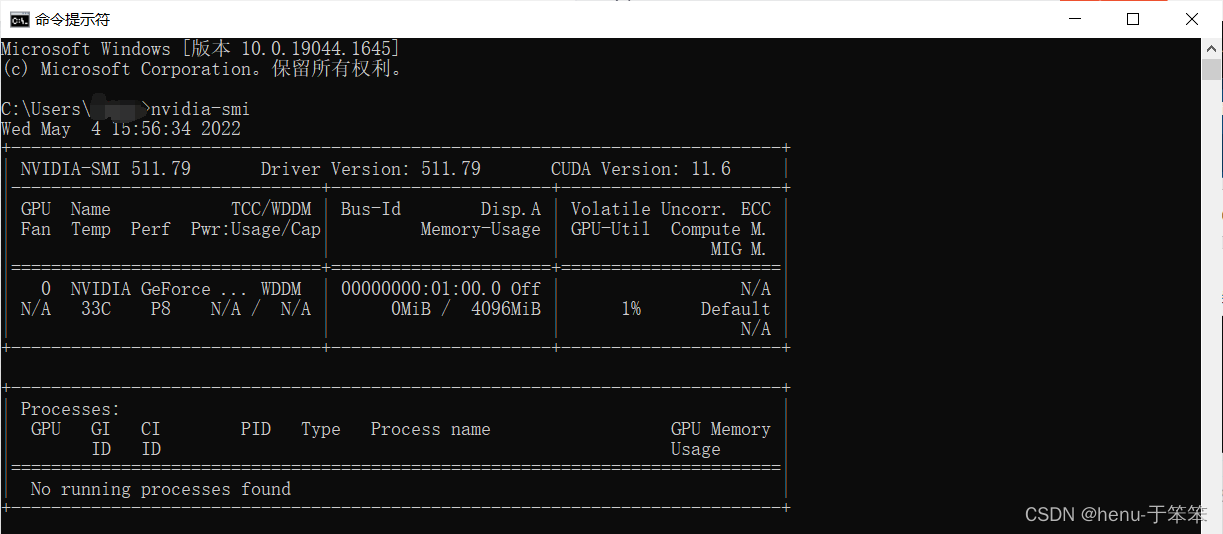
如何查看自己的CUDA版本号
在cmd窗口中输入这个命令
nvidia-smi
接下来就需要导入清华的镜像了。这里我参考的是其他的博客
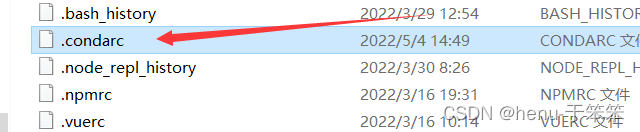
.condarc
插播.condarc知识点:
.condarc以点开头,一般表示 conda 应用程序的配置文件,在用户的家目录(windows:C:\users\username\,linux:/home/username/)。但对于.condarc配置文件,是一种可选的(optional)运行期配置文件,其默认情况下是不存在的,但当用户第一次运行 conda config命令时,将会在用户的家目录创建该文件。这个shell命令第一次安装的情况下,你需要先执行才会看到.condarc文件,用记事本打开
讲下面的代码贴到文件中去
channels:
  - https://mirrors.tuna.tsinghua.edu.cn/anaconda/cloud/pytorch/win-64/
  - defaults
show_channel_urls: true
channel_alias: https://mirrors.tuna.tsinghua.edu.cn/anaconda
default_channels:
  - https://mirrors.tuna.tsinghua.edu.cn/anaconda/pkgs/main
  - https://mirrors.tuna.tsinghua.edu.cn/anaconda/pkgs/free
  - https://mirrors.tuna.tsinghua.edu.cn/anaconda/pkgs/r
  - https://mirrors.tuna.tsinghua.edu.cn/anaconda/pkgs/pro
  - https://mirrors.tuna.tsinghua.edu.cn/anaconda/pkgs/msys2
custom_channels:
  conda-forge: https://mirrors.tuna.tsinghua.edu.cn/anaconda/cloud
  msys2: https://mirrors.tuna.tsinghua.edu.cn/anaconda/cloud
  bioconda: https://mirrors.tuna.tsinghua.edu.cn/anaconda/cloud
  menpo: https://mirrors.tuna.tsinghua.edu.cn/anaconda/cloud
  pytorch: https://mirrors.tuna.tsinghua.edu.cn/anaconda/cloud
  simpleitk: https://mirrors.tuna.tsinghua.edu.cn/anaconda/cloud
然后继续安装pytorch
我的是这个:
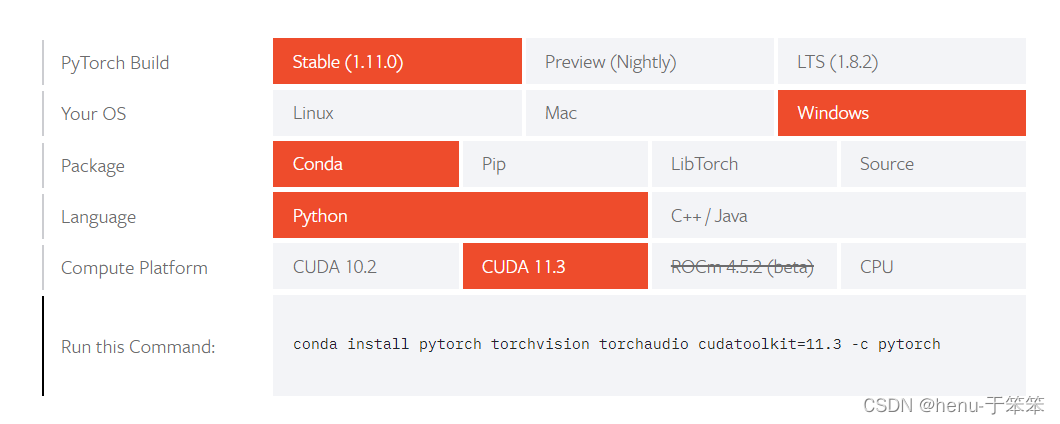
conda install pytorch torchvision torchaudio cudatoolkit=11.3 -c pytorch
这里我参考了其他的博客,将-c pytorch去掉了。安装速度很快。我第一次安装安装一整天,这个安装大概是分钟左右
复制下面的代码,之后,在开始菜单中,打开 Anaconda Prompt,查看最左边括号中是 base 还是 pytorch。如果是 [base],使用 conda activate pytorch 进入 pytorch 环境中。之后粘贴即可。
conda install pytorch torchvision cpuonly
接下来只需要按照提示输入就可以了
验证是否安装成功(最激动人心的时刻)
(1)在命令行左边为 pytorch 环境中,输入 python
(2) After that, enter import torch, if there is no error, it means that PyTorch has been successfully installed
(3) Next, enter torch.cuda.is_available, if it is True, it means you can use the GPU.
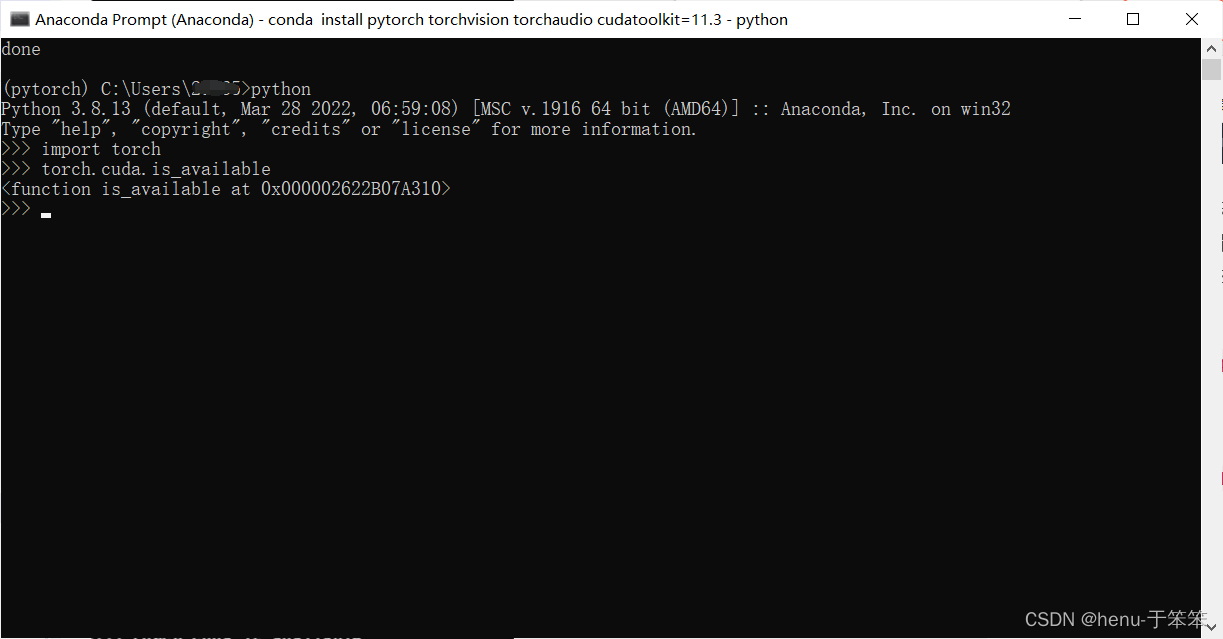 Note to update that
in the second step of the above test steps, the output of the function will be displayed only torch.cuda.is_available()when the function is called , if it is True, it means that you can use the GPU()
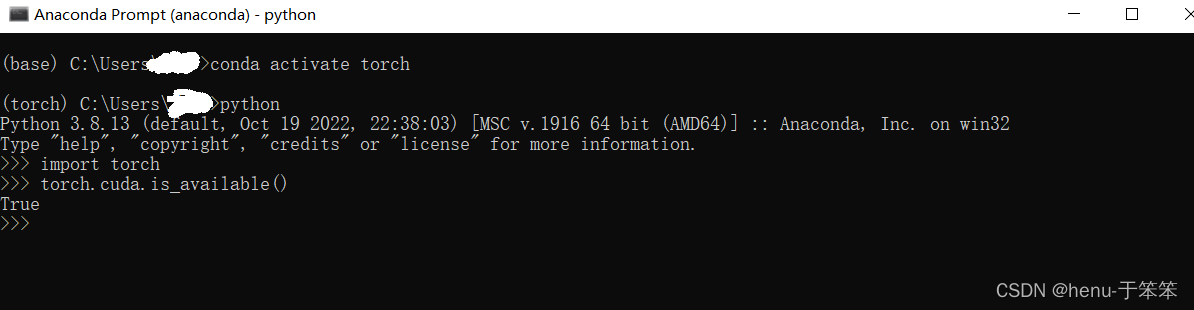
this is success
pycharm
Because the shell input code does not have prompts, it is very unfriendly to novices. Let's import anaconda with pytorch into pycharm.
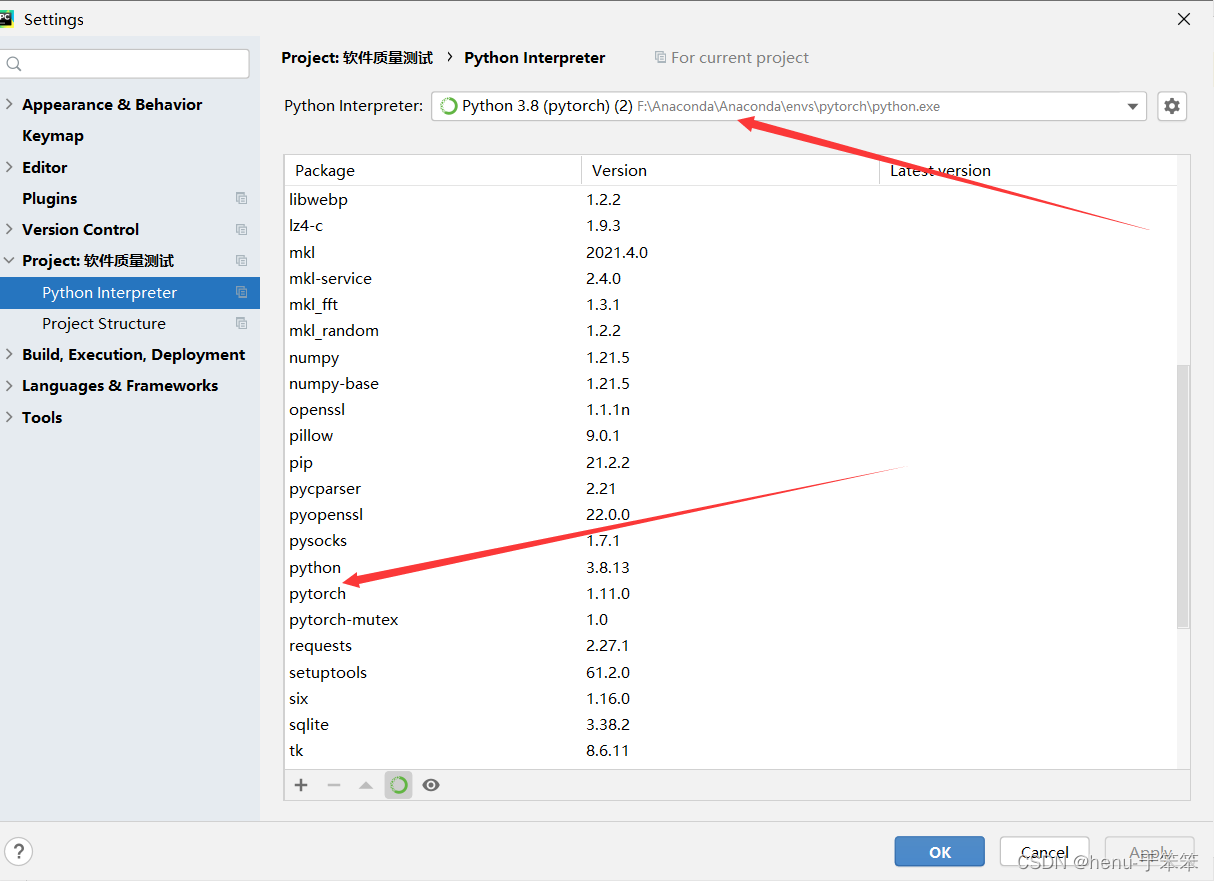
Here we have imported anaconda with pytorch.
Next, let's verify that we

enter the above code. When it is displayed as True, the import is successful.

Category of website: technical article > Blog
Author:Fiee
link:http://www.pythonblackhole.com/blog/article/25353/39105f8e338cc74d0fdf/
source:python black hole net
Please indicate the source for any form of reprinting. If any infringement is discovered, it will be held legally responsible.
name:
Comment content: (supports up to 255 characters)
no articles