
Anaconda installation - super detailed version (2023)
posted on 2023-05-21 17:19 read(578) comment(0) like(20) collect(3)
Anaconda installation - super detailed version (2023)
- Foreword:
- Completely uninstall python
- Anaconda download address
- Installation detailed steps
- Configure environment variables
- Verify that the installation was successful
- Change conda sources (subsequent installation of third-party libraries can speed things up)
- Super detailed and complete uninstall Anaconda tutorial
- Tensorflow-gpu installation
Foreword:
When learning machine learning, Anaconda is generally used.
Anaconda is a powerful open source data science platform, which integrates many good tools, greatly simplifies the user's workflow, and can help users solve a series of data science problems.
Some friends are struggling to install python or install anaconda first. The suggestion here is to install anaconda, so there is no need to install python separately, because anaconda comes with python, and after installing anaconda, the default python version is the python version that comes with anaconda.
The installation of Anaconda is divided into two situations:
Situation 1 : The computer is not installed with python or it can be uninstalled now ( uninstall python first when installing Anaconda )
Situation 2: The computer is currently installed with python, but I want to keep it (It is more complicated, please refer to other tutorials on the Internet!)
Completely uninstall python
First, use the uninstall tool that comes with the computer housekeeper to uninstall python , and manually delete the files in the installation directory (this part is very simple and will not be introduced in detail), and then delete the environment variables:
Step 1 : Computer (right click) → Properties → Advanced System Settings → (click) Environment Variables

Step 2 : View the environment variables set by the user, which is the column above, find the path, double-click the value behind the path, and enter to view the environment variables you have set.
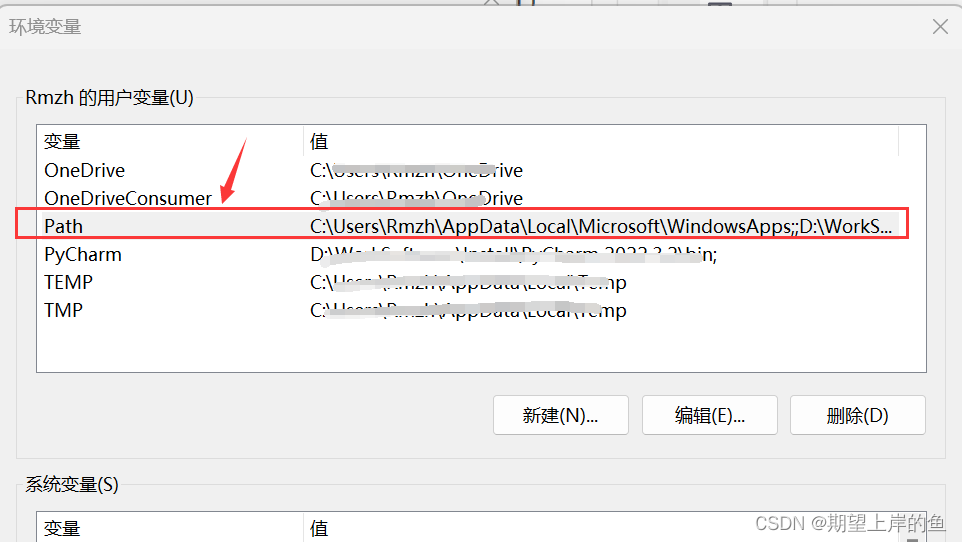
Step 3 : Delete all the variables for installing python, select both values in the figure, then click delete, and then confirm ( if the environment variables are automatically deleted after uninstalling python, don’t worry about it! )
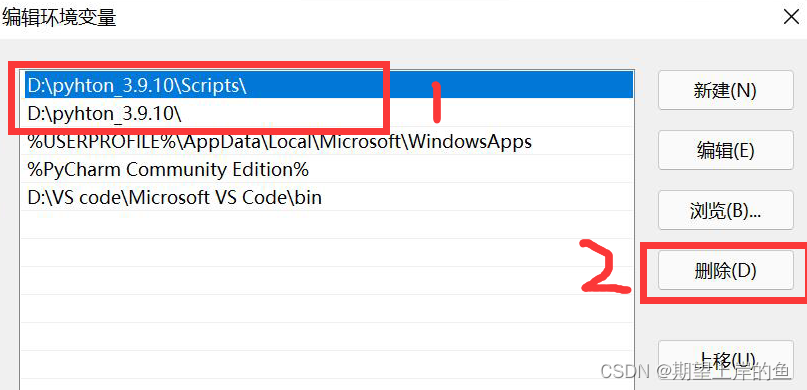
Note : When exiting, don't forget that there are several confirmation buttons outside, which also need to be clicked, do not cross them directly, otherwise the settings will not be saved.
ok, at this point, python is completely uninstalled!
Anaconda download address
- Note: During the Anaconda installation process, the more error-prone link is the configuration of environment variables, so everyone should be more careful when configuring environment variables.
Method 1: Log in to the Anaconda official website .

- This is how it goes in, just click "Download". (Must be Windows environment and 64-bit)
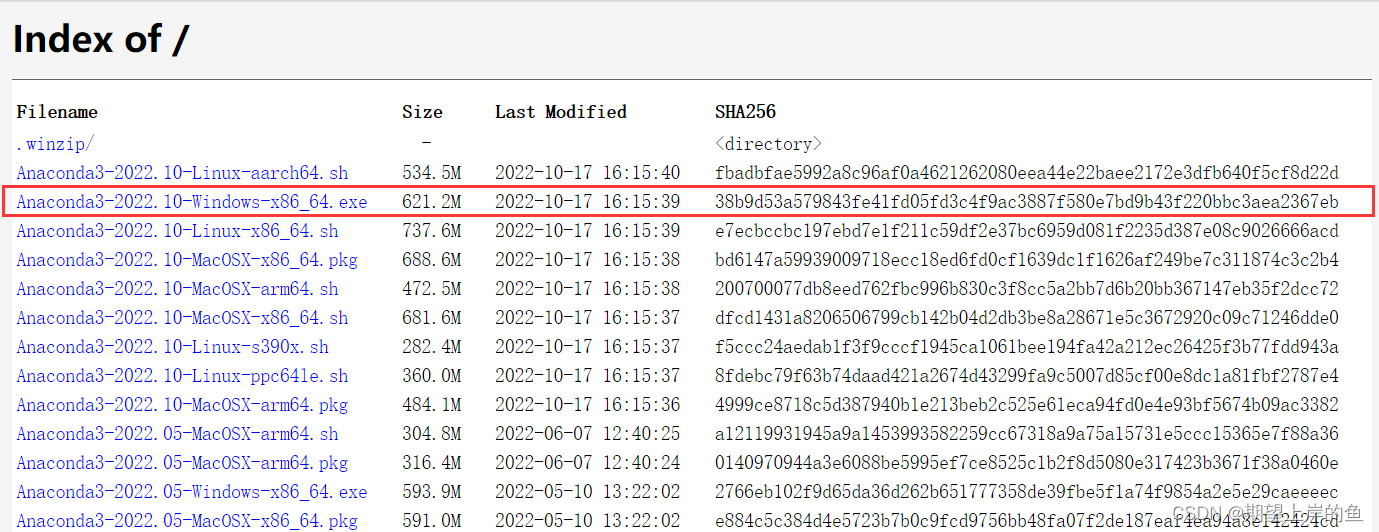
Method 2: The official website download is too slow, the recommended download address: ** Click here to download from Tsinghua Mirror Station
Installation detailed steps
- Double-click the downloaded installation package

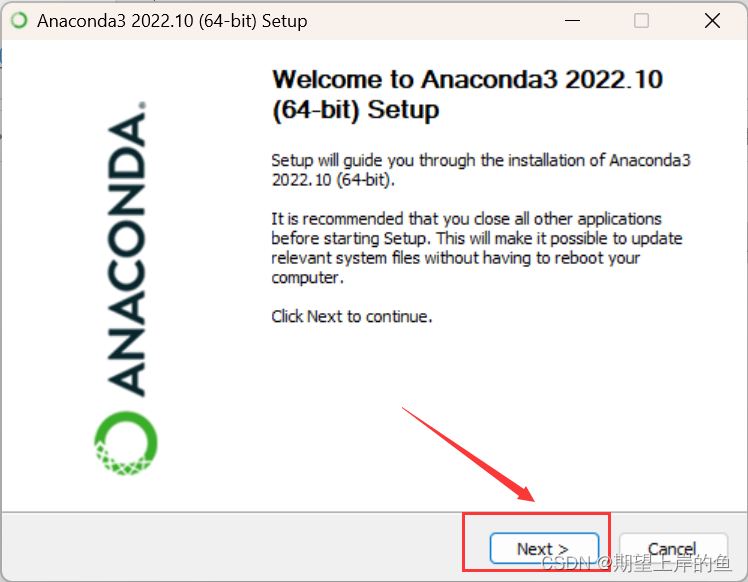
- Click Next
- Click I Agree

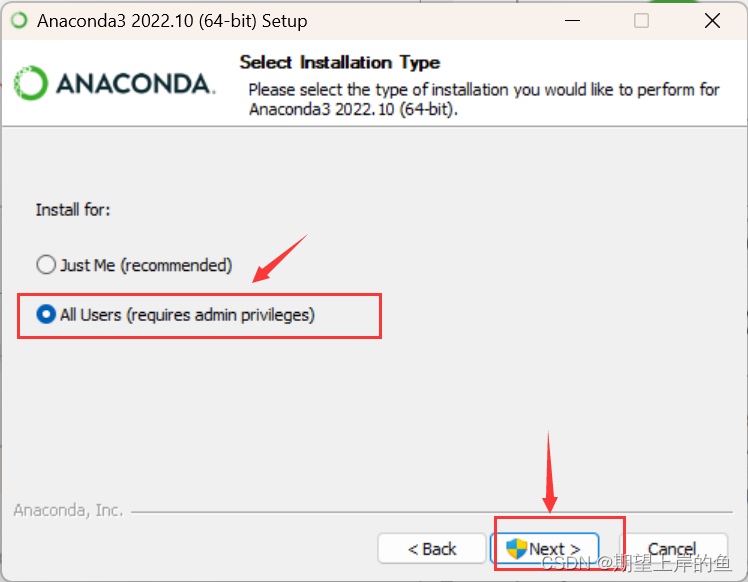
- Select All Users
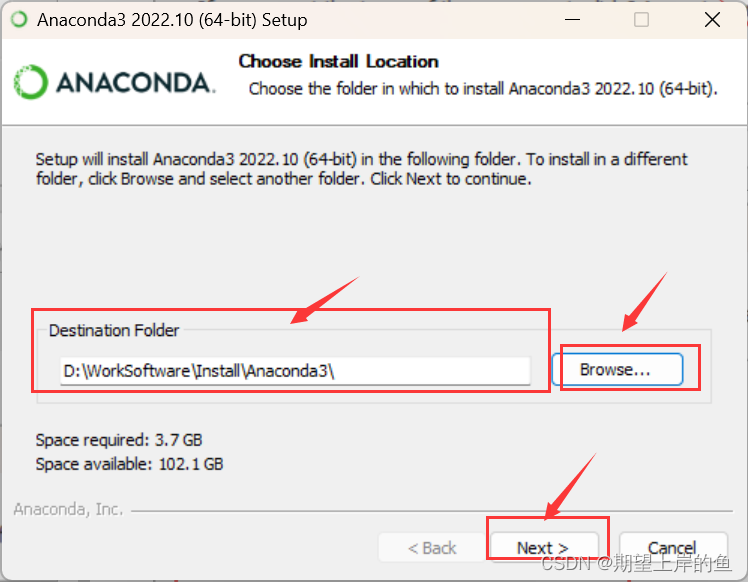
- 选择安装路经,这里一定要选择除了C盘的盘哇!!
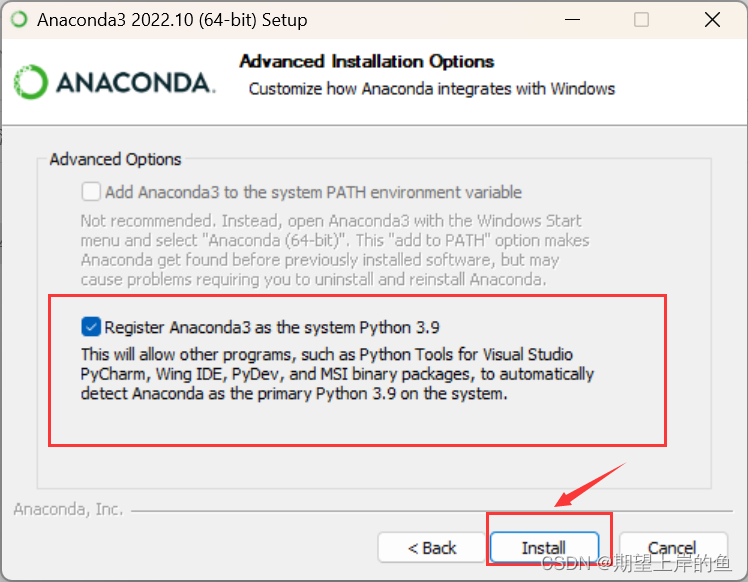
- 只选择第二项,第二项是说要默认使用python的版本,后期手动添加环境变量,
- 点击Install,安装需要等待一会儿。

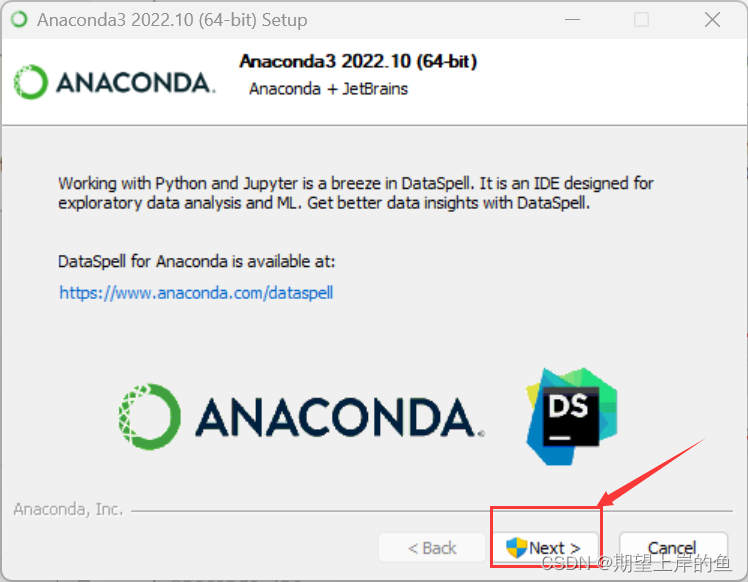
- 点击Next:
- 对于两个“learn”,都取消打勾,不用打开去看了,耽误时间。
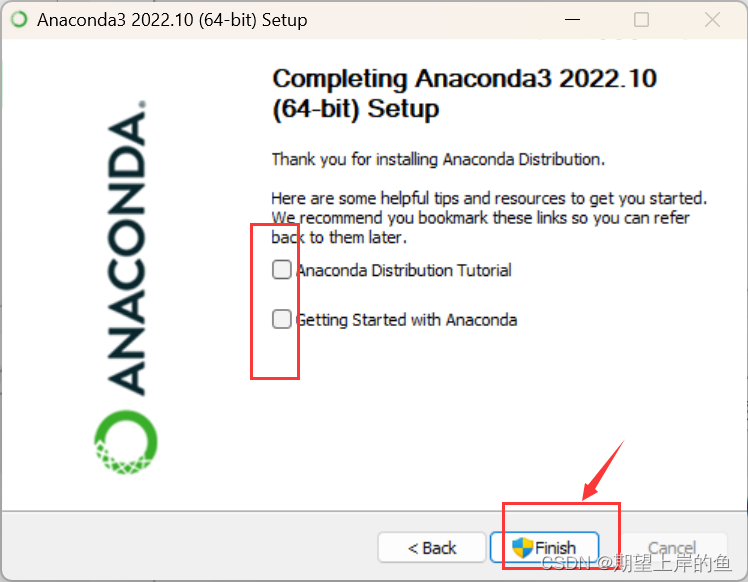
- 然后就等待它安装好,安装好后我们需要手动配置环境变量。
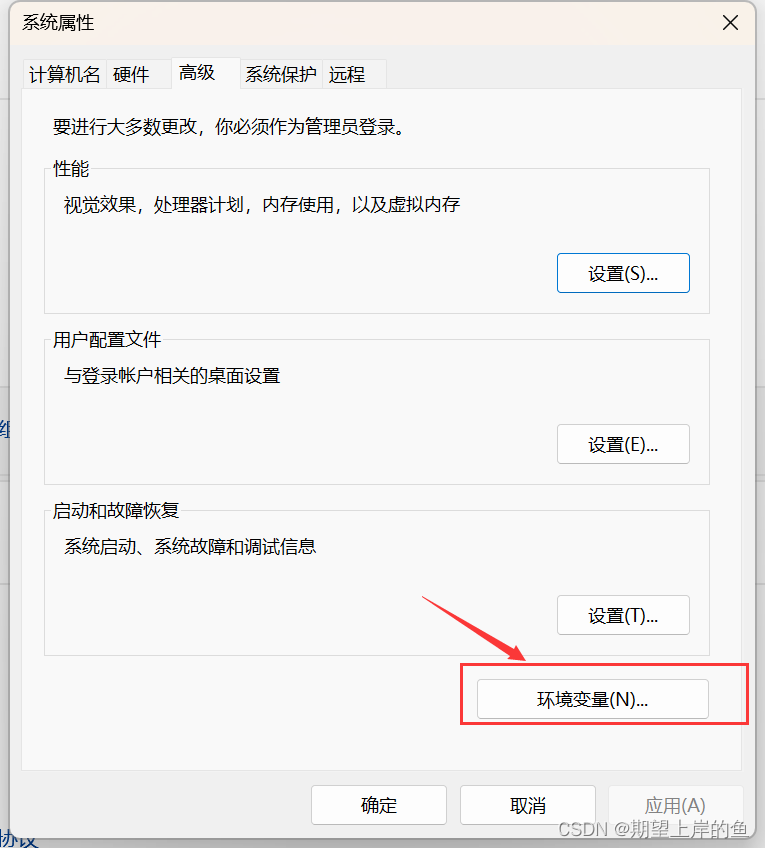
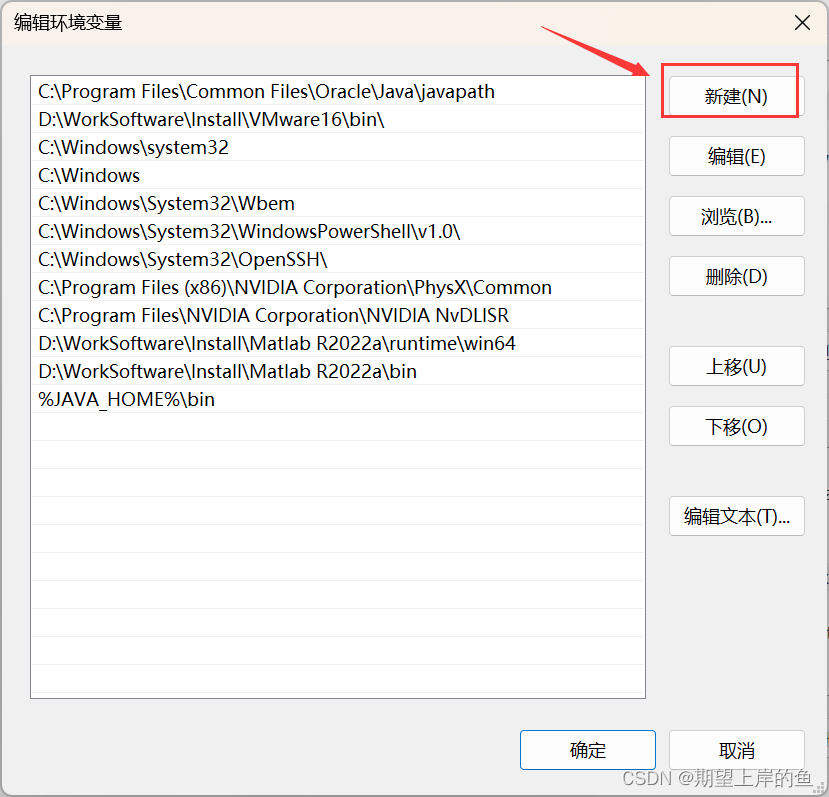
配置环境变量
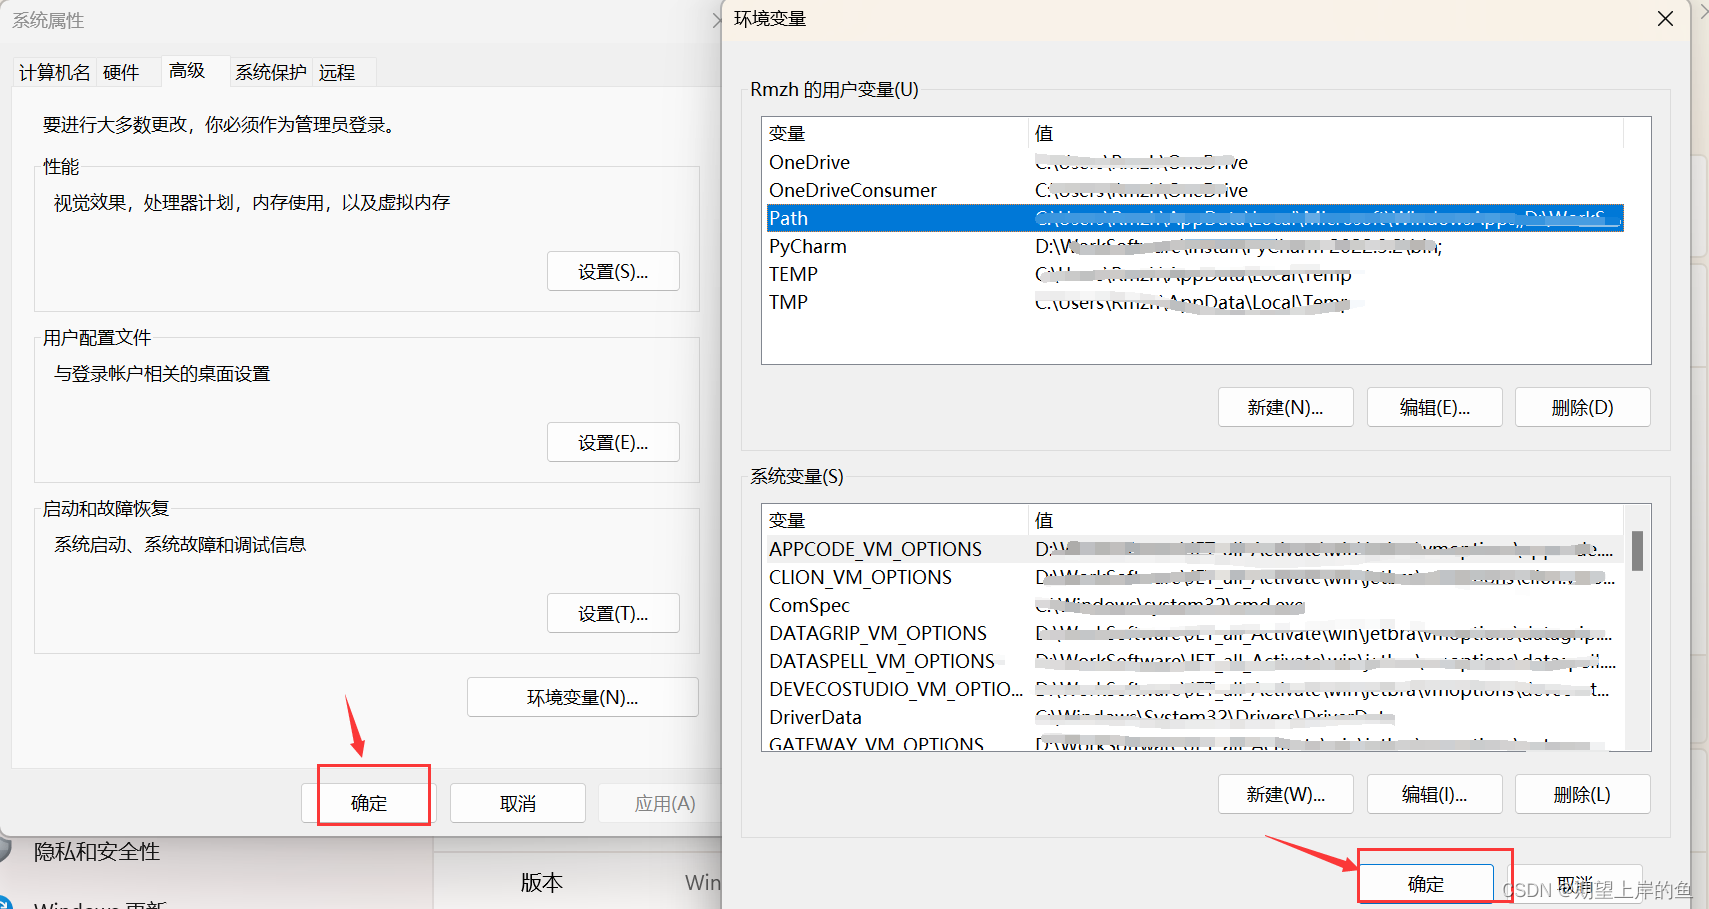
计算机(右键)→属性→高级系统设置→(点击)环境变量
在下面系统变量里,找到并点击Path
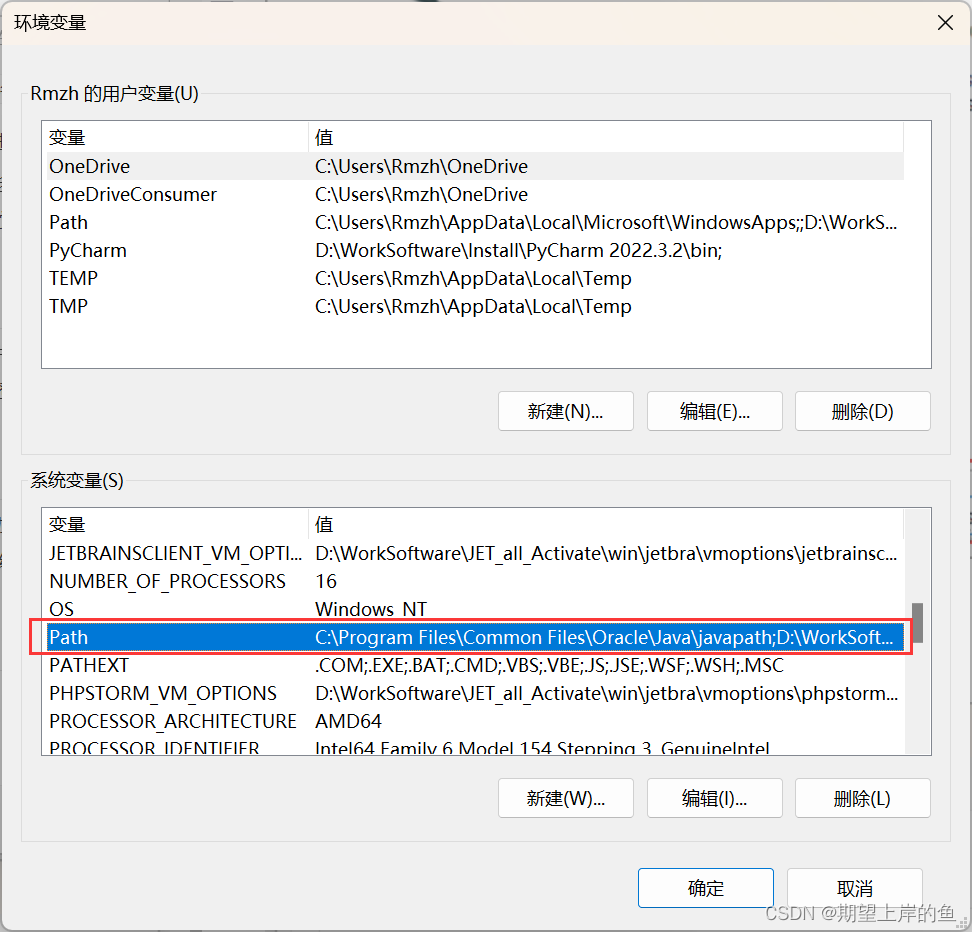
在编辑环境变量里,点击新建
输入下面的五个环境变量。(这里不是完全一样的!你需要将以下五条环境变量中涉及的到的"D:\WorkSoftware\Install\Anaconda3"都修改为你的Anaconda的安装路径)
D:\WorkSoftware\Install\Anaconda3
D:\WorkSoftware\Install\Anaconda3\Scripts
D:\WorkSoftware\Install\Anaconda3\Library\bin
D:\WorkSoftware\Install\Anaconda3\Library\mingw-w64\bin
D:\WorkSoftware\Install\Anaconda3\Library\usr\bin
简要说明五条路径的用途:这五个环境变量中,1是Python需要,2是conda自带脚本,3是jupyter notebook动态库, 4是使用C with python的时候
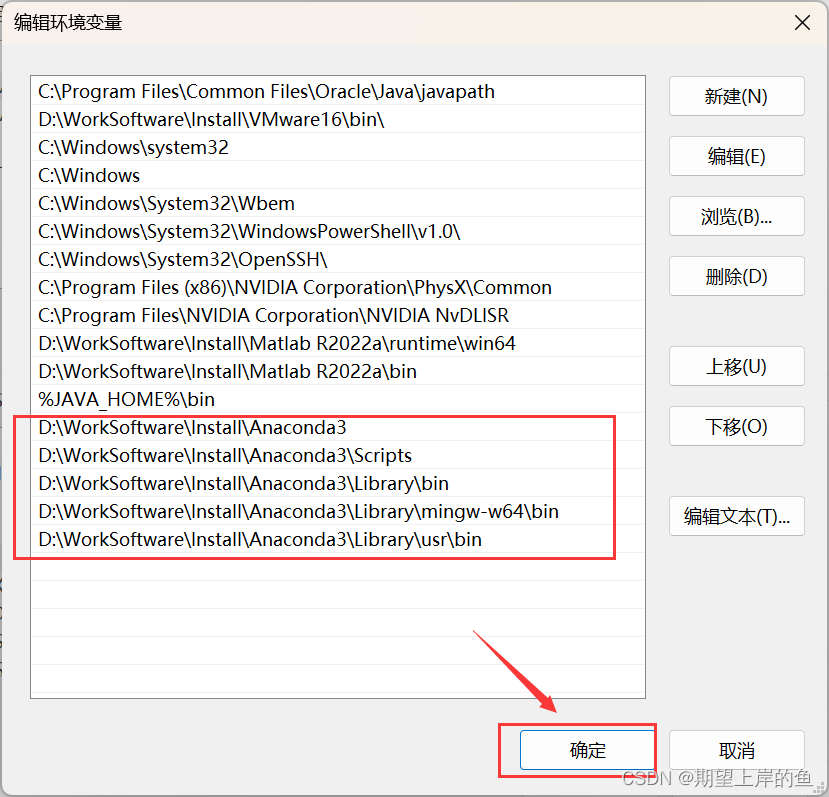
新建完成后点击确定!
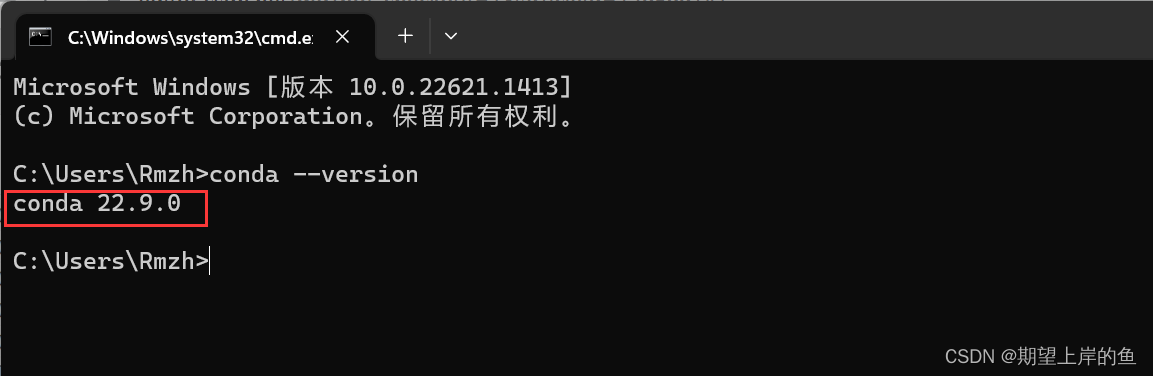
检验安装是否成功
同时按 win + r ,输入cmd,在弹出的命令行查看anaconda版本,输入 :
conda --version
输入:
python
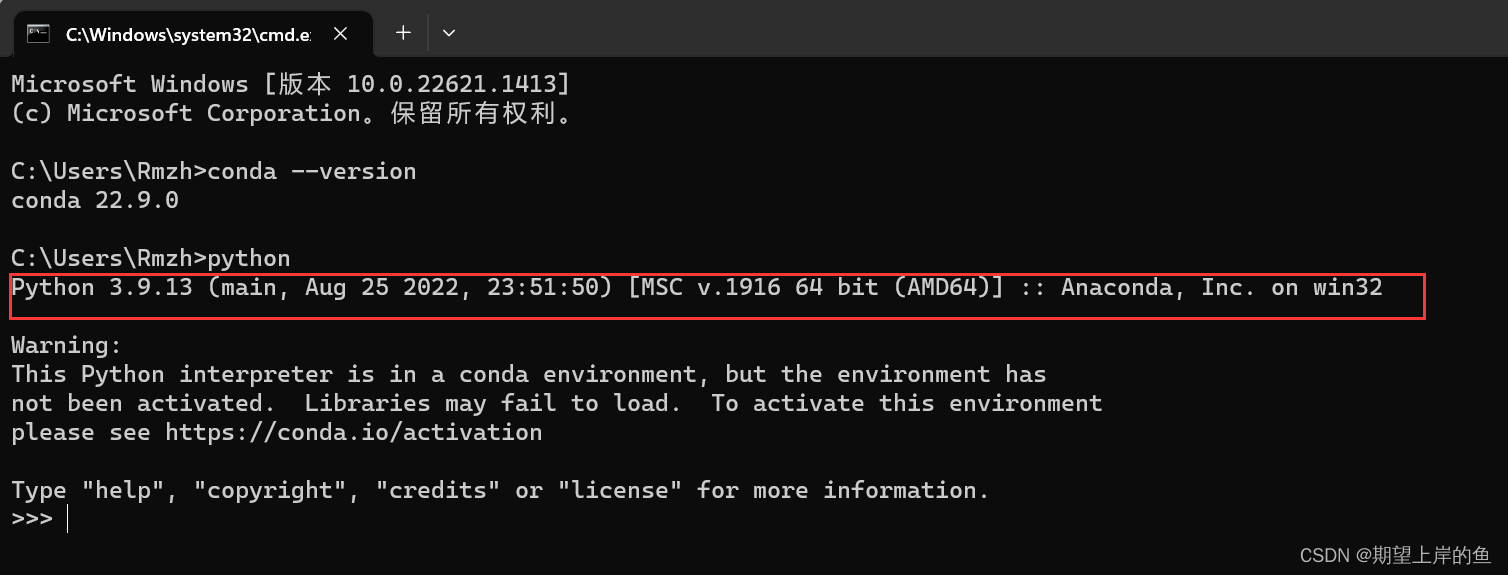
若出现版本号,即代表配置成功!
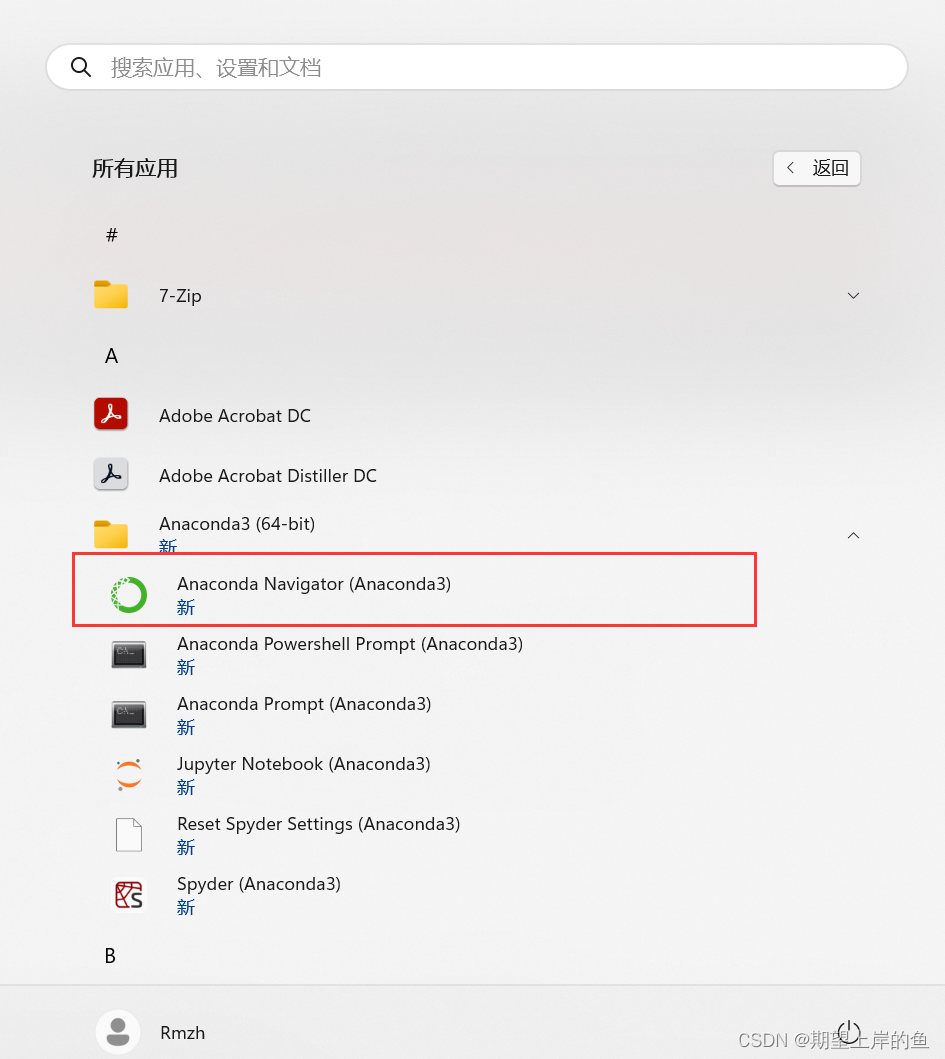
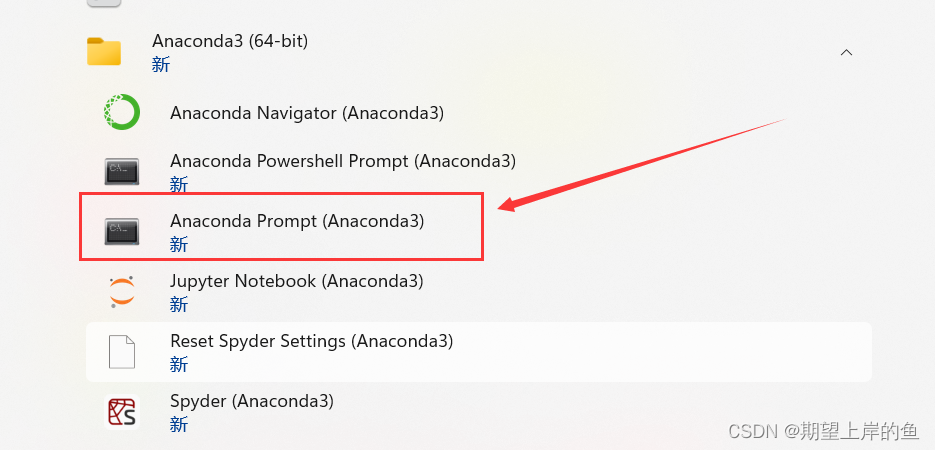
在电脑屏幕左下角的Windows徽标键这里,选择点击绿色圈圈Anaconda Navifator将其打开
出现此界面即为安装成功:
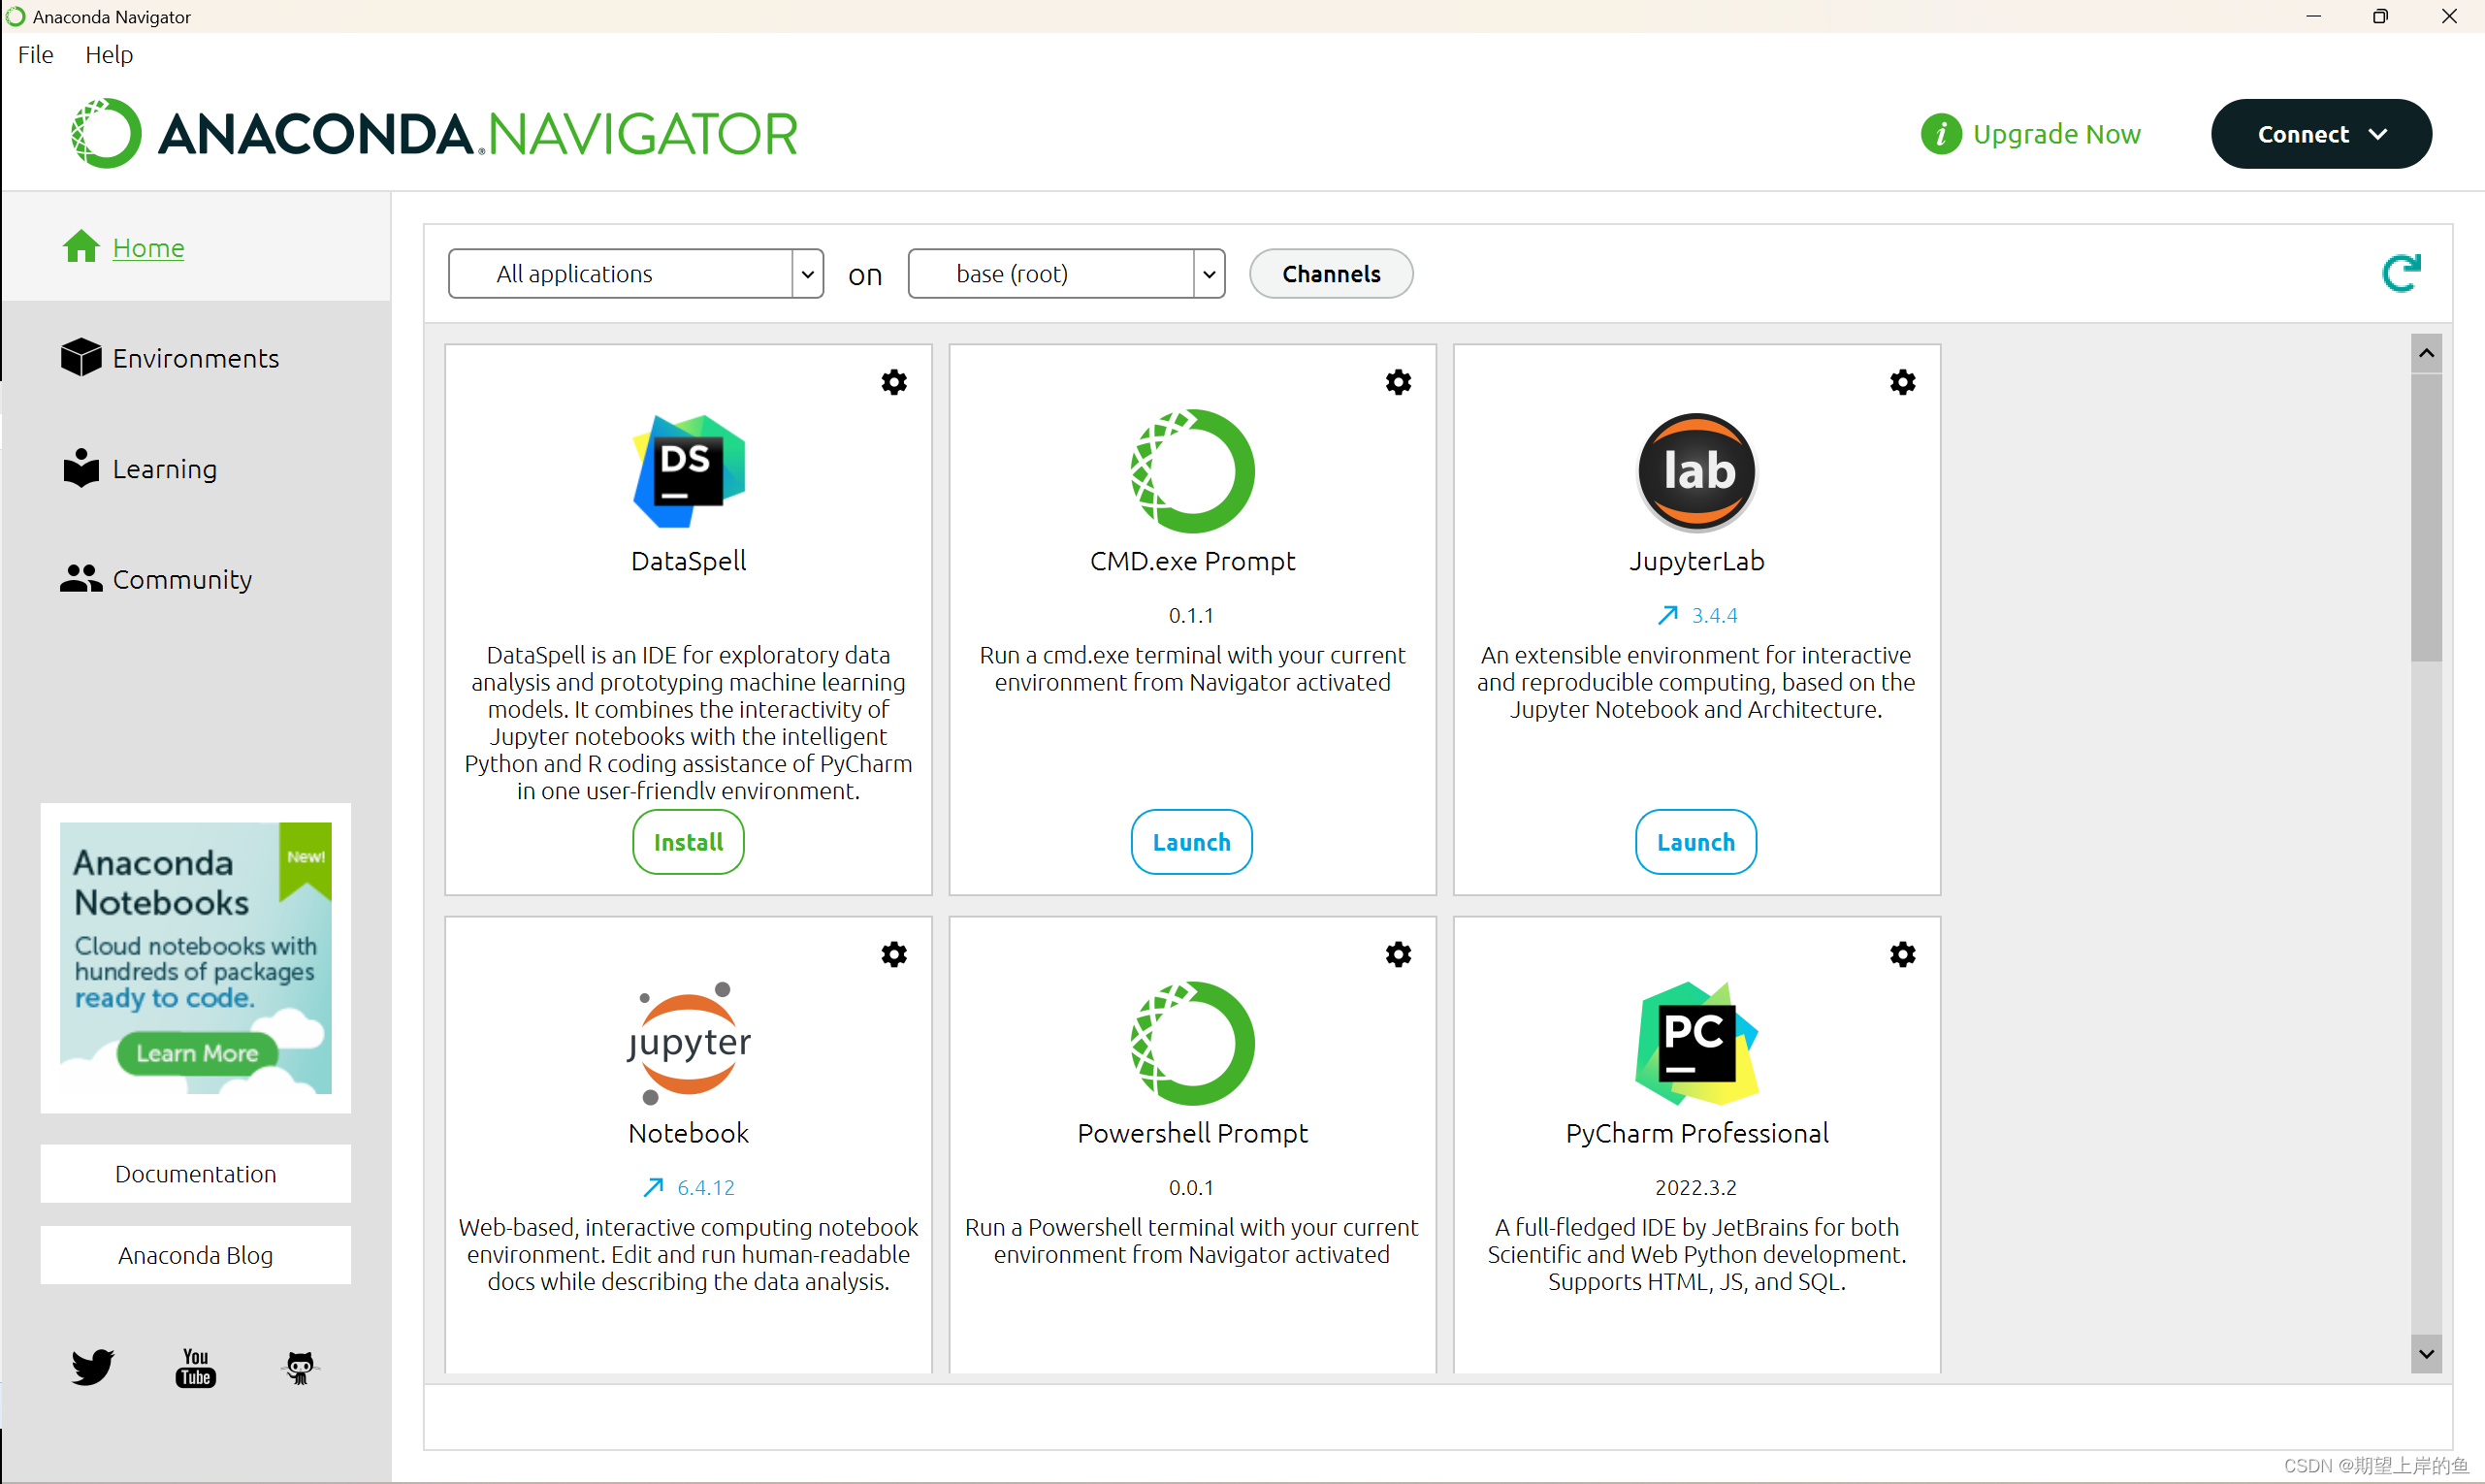
到这里,基本的安装和设置就好啦!
更改conda源(后续安装第三方库可以加快速度)
使用
conda install 包名
It is very convenient to install the required Python package, but the official server is abroad, and the download speed is slow. Tsinghua University in China provides a mirror warehouse of Anaconda. We change the source toMirror source of Tsinghua University
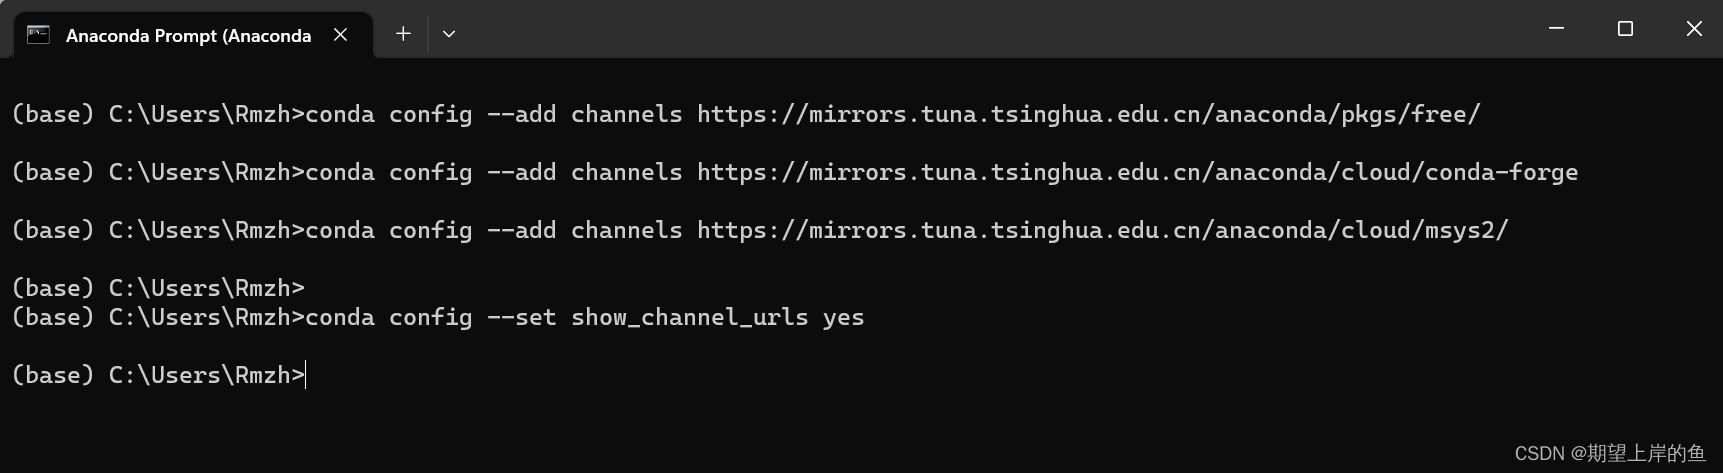
Operate in the Anaconda prompt:
Enter the following command on the command line to
conda config --add channels https://mirrors.tuna.tsinghua.edu.cn/anaconda/pkgs/free/
conda config --add channels https://mirrors.tuna.tsinghua.edu.cn/anaconda/cloud/conda-forge
conda config --add channels https://mirrors.tuna.tsinghua.edu.cn/anaconda/cloud/msys2/

//设置搜索时显示通道地址
conda config --set show_channel_urls yes
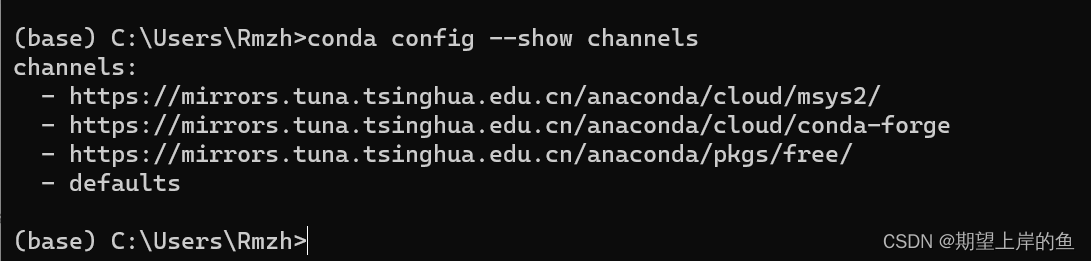
Check if the channel is modified:
conda config --show channels
restore default sources
conda config --remove-key channels
Delete the old mirror source
conda config --remove channels https://mirrors.tuna.tsinghua.edu.cn/tensorflow/linux/cpu/
Add a new mirror source
conda config --add channels https://mirrors.tuna.tsinghua.edu.cn/tensorflow/linux/cpu/
Super detailed and complete uninstall Anaconda tutorial
Completely uninstall the Anaconda tutorial, reproduced!
Tensorflow-gpu installation
If you want to do deep learning, you may need to install tensorflow, pytorch, etc. If you need to install tensorflow-gpu, you can refer to my other blog:
Tensorflow-gpu nanny level installation tutorial
Category of website: technical article > Blog
Author:Fiee
link:http://www.pythonblackhole.com/blog/article/25262/9ea8dea6f769c3a4c3d3/
source:python black hole net
Please indicate the source for any form of reprinting. If any infringement is discovered, it will be held legally responsible.
name:
Comment content: (supports up to 255 characters)
no articles